Key Lime Bars Recipe with a Crisp Graham Cracker Crust

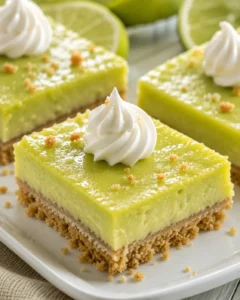
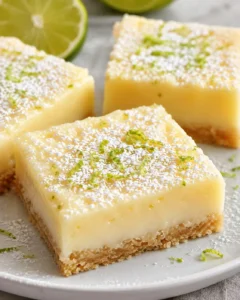
These key lime bars bring the bright, tangy flavor of a classic Key West dessert to an easy-to-serve format. Each square pairs a crisp, buttery graham cracker crust with a creamy lime filling made from sweetened condensed milk, egg yolks, fresh lime juice, and lime zest. The result is a refreshing balance of sweet and tart with plenty of citrus character.
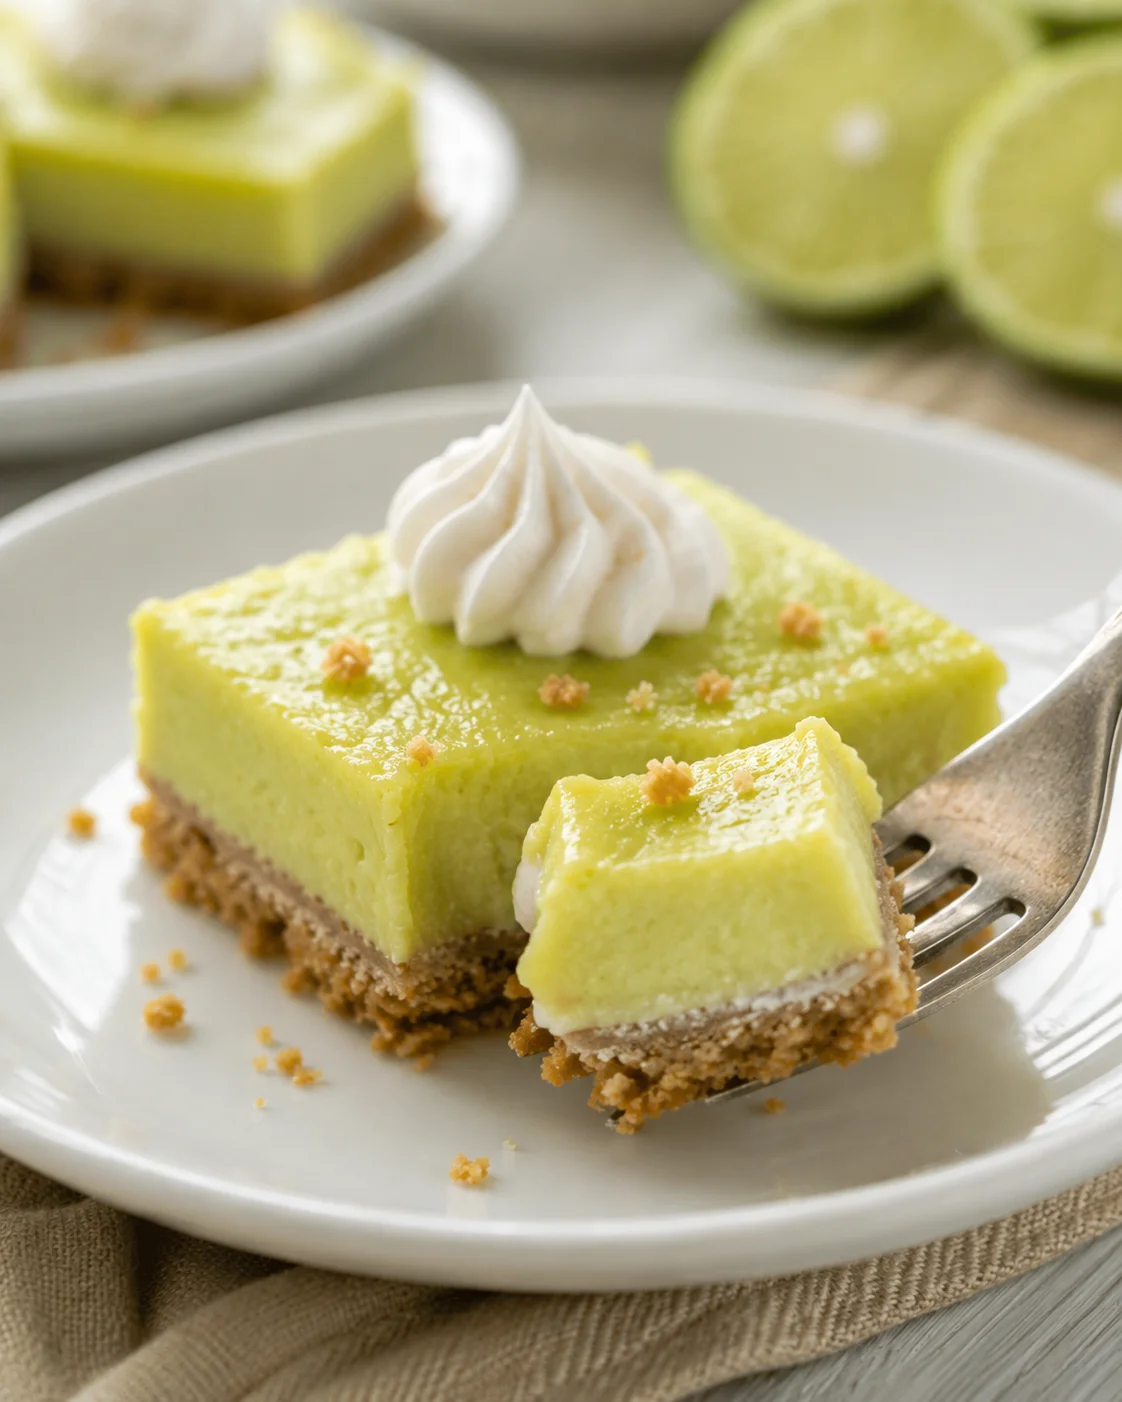
The bars are a practical choice when you want a dessert that travels well and can be prepared ahead. They fit naturally on a summer dessert table, but their vivid flavor also works for family dinners, potlucks, picnics, and dessert buffets. The method is straightforward: build and pre-bake the crust, whisk the filling, bake until the edges are lightly golden, and let the pan cool completely before cutting.
Why You Will Love This
Key lime bars have the familiar appeal of key lime pie without requiring a pie plate or individual slicing at the table. The compact squares are easy to arrange, transport, and share, and the bar shape creates a convenient individual portion. A crisp graham cracker base gives the creamy filling a contrasting texture, while fresh lime juice keeps the flavor lively instead of heavy.
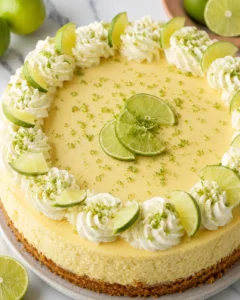
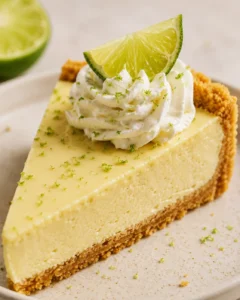
There is also a little dessert history behind the combination. Key lime pie is associated with the Florida Keys and dates back to the late nineteenth century. Sailors and local bakers developed the classic pairing of condensed milk and key limes, ingredients that were abundant in the region. These bars carry those same recognizable flavors in a portable form.
They are especially useful for a summer barbecue, family gathering, or any occasion when a bright dessert is welcome. Set them out at a potluck party, pack them for a picnic, serve them after a weekend family dinner, or add them to a dessert buffet. The intense citrus flavor makes a small square feel satisfying, while the crisp crust keeps the dessert from becoming one-note.
For the best finished texture, plan for the cooling time instead of cutting into the pan while it is warm. The filling needs to cool completely so the squares can be cut neatly and the crust can retain its crispness. Once chilled or thawed as directed below, the bars can be brought toward room temperature before serving for a creamy filling and a more pronounced lime flavor.
Ingredients
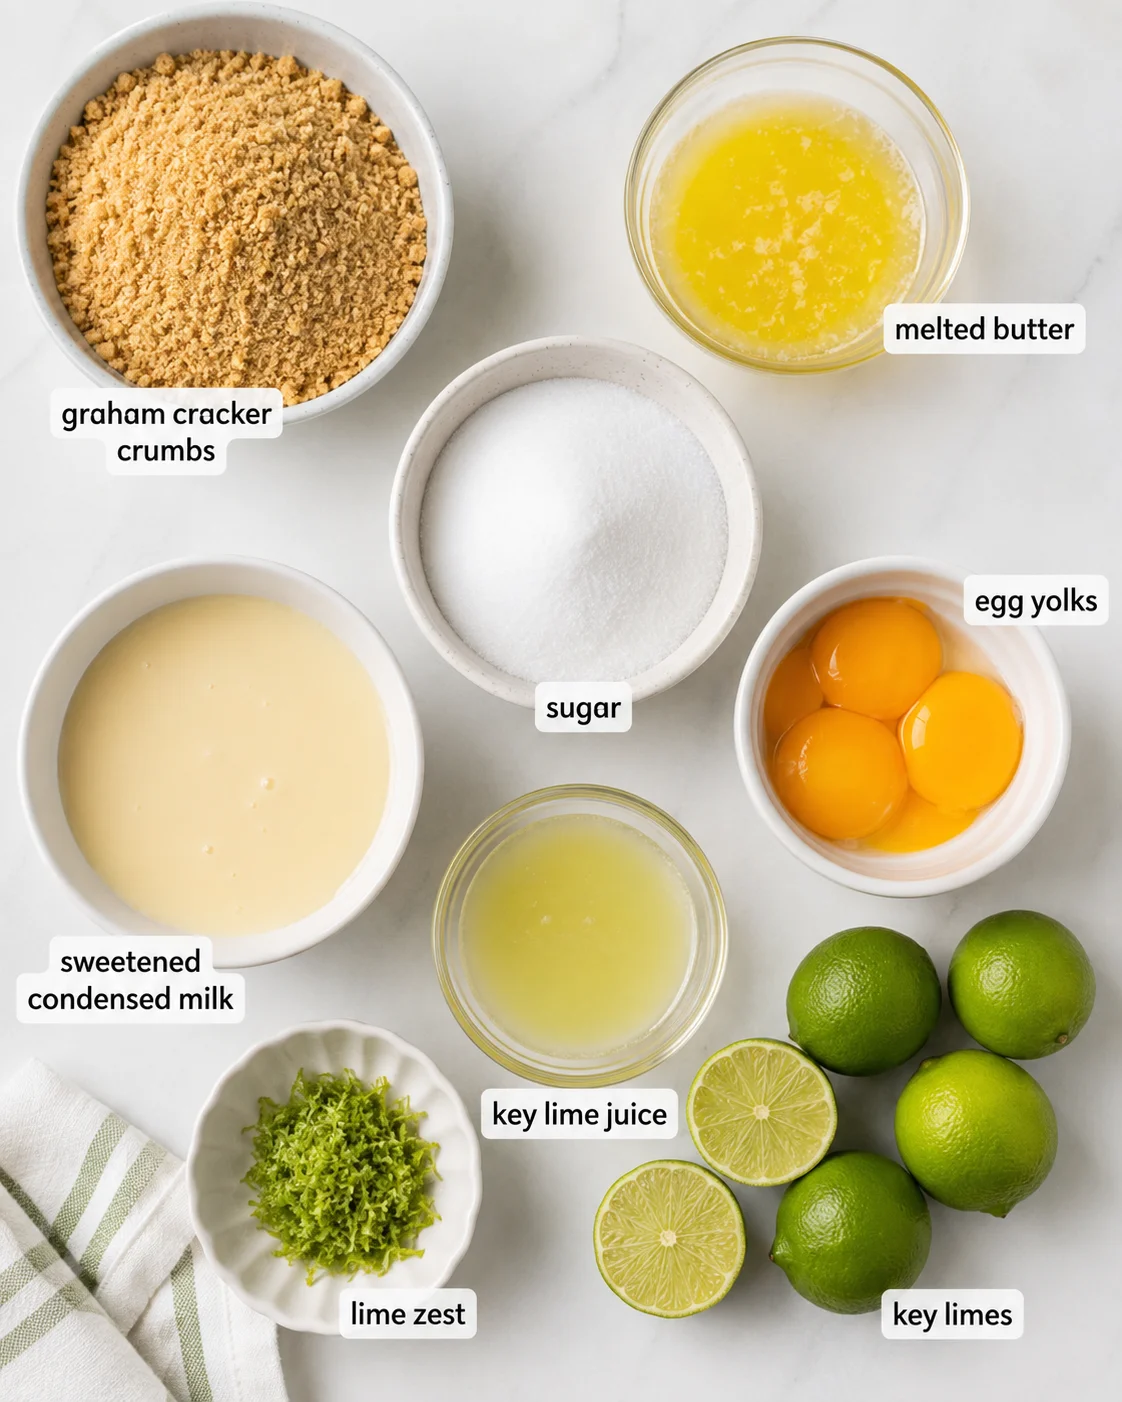
The ingredient list is short, but every component has a clear job. The graham crackers form the base, melted butter binds the crumbs, and granulated sugar contributes sweetness to the crust. Sweetened condensed milk gives the filling its rich, creamy body, while egg yolks provide structure. Fresh lime juice supplies the signature tartness, and lime zest adds fragrant citrus detail.
- 1½ cups graham cracker crumbs: You can crush fresh, crisp graham crackers for the crust. Honey or cinnamon-flavored crackers are also options when you want to change the background flavor.
- ⅓ cup unsalted butter, melted: Melted butter binds the crumbs into a firm base.
- Granulated sugar: Use it as part of the graham cracker crust.
- 4 large egg yolks: Whisk them until creamy before adding the other filling ingredients.
- 1 can sweetened condensed milk: This supplies sweetness and helps create the characteristic creamy texture.
- ½ cup fresh key lime juice: Fresh juice gives the brightest flavor when key limes are available.
- Lime zest: Add citrus fragrance to the filling or use it as a finishing garnish.
Fresh key limes are the preferred choice when you can find them. Bottled juice is convenient, but fresh juice has a more vibrant flavor. If key limes are unavailable, Persian limes can be used instead; expect the flavor to be somewhat different. For a gluten-free variation, gluten-free graham crackers such as Pamela’s can be used in the crust.
Tools and Equipment
Gather the equipment before you begin so the crust and filling can move smoothly from bowl to pan. You will need a 9×13-inch baking pan, medium and large mixing bowls, an electric mixer or whisk, a rubber spatula, and parchment paper. A light-colored metal pan is helpful for the pre-bake because it promotes even heating and makes it easier to watch the crust as it colors.
A zester is useful for collecting fine lime zest without large bitter pieces of peel. An offset spatula can help spread the crust and filling into even layers, while a silicone baking mat is optional equipment for keeping the work area steady. A stand mixer can take the place of a handheld electric mixer, although a whisk is also suitable for the filling.
Measuring toolBest use hereHelpful styleDry measuring cupsGraham cracker crumbs and sugarStainless steel or plastic with a flat topLiquid measuring cupLime juice and condensed milkGlass or clear plastic with a pour spoutKitchen scalePrecise ingredient measurementsDigital scale with gram and ounce options
Instructions
Work in the order below: prepare the crust, pre-bake it, let it cool, then make and bake the lime filling. The crust must be cool before the filling is added, and the finished bars must cool completely before slicing.
- Prepare the pan and oven. Preheat the oven to 350°F. Prepare a 9×13-inch baking pan with parchment paper so the finished slab can be lifted and portioned more easily.
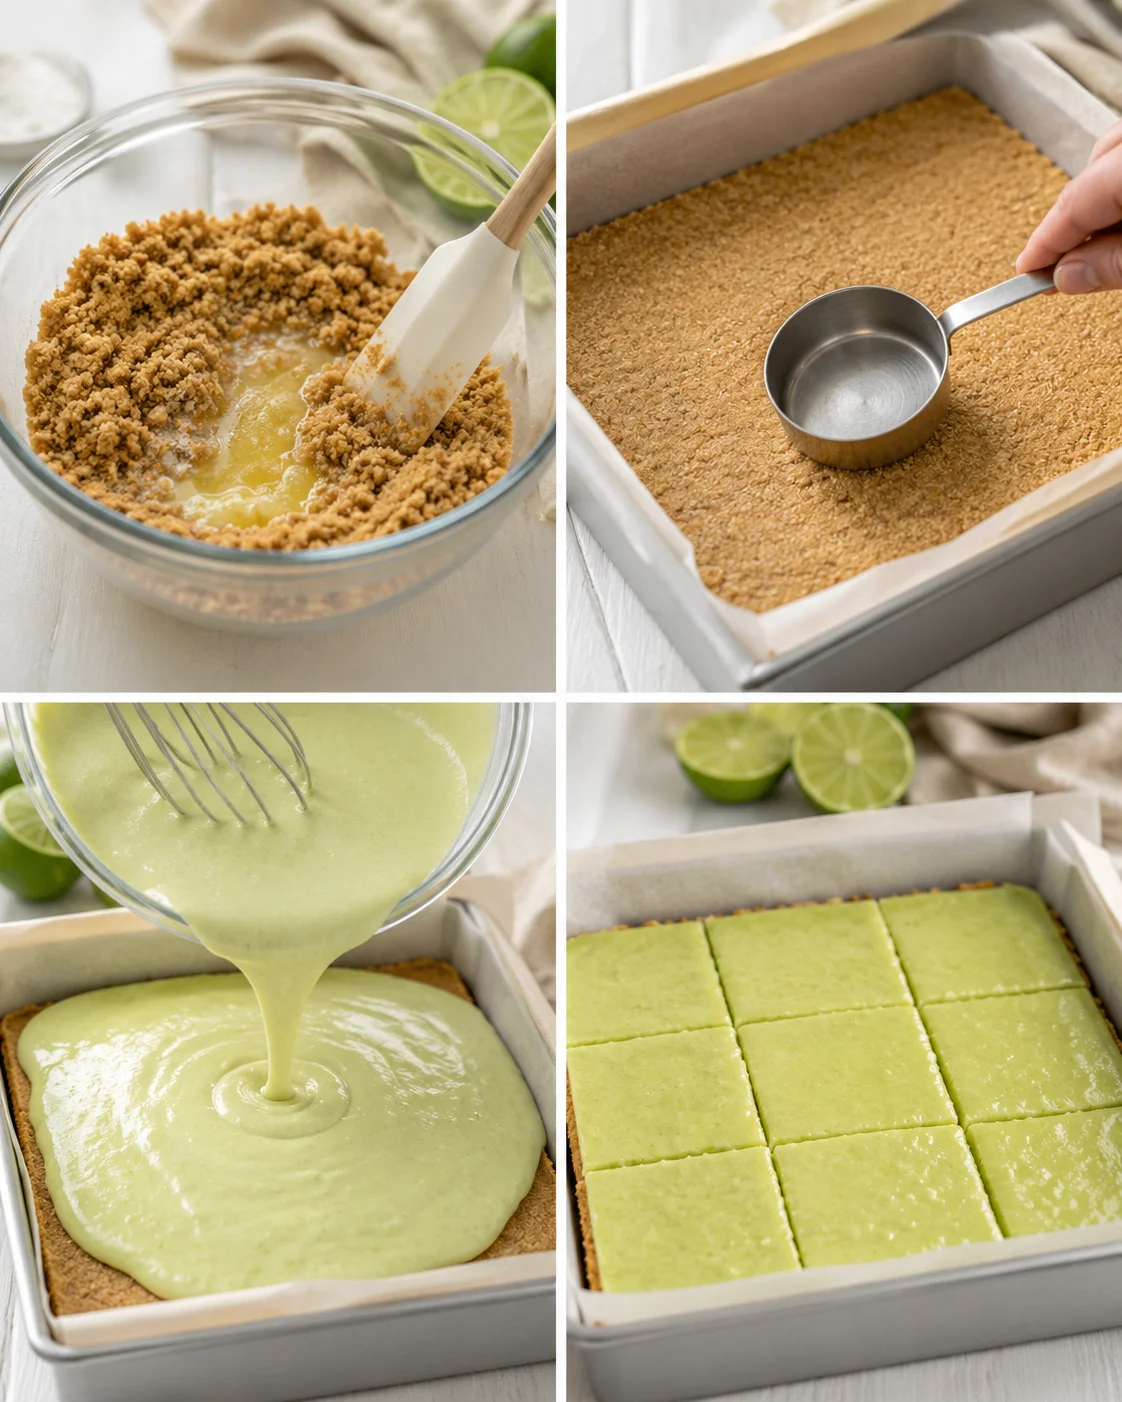
- Make the graham cracker crust. Crush enough graham crackers to measure 1½ cups. Combine the crumbs with ⅓ cup melted butter and the granulated sugar used for the crust. Stir until the crumbs are evenly moistened and the mixture holds together when pressed.
- Press the crust into the pan. Spread the crumb mixture over the bottom of the pan and press it into an even layer. Use the bottom of a measuring cup or your fingertips to compact it gently but firmly. Press across the bottom and sides without creating dense patches, aiming for a uniform ¼-inch thickness and leaving no loose areas that could crumble.
- Pre-bake the crust. Bake the crust at 350°F for 8–10 minutes. Watch closely so it becomes crisp and lightly golden without burning. A light-colored metal pan can make this visual check easier.
- Cool the crust completely. Remove the pan from the oven and let the crust cool fully before adding the filling. This helps protect the crisp base and keeps the layers distinct.
- Whisk the egg yolks. Place 4 egg yolks in a mixing bowl and whisk until creamy. An electric mixer or a regular whisk can be used.
- Build the lime filling. Add the sweetened condensed milk to the creamy yolks. Incorporate the fresh lime juice, then add lime zest. Mix until the filling is smooth and the ingredients are evenly combined.
- Add the filling to the cooled crust. Pour the lime mixture over the cooled graham cracker base. Use a rubber spatula or offset spatula to spread it into an even layer.
- Bake the bars. Return the pan to the 350°F oven and bake for 15–18 minutes. Look for slightly golden edges and a set filling. Avoid overbaking, since the goal is a creamy center rather than a dry one.
- Cool before cutting. Let the baked bars cool completely in the pan. Once cool, lift them out with the parchment, cut them into squares, and serve. Cooling fully gives the filling time to firm and produces a cleaner presentation.
Tips
Choose and prepare the crackers carefully
Start with fresh, crisp graham crackers and check that they have an even texture and color. Name-brand crackers such as Honey Maid are one option for a consistent crumb, while gluten-free crackers such as Pamela’s offer an alternative for readers who need them. Honey and cinnamon varieties can add a different flavor without changing the basic crust method.
Do not overmix the crumbs. The goal is an evenly moistened mixture that presses together, not a dense paste. Press it gently but firmly over the bottom and sides of the pan, paying special attention to corners and any thin spots. A measuring cup provides a flat surface for compacting the layer, while your fingers can help reach the edges.
Watch the two bakes
The crust and filling have separate baking stages. The crust needs 8–10 minutes at 350°F to become crisp and golden, and it must cool completely before the filling goes on. The filled bars bake for 15–18 minutes at the same temperature. Check the edges for a slight golden color and remove the pan rather than continuing to bake until the entire surface is deeply browned.
Overbaking can take away from the creamy texture that makes these bars appealing. If the edges are lightly golden and the filling looks set, let the pan cool. Cutting while warm can make the squares difficult to portion and can disturb the contrast between the crisp crust and smooth filling.
Plan for even portions
For neat squares, spread both layers evenly before baking and cool the dessert completely before slicing. A parchment-lined pan makes it easier to lift the slab out once it is cool. Wipe the knife between cuts if you want especially tidy edges. The bars are compact enough for individual portions, which is one reason they work well for sharing and transport.
Variations
The classic lime filling is flexible enough to support several topping and flavor ideas. These additions are ways to personalize the finished dessert rather than changes to the base method.
- Chocolate: Drizzle chocolate ganache over the cooled bars for a rich contrast to the tart lime.
- Tropical toppings: Add toasted coconut flakes or a sprinkle of candied lime peel.
- Crunch: Finish the smooth filling with a macadamia nut crumble.
- Other citrus: Try blood orange zest or a passion fruit swirl for a different citrus profile.
- Seasonal fruit: Experiment with seasonal fruits to introduce another flavor alongside the lime.
- Crust options: Use a gluten-free graham cracker such as Pamela’s, or choose honey- or cinnamon-flavored crackers for a different base.
Persian limes can replace key limes when necessary, although the flavor will be different. Since the citrus intensity and sweetness of fruit can vary, add optional toppings in a way that lets the lime filling remain the main flavor. Fresh whipped cream or vanilla bean ice cream can also turn the bars into a more elaborate dessert.
Storage
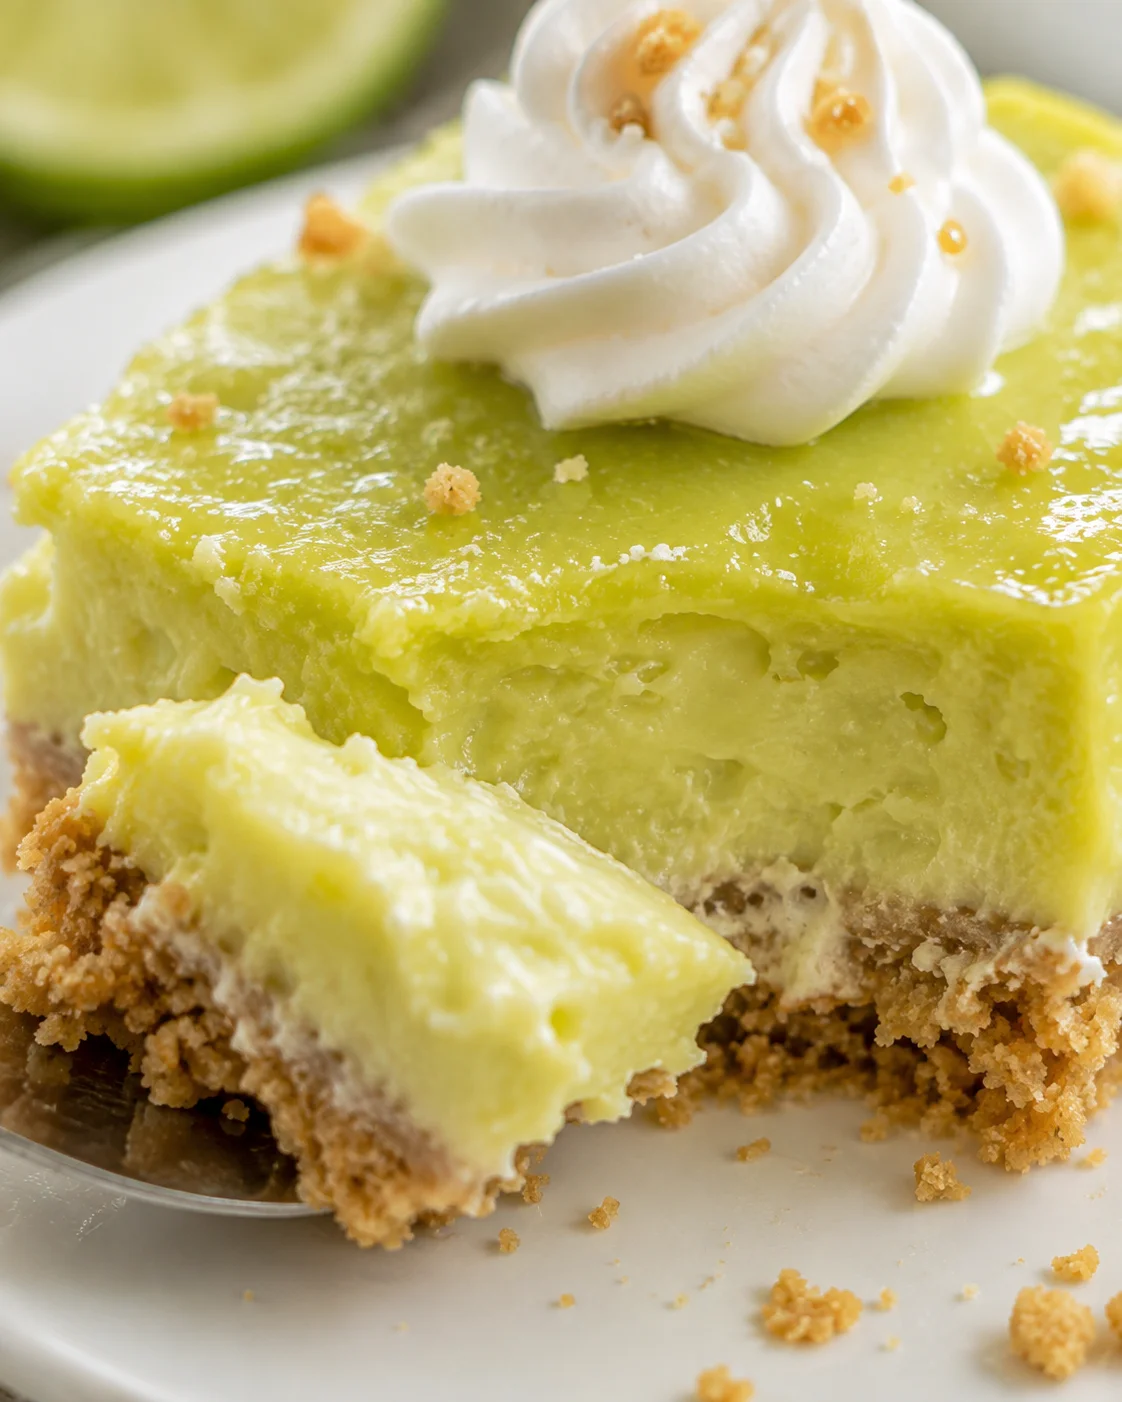
Let the bars cool completely before storing them. Wrap the pan or individual portions tightly in plastic wrap or aluminum foil, then place them in an airtight container for the best protection. Keep them refrigerated for 3–5 days, or up to 5 days, while covered to help prevent moisture loss and preserve the texture.
For longer storage, freeze the bars in individual portions. Cut them before freezing, wrap each bar separately in plastic wrap, and place the wrapped portions in a freezer-safe container. Frozen key lime bars can last up to 3 months.
To thaw frozen bars, remove them from the freezer and let them sit at room temperature for 30–45 minutes. Refrigerated bars can also be brought toward room temperature before serving. This helps the creamy filling and crisp crust show their best texture. Add fresh whipped cream or lime zest after thawing if desired.
Serving Suggestions
Serve the bars as they are for a clean sweet-tart finish, or add a small garnish of fresh whipped cream or lime zest. A scoop of vanilla bean ice cream makes the dessert feel more formal, while toasted coconut, candied lime peel, chocolate ganache, macadamia crumble, blood orange zest, passion fruit, or seasonal fruit can echo the variation ideas above.
Because the bars are compact and easy to portion, arrange them on a platter for potlucks, picnics, weekend family dinners, summer barbecues, family gatherings, or dessert buffets. Their portable shape is more convenient to share than traditional pie slices, and the crisp crust gives each portion a defined base.
FAQ
Can I use Persian limes instead of key limes?
Yes. Persian limes can be used when key limes are unavailable, but the flavor will be slightly different. Fresh key lime juice is preferred when possible because it gives the brightest, most characteristic citrus flavor.
Why does the crust need to cool before the filling is added?
Cooling the pre-baked crust helps it remain crisp and keeps the filling from being added to a hot base. It also supports a cleaner separation between the firm graham cracker layer and the creamy lime layer.
How do I know when the bars are done baking?
After 15–18 minutes at 350°F, look for slightly golden edges and a set filling. Do not wait for the entire surface to become deeply browned. The bars should cool completely before you cut them, since the filling continues to firm as it cools.
How long do key lime bars keep in the refrigerator?
Keep the completely cooled bars tightly covered in the refrigerator for 3–5 days, or up to 5 days. An airtight container helps protect the crust and filling, and covering the bars helps prevent moisture loss.
Can I freeze key lime bars?
Yes. Cut them into individual portions, wrap each bar separately in plastic wrap, and store the portions in a freezer-safe container for up to 3 months. Thaw them at room temperature for 30–45 minutes, then garnish if desired.
What can I use for a different crust?
For a gluten-free option, use gluten-free graham crackers such as Pamela’s. Honey- or cinnamon-flavored graham crackers can also change the crust’s flavor. Whatever option you choose, crush the crackers and press the crumbs into an even layer so the base bakes uniformly.
PrintBright, tangy bars featuring a crisp, buttery graham cracker crust and a creamy lime filling made from sweetened condensed milk, egg yolks, fresh lime juice, and lime zest. A portable and easy-to-serve form of classic Key West dessert.
- Total Time: 1 hour including cooling time
- Yield: 16-20 bars (depending on cut size) 1x
Ingredients
- 1½ cups graham cracker crumbs (can use fresh, honey, cinnamon-flavored, or gluten-free crackers)
- ⅓ cup unsalted butter, melted
- Granulated sugar (quantity unspecified, used for crust)
- 4 large egg yolks
- 1 can sweetened condensed milk (approx. 14 ounces)
- ½ cup fresh key lime juice (or Persian lime juice as substitute)
- Lime zest (quantity unspecified, for filling and garnish)
Instructions
- Preheat oven to 350°F (175°C). Prepare a 9×13-inch baking pan lined with parchment paper.
- In a medium bowl, combine 1½ cups graham cracker crumbs, ⅓ cup melted unsalted butter, and granulated sugar (quantity not specified but used to sweeten the crust). Mix until crumbs are evenly moistened and hold together when pressed.
- Press the crumb mixture evenly into the bottom (and sides if desired) of the prepared pan to about ¼-inch thickness, compacting gently but firmly for an even layer.
- Bake the crust in the preheated oven for 8–10 minutes until crisp and lightly golden. Monitor closely to avoid burning. Remove from oven and let cool completely.
- In a large mixing bowl, whisk 4 large egg yolks until creamy using a mixer or whisk.
- Add 1 can sweetened condensed milk to the egg yolks and mix until combined.
- Incorporate ½ cup fresh key lime juice and lime zest (amount unspecified) into the mixture. Mix until smooth and evenly combined.
- Pour the lime filling over the cooled graham cracker crust and spread evenly with a rubber or offset spatula.
- Bake the filled pan at 350°F (175°C) for 15–18 minutes until edges are lightly golden and filling is set but still creamy. Avoid overbaking.
- Remove from oven and let bars cool completely in pan. Once cooled, lift bars out using parchment paper and cut into squares for serving.
Notes
Use fresh key limes when possible for the brightest flavor; Persian limes may be substituted but have a different flavor profile., Allow the crust to cool completely before adding the filling to maintain crispness and distinct layers., Cool the baked bars fully before cutting to ensure clean portions and proper filling texture., Variations include toppings like chocolate ganache, toasted coconut flakes, candied lime peel, macadamia nut crumble, blood orange zest, passion fruit swirl, or seasonal fruits., For gluten-free variation, use gluten-free graham crackers such as Pamela’s., Bars can be stored in the refrigerator for 3–5 days in an airtight container or frozen individually for up to 3 months., Thaw frozen bars at room temperature for 30–45 minutes before serving; add garnish like whipped cream or lime zest if desired.
- Prep Time: 15 minutes
- Cook Time: 25-28 minutes
- Category: Dessert
- Cuisine: American (Key West-inspired)
Nutrition
- Serving Size: 1 bar (approximately 2-inch square)
- Calories: Approximately 200 calories per bar (estimate, varies by ingredient brands and portion size)
- Fat: 9 grams per serving (estimate)
- Carbohydrates: 28 grams per serving (estimate)
- Protein: 4 grams per serving (estimate)