Peach Pie Crumble

Peach Pie Crumble
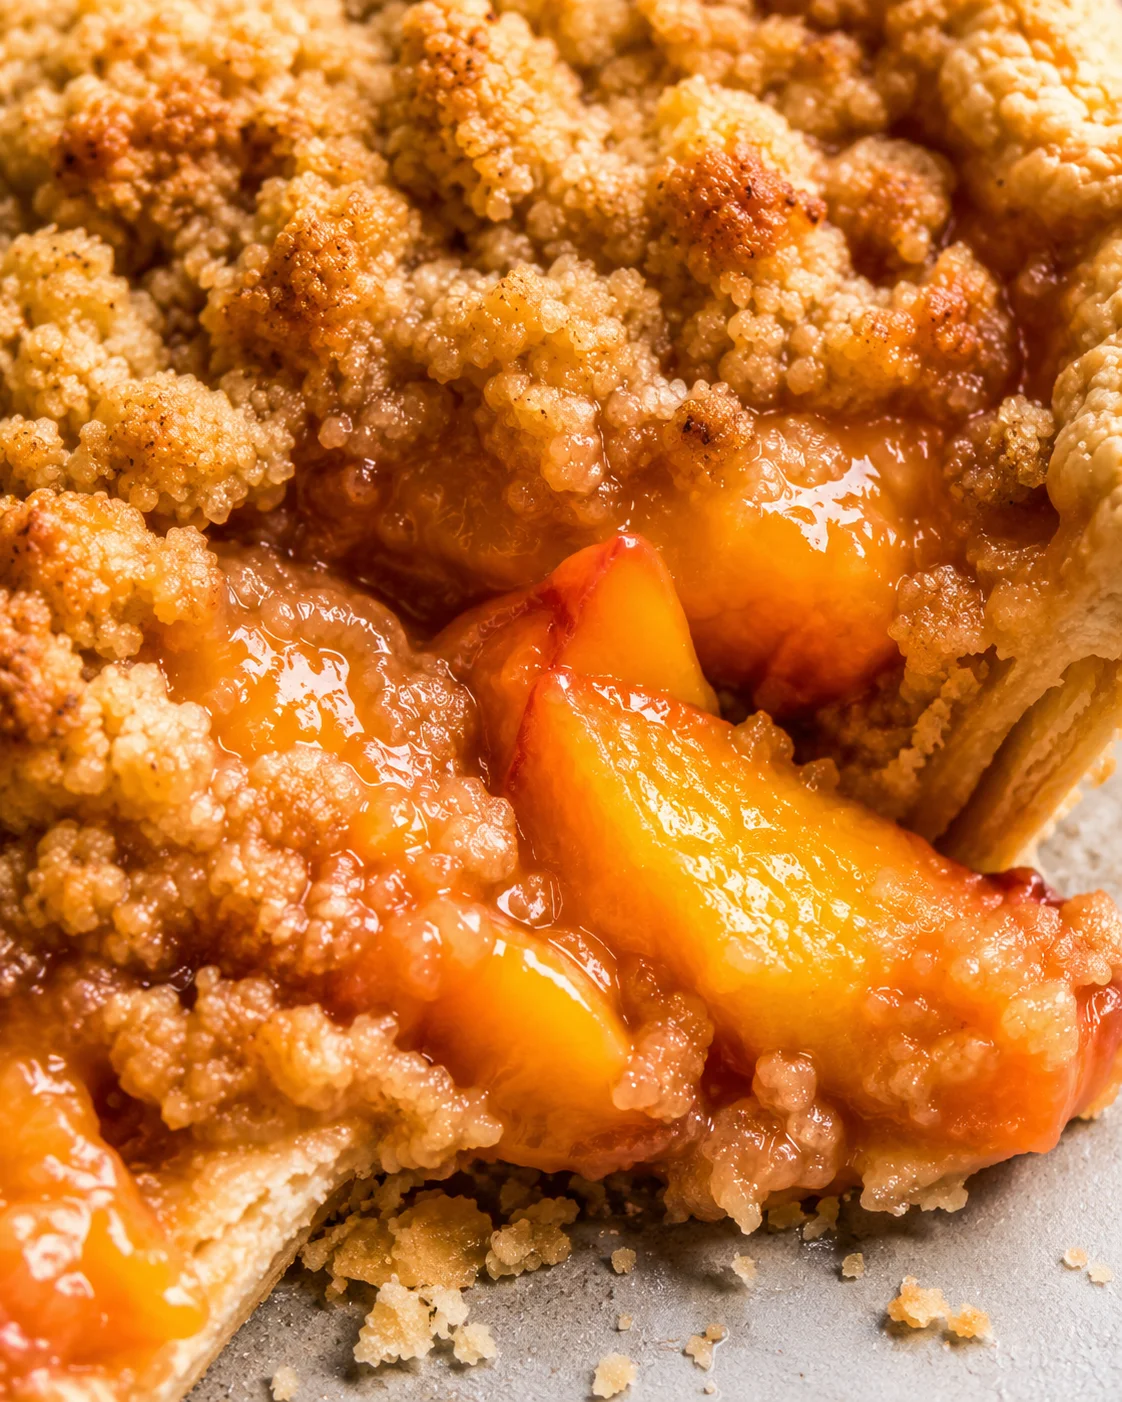
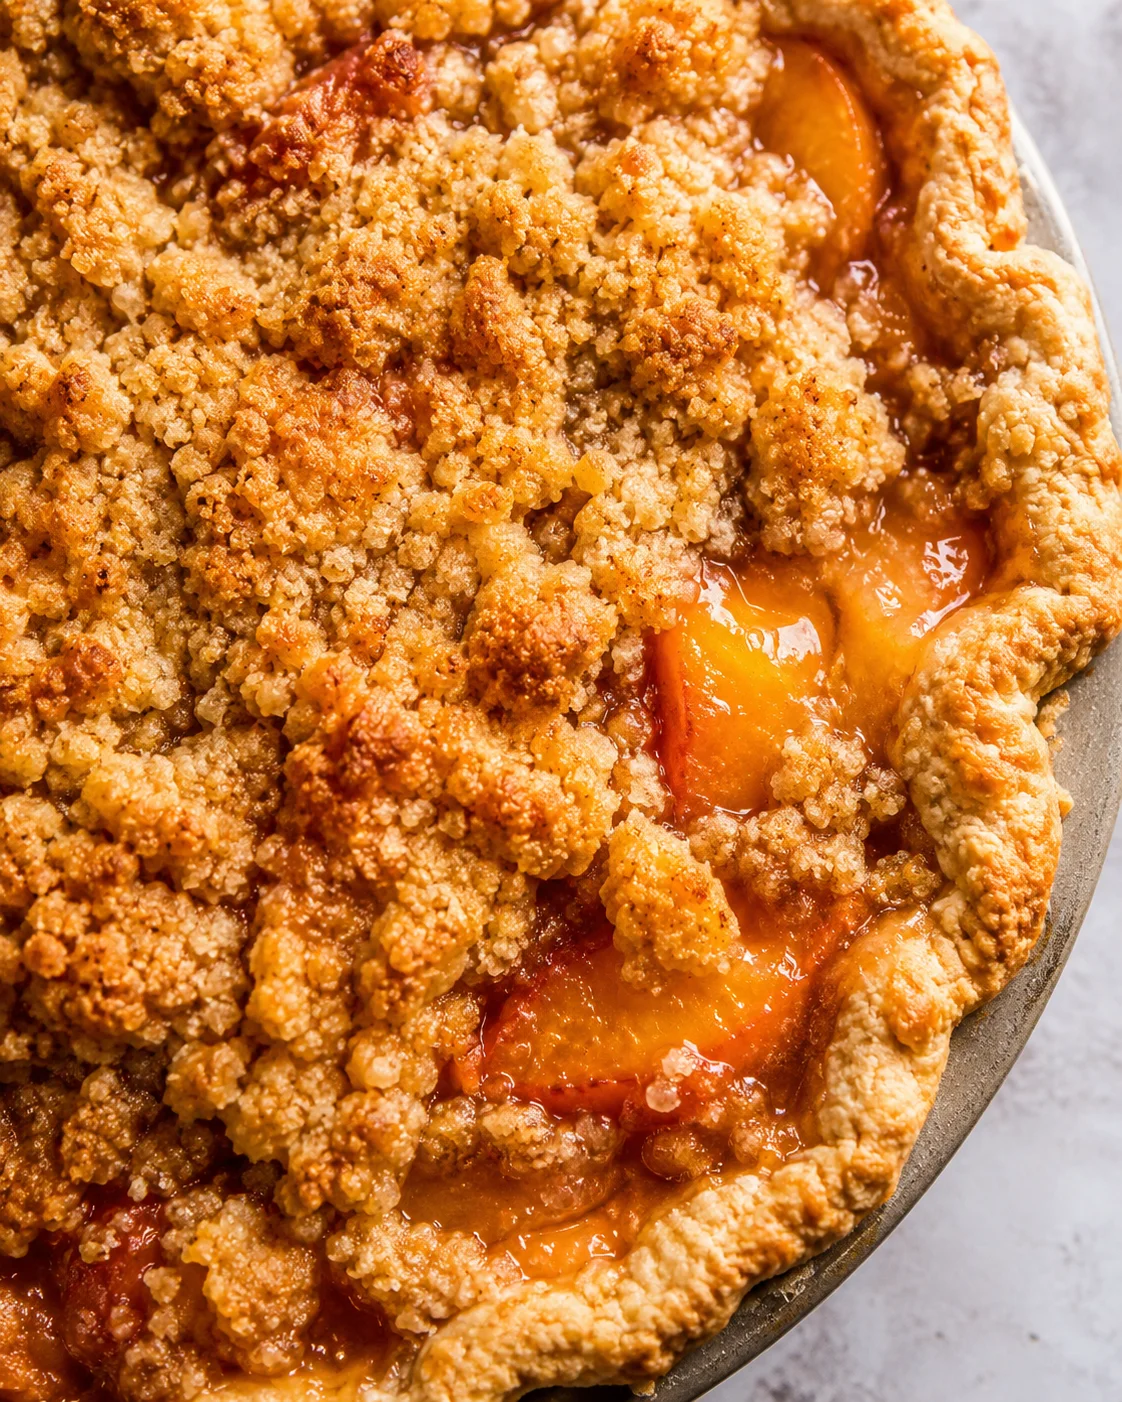
Peach crumble pie is one of those desserts that instantly brings a warm summer smile. It’s the recipe that truly ignited my passion for baking, and trust me, you don’t want to let the peach season slip by without making this easy peach pie topped with a buttery crumble!
When I was growing up, I wasn’t exactly the kitchen’s biggest fan. My mom was a superstar cook who whipped up amazing meals, but I never really cared to get involved in cooking or baking myself.
That changed one day when I was probably around 15 or 16. I was home alone and out of the blue, I had this urge to surprise my mom with a homemade pie for Mother’s Day.
I flipped through her old cookbooks looking for something manageable and luckily landed on a peach crumble pie recipe. It seemed doable, especially since we had canned peaches in the pantry. So I thought, why not?
I put together the crust, poured in the filling, and slid it into the oven, fingers crossed. After 45 minutes, out came a golden, bubbling peach crumble pie that looked pretty darn good for my first try.
I’ll never forget lifting that pie out of the oven and setting it down on the counter. I was amazed it actually worked and so proud to have made it all on my own.
When I told my parents I made a pie from scratch, their look was priceless. They were shocked—in a good way!—given my lack of experience in the kitchen up to that point.
Their compliments, the oohs and aahs, and the satisfied ‘mmmm’s as they tasted each bite made it all feel so rewarding.
I won’t say that moment made me a baking pro overnight. It took years more before I really dove in, but looking back, that simple peach crumble pie was the start. It showed me how wonderful it is to share homemade food made with love. And that feeling still lights me up in the kitchen today.
Recently I realized this peach pie crumble that began it all wasn’t even on the blog, so I wanted to bring it back with a fresh update.
Funny enough, it took me three tries to get it just right, even after all these years and tons of baking under my belt. I guess beginner’s luck really was on my side back then!
Anyway, this recipe is now spot on. You absolutely can make a delicious peach crumble pie yourself, even if you’ve never made a pie before.
Let me introduce you to peach crumble pie: a straightforward, nostalgic summer treat bursting with juicy peaches and topped with a buttery, crunchy crumble. This recipe sparked my love of baking, and I’ve written it so that anyone, whether new or experienced in making pies, can feel confident creating this summery classic.
You can use fresh, juicy freestone peaches (my personal favorite) or canned peaches when fresh aren’t quite perfect yet. You’ll learn how to whip up a simple buttermilk pie crust, or you can grab a store-bought one if you want to save time—no judgment here! Then there’s the cinnamon-spiced peach filling and a golden crumble topping that bakes into the perfect crunchy finish.
The prep takes about 25 minutes, it bakes for around 45 minutes, and you’ll have a beautiful peach crumble pie ready in just over an hour. It serves roughly 8, making it great for a family dessert or summer gathering.
Below, you’ll find a detailed ingredient list, step-by-step instructions, plus tips on getting a flaky crust, avoiding sogginess, freezing, make-ahead options, and fun variations like adding nuts, oats, or even a splash of bourbon. I’ve tested this recipe multiple times to guarantee you’ll get great results whether you’re enjoying warm slices with vanilla ice cream or chilled slices for later.
Keep scrolling down to the recipe card and don’t feel overwhelmed! This peach crumble pie is forgiving, enjoyable, and worth every minute spent in the kitchen.
Why You’ll Love It
This pie tastes exactly like a perfect August afternoon—a little warmth, a little spice, and the sun caught in every bite. The peaches, kissed with cinnamon, deliver that late summer magic, and hints of ginger remind you fall is just around the corner.
It’s the kind of dessert you want to pause and savor, letting all those flavors linger.
The peach crumble pie tastes best served warm. While the filling may be a bit runny if you slice it straight out of the oven, that gooey, luscious texture is absolutely worth it!
And honestly, what’s a warm slice of pie without a generous scoop of vanilla ice cream melting over the top?
What You’ll Need
- 1 9 inch buttermilk pie crust
- 6 large peaches or 7 smaller peaches (peeled and sliced if you like)
- 1 Tablespoon cornstarch
- 2 teaspoons lemon juice
- 1/2 cup butter, melted (1 stick)
- 1/2 cup white sugar
- 1/2 cup brown sugar
- 1 cup flour
- 1 teaspoon cinnamon
- 1/2 teaspoon ginger
- ½ teaspoon salt
How to Make It
- Preheat the oven to 375°F.
- Pulse flour, sugar, and salt in a food processor until combined.
- Add cold butter cubes and pulse until the mixture resembles coarse sand.
- Pour in buttermilk and pulse until a crumbly, shaggy dough forms; add a little more buttermilk if needed.
- Turn the dough onto a floured surface, gently bring it together, divide into disks, flatten, wrap in plastic, and chill.
- Roll out a chilled dough disk between wax paper to fit a 9-inch pie plate, transfer and press into the plate, then chill the crust in the fridge.
- Whisk together flour, white sugar, brown sugar, cinnamon, ginger, and salt for the crumble topping.
- Pour melted butter over the crumble mixture and mix with your fingers or a fork until large coarse clumps form.
- Slice peaches (peel if desired).
- If using frozen or canned peaches, thaw and drain excess liquid.
- Toss peach slices with cornstarch, lemon juice, and about 3/4 cup of the crumble mixture.
- Transfer the peach filling into the chilled pie crust.
-
Sprinkle the remaining crumble topping evenly and generously over the peaches.
- Optional: refrigerate the fully assembled pie for 15–30 minutes to help the topping set.
- Place the pie on a rimmed baking sheet lined with parchment paper and bake at 375°F for 45–50 minutes, until the filling bubbles and the topping is golden brown.
- If the topping is browning too quickly after about 30 minutes, tent the pie loosely with foil and continue baking.
- Let the baked pie rest for at least 20–30 minutes before slicing.
Expert Tips for Success
- Keep everything nice and cold—especially the butter and dough. Cold butter makes for a flaky crust, and chilling the dough if it warms up makes rolling easier.
- Roll your crust between wax or plastic to prevent sticking and make moving it a breeze.
- Freestone peaches are your friend! They pit easily and speed up prep. If your peaches are super ripe and sweet, cut back a touch on the sugar.
- If using canned or juicy peaches, drain them well and reduce the cornstarch just a little. Or swap in quick-cooking tapioca for a clearer, less cloudy filling.
- Bake your pie on a rimmed sheet to catch drips and avoid oven messes.
- If the topping starts browning too fast, tent foil over the edges or the whole pie during baking.
- Look for bubbling filling in the center and golden topping as your doneness clues. Let the pie rest for at least 20-30 minutes before slicing for cleaner cuts; if you want a saucier warm slice, serve straight from the oven.
- To refresh leftover pie and crisp the topping, warm slices in a 325°F oven or toaster oven for 8-12 minutes instead of microwaving.
Flavor Twists and Substitutions
- Mix it up by adding 1 cup of fresh berries (blueberries or raspberries) to the peaches for a lovely berry-peach crumble pie.
- Swap nectarines for peaches if you want a firmer bite and smooth skin.
- Add texture and flavor by stirring ½ cup rolled oats and ½ cup chopped pecans or almonds into the crumble topping.
- Try swapping or mixing in ¼ teaspoon ground cardamom or a pinch of freshly grated nutmeg to change up the warm spice profile.
- For an adult twist, stir 1-2 teaspoons bourbon, rum, or peach liqueur into the peach filling.
- Make it gluten-free by using a gluten-free all-purpose flour blend in the crust and topping. You might need an extra teaspoon of cornstarch to help it bind.
- Short on time? Reach for a store-bought crust—the crumble topping and filling remain the same fuss-free deliciousness.
- Want mini treats? Spoon the filling and crumble into muffin tins for cute individual peach crumble hand pies. Just watch the bake time—they’ll go faster.
Storage and Make-Ahead Tips
Your peach crumble pie will keep nicely in the fridge, wrapped tightly, for 2-3 days. To keep that crumb topping crisp, warm slices in a toaster oven or regular oven rather than the microwave.
You can also make this pie ahead and freeze it! Assemble the pie, then wrap it well with plastic wrap and foil before popping it in the freezer. When ready to bake, just thaw a few minutes, unwrap, and bake from frozen—adding a bit of extra time to ensure it’s heated through.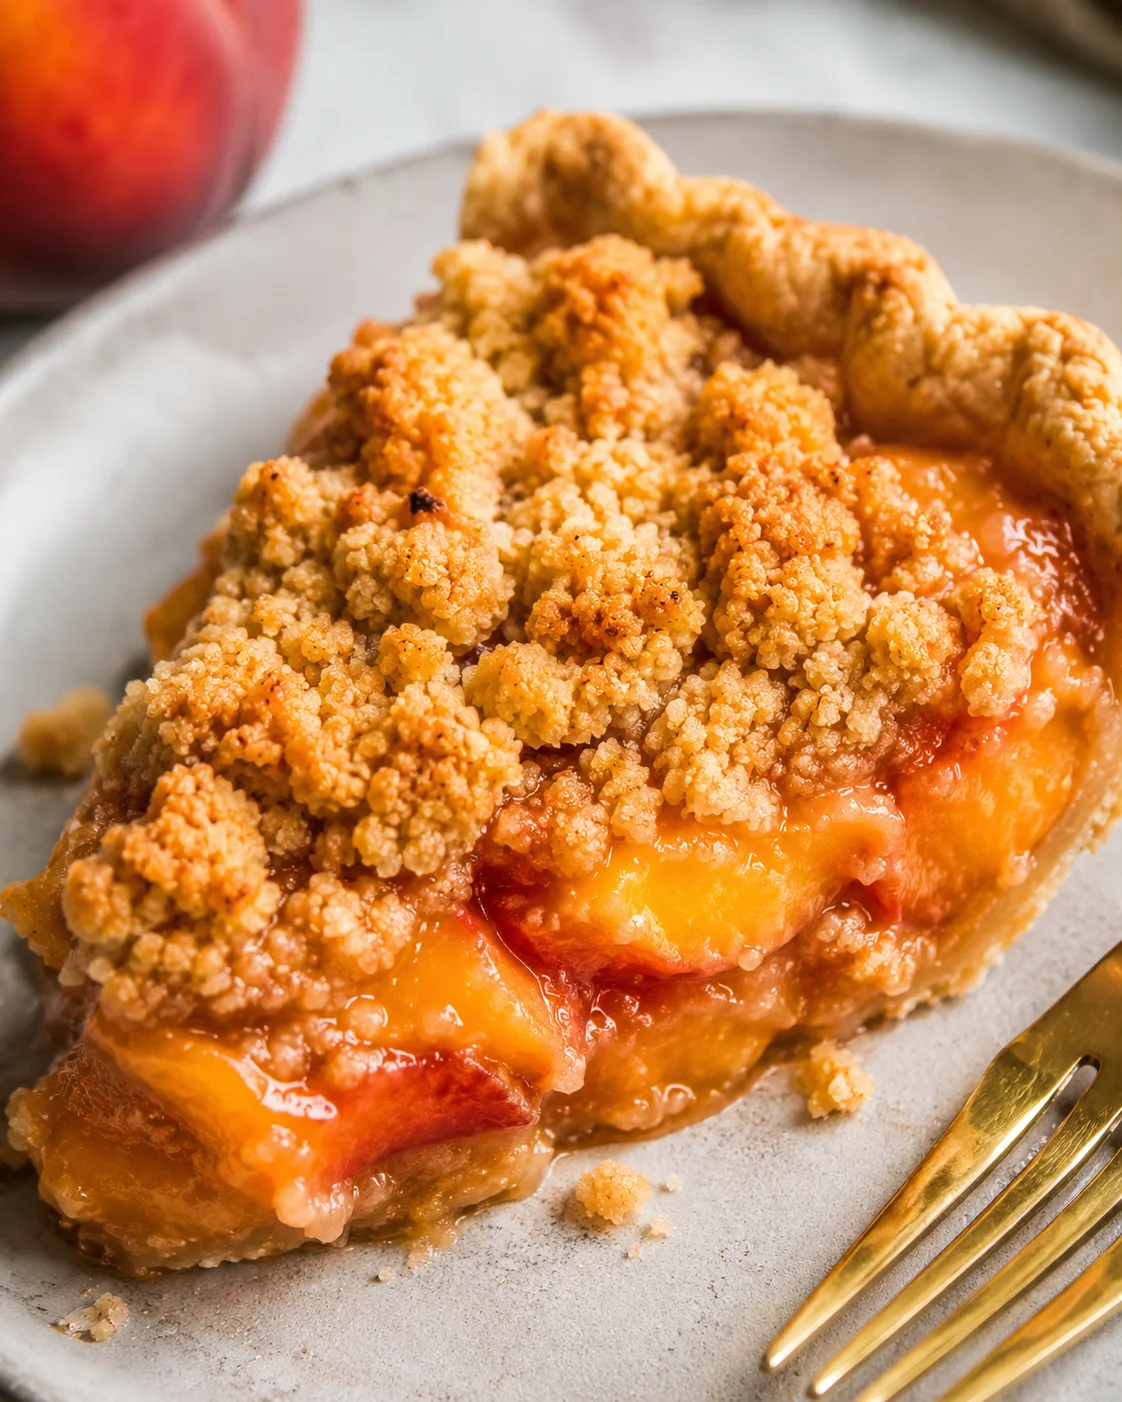
Common Questions Answered
Q: Can I use frozen or canned peaches? A: Yes, absolutely! For frozen peaches, thaw and drain any extra liquid before tossing with cornstarch. For canned peaches, drain well and reduce cornstarch a bit since these are softer and often packed in syrup.
Q: How do I avoid a soggy bottom crust? A: Don’t overload with super juicy fruit. If using canned or frozen peaches, drain off liquid well. Make sure you use enough thickener like cornstarch or tapioca. Also, baking on a rimmed sheet helps catch spills. Lastly, let the pie rest to let the filling firm up before slicing.
Q: How can I tell when the pie is done? A: The topping should be golden brown and crunchy, and you’ll see the filling bubbling in the pie’s center and edges. If the topping gets too dark, cover it with foil and keep baking until the filling bubbles.
Q: Can I make this pie ahead or freeze it? A: Yes! You can assemble and refrigerate for a few hours before baking, or wrap the unbaked pie tightly to freeze. Bake it straight from frozen, adding a few extra minutes. You can also freeze a fully baked pie; just reheat in the oven to refresh the topping.
Q: Should I peel the peaches? A: It’s up to you! I like the texture and extra color skins add but peeling is fine if you want a smoother filling.
Q: Can I use a store-bought crust? A: Definitely! A 9″ store-bought crust works great and is perfect when you need a shortcut. Just follow the same filling and topping steps.