Crunchy Pickled Okra (Canning & Preserving)

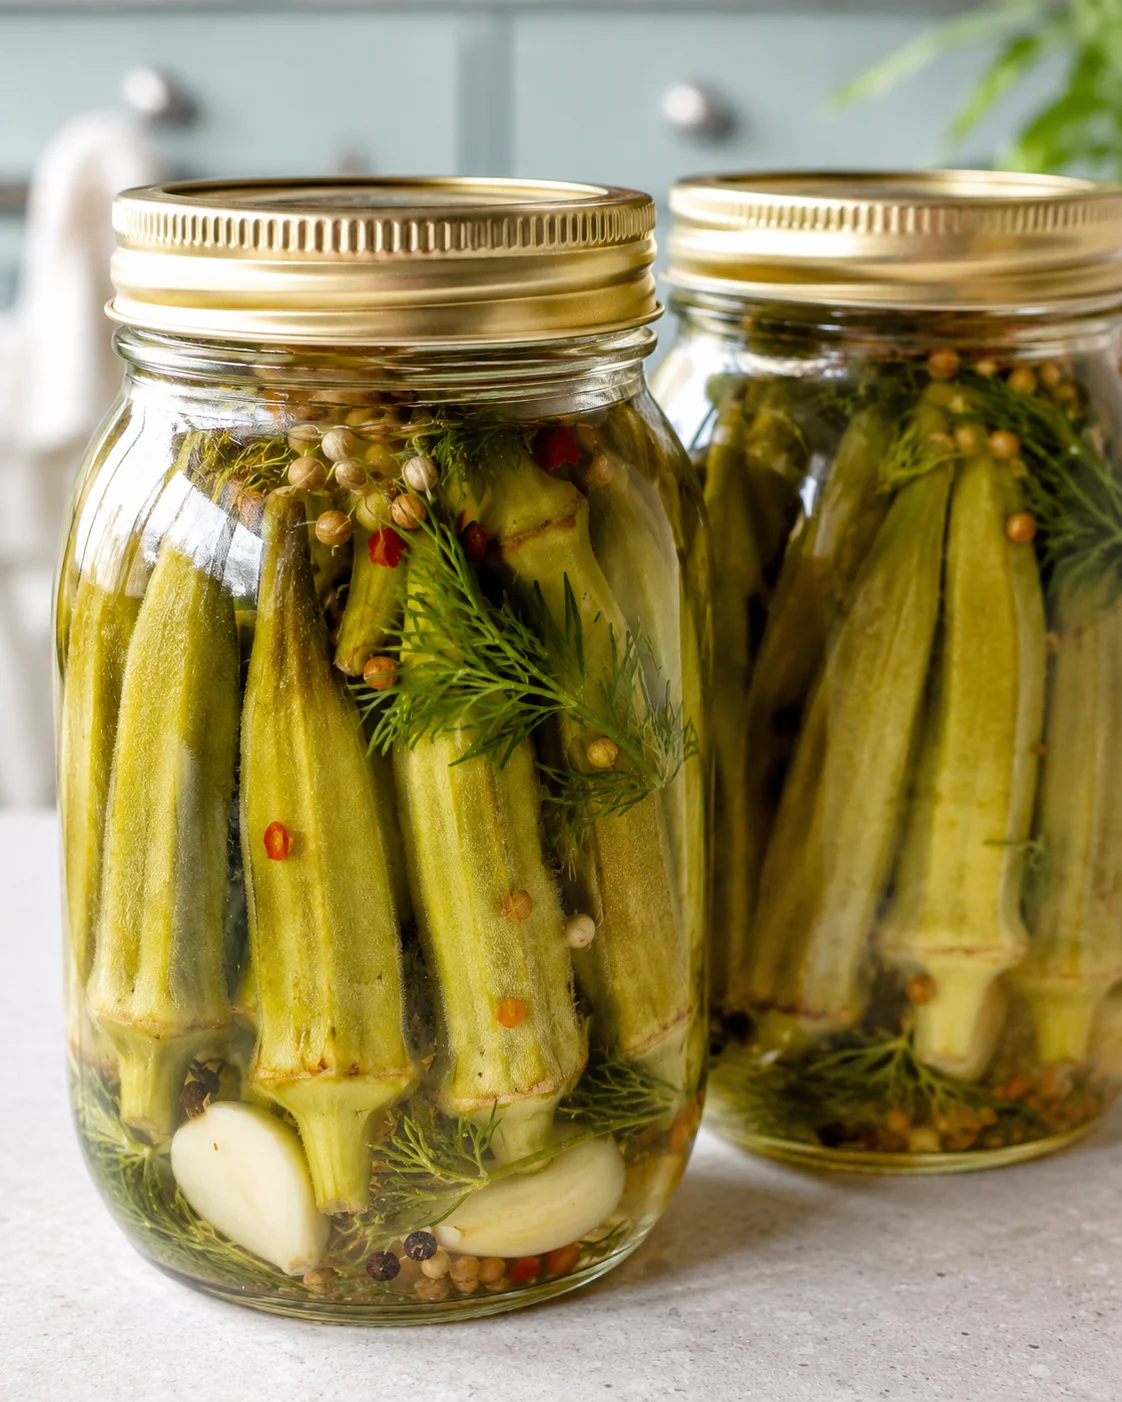
Crunchy Pickled Okra (Canning & Preserving)
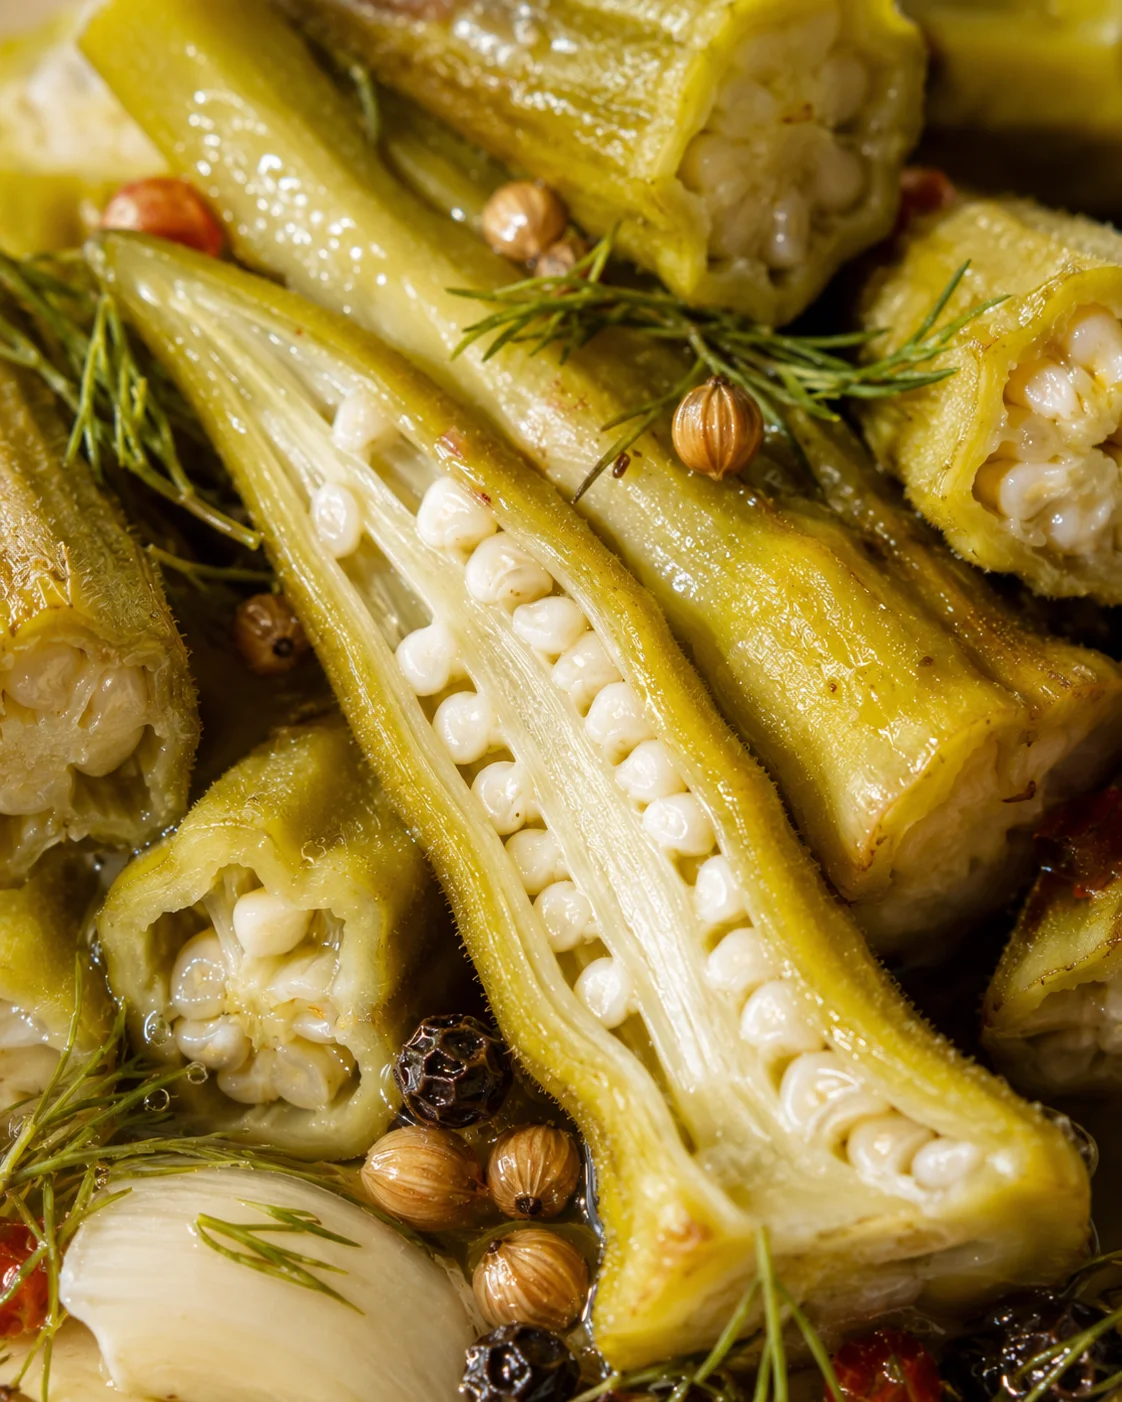
Crunchy pickled okra is such a wonderful way to savor that fresh summer flavor all year long! These pickles are tangy and crisp—never slimy—thanks to a simple garlic and dill seasoning that’s easy to make. You can whip up a quick fridge batch or take the water bath canning route for longer storage. Both methods are super approachable and perfect for busy home cooks.
I’ve got to be honest — I haven’t cooked much with okra on the blog before. It’s that slimy texture that scares a lot of us off, right? But learning to make these pickled okra jars has totally changed my mind. The picks turn out crisp and perfectly firm, just the way you want your pickles.
In this post, I’m sharing two straightforward methods: a quick refrigerator pickle for when you want a small batch, and a water bath canning method that lets you keep your jars in the pantry for months. Whether you’re new to pickling or a seasoned pro, I’ll guide you through each step for fantastic results.
The whole process is really simple, made with just a handful of ingredients you probably already have on hand. From rinsing the okra to packing the jars and pouring the brine, you’ll have your pickled okra ready in about 5 easy steps and less than 30 minutes. Keep reading for tips and serving ideas that’ll have your family coming back for more!
Notes
- Use only fresh okra: Fresh pods give the best crunch and keep sliminess away. Old or bruised okra can end up mushy.
- Want extra crispness? Try soaking okra in a pickling lime solution before pickling (follow package directions) for that unbeatable crunch.
- If some jars don’t seal: No worries—just keep them in the fridge and eat within a couple of months.
- Pack your jars tightly: Okra has air pockets inside, so if you don’t pack them snugly, they might float above the brine.
- Play with spices: Don’t be afraid to experiment! This recipe is a great base for exploring different pickling spices.
Optional add-ins and spice ideas: You can use a premade pickling spice blend or combine your own. Here are a few favorites to try:
- Mustard seeds
- Celery seeds
- Fennel seeds
- Dill seed
- Red pepper flakes
- Jalapeño or dried chili slices
- Lemon slices
- Pink peppercorns
- Bay leaves
- Oregano
- Ginger slices
- Cilantro
If you prefer your pickled okra a little sweeter, add a teaspoon or two of sugar or honey right when you add the salt. Adjust sweetness to your liking.
Don’t forget to scroll down for serving ideas and answers to your most common pickled okra questions!
Course: Pantry Staple, Side, Snack
Cuisine: American
Shelf life: 1 year (Canned), 1-2 months (fridge)
Nutrition
Calories: 15kcal, Carbohydrates: 3g, Protein: 1g, Fat: 0.1g, Saturated Fat: 0.01g, Polyunsaturated Fat: 0.01g, Monounsaturated Fat: 0.02g, Sodium: 888mg, Potassium: 104mg, Fiber: 1g, Sugar: 1g, Vitamin A: 238IU, Vitamin C: 8mg, Calcium: 31mg, Iron: 0.3mg
Nutrition info is an estimate and should be used as a guideline only.
Love this recipe? I’d be thrilled to hear what you think — drop a comment below!
Explore More
Enjoyed this recipe? Feel free to share it with your family and friends!
Crunchy pickled okra is a simple, satisfying pantry project that captures the fresh garlic and dill flavors of summer in every bite, letting you enjoy that brightness all year long. These pickles come out perfectly crisp and tangy instead of slimy, thanks to a fuss-free recipe made with pantry staples like white vinegar, water, and pickling salt.
In this guide, I’ll walk you through two easy ways to make them: a quick refrigerator method perfect for smaller batches and a water-bath canning method that creates shelf-stable jars to store in your pantry for up to a year. I’ll take you through prepping the okra, mixing the brine, packing the jars, and whether you’re refrigerating or canning, all in about five simple steps that only take around 30 minutes of your time.
Along the way, you’ll find plenty of tips for keeping your pickled okra crunchy, notes on equipment and ingredient swaps, fun spice variations, serving suggestions, and answers to common questions so you feel confident trying this at home. Ready to dive into the full recipe? Let’s get started!
Why These Pickles Stand Out
Pickled okra that’s crunchy and vibrant is a real treat. These pickles hit the perfect mix of tang and texture without turning slimy like some okra dishes. The recipe leans on simple pantry ingredients — vinegar, water, pickling salt, and a handful of spices — and only takes a few minutes to put together. Whether you want a quick refrigerated batch or want to preserve jars for months with canning, this versatile pickle is delicious on snacks, cocktails, sandwiches, or alongside grilled dishes. It’s a wonderful way to enjoy summer’s bounty no matter the season.
What You’ll Need
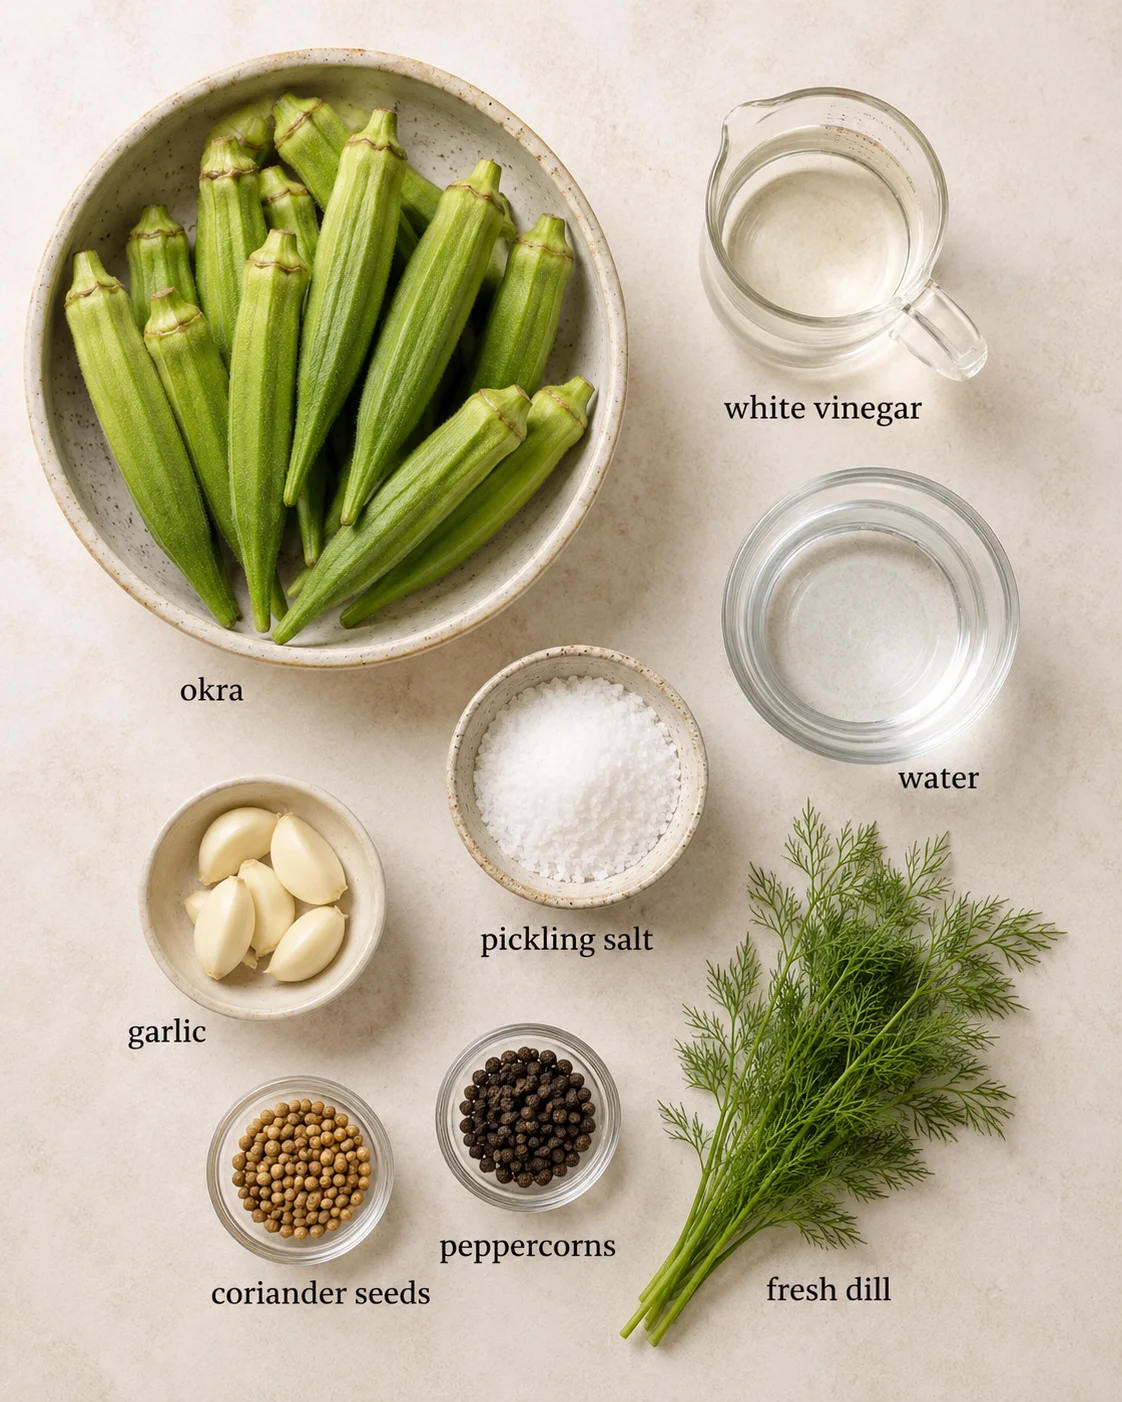
- 28 oz okra
- 1.5 cups water
- 1.5 cups white vinegar
- 3 Tbsp pickling salt
- 2 cloves garlic
- 1 tsp coriander seeds
- 1 tsp peppercorn
- dill, fresh, few stems
How to Pickle and Preserve
- Preheat oven to 325°F (160°C); wash jars and lids in hot, soapy water and rinse well.
- Place glass jars (no rubber/plastic parts) on a baking sheet and bake 10–15 minutes until thoroughly dry.
- If water-bath canning, set up a canning pot with a trivet or rack and enough water to cover the jars during processing.
- Rinse okra pods under cold water and pat dry.
- Trim okra stems to about 1/4 inch without cutting into the pods.
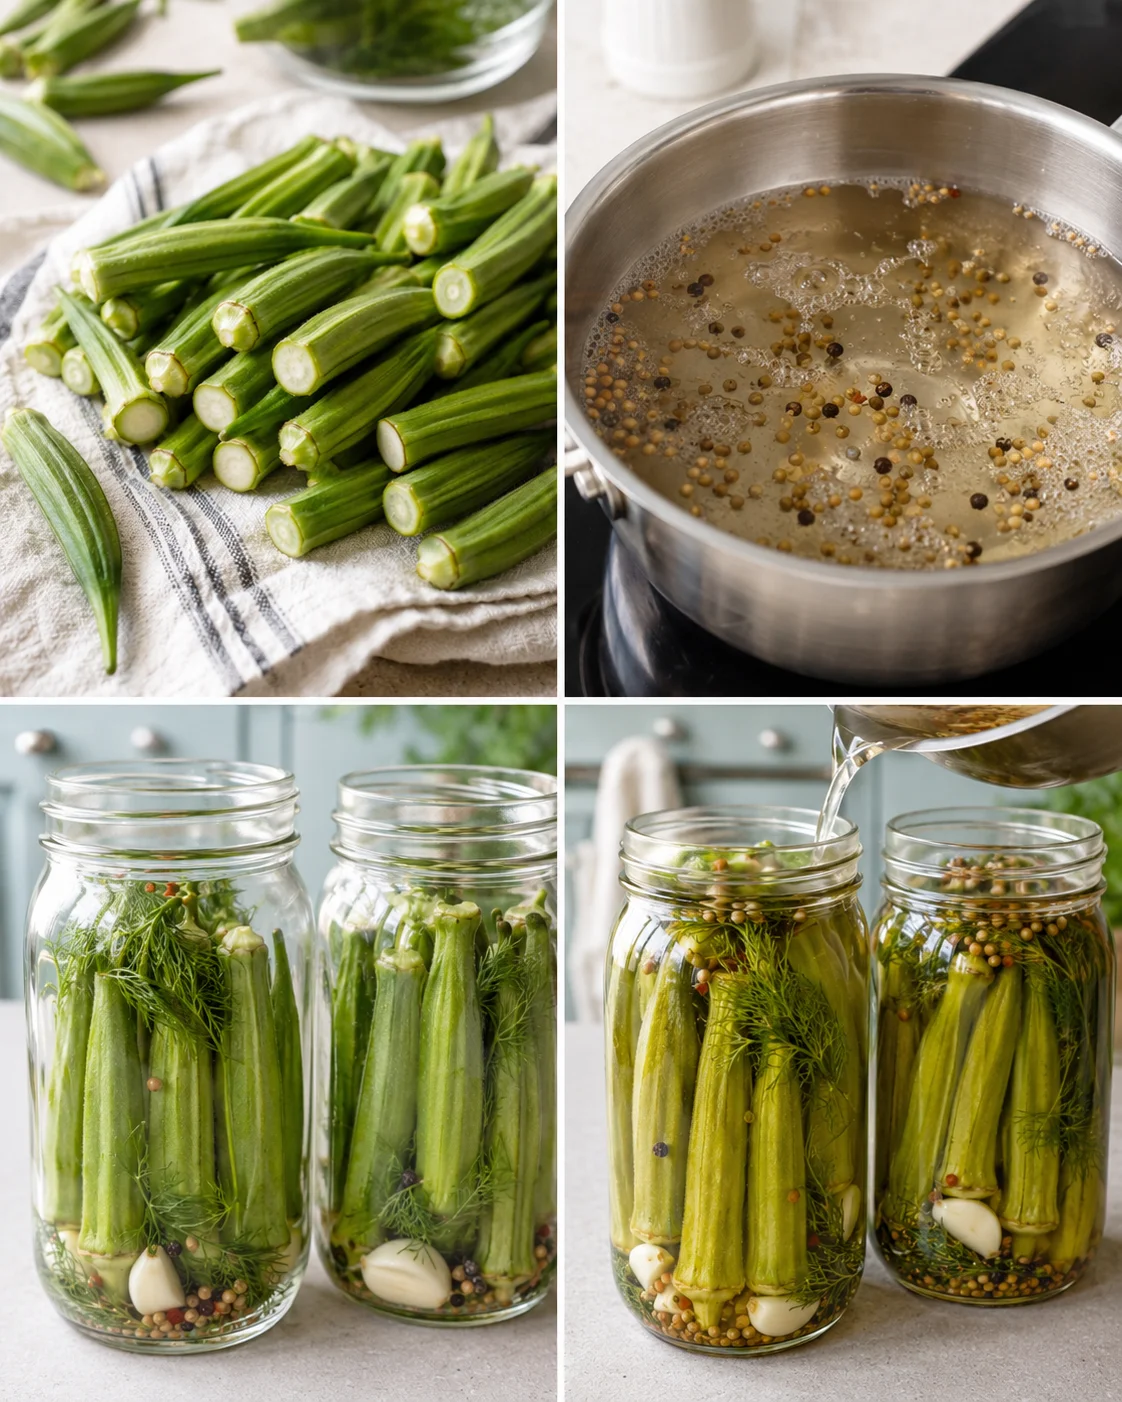
- Combine vinegar, water, coriander seeds, peppercorns, and pickling salt in a saucepan.
- Bring the brine to a gentle boil over medium heat, stirring until the salt dissolves (~2 minutes), then reduce heat to low and keep warm.
- Place one garlic clove and a sprig or two of fresh dill into each sterilized jar.
- Pack okra vertically into the jars, leaving about 1/2 inch headspace.
- Pour warm brine over the okra to fully cover while maintaining 1/2 inch headspace.
- Tap jars to release air bubbles and run a sterilized knife or chopstick around the inside to remove trapped air.
-
If the brine level drops and tops of okra are exposed, optionally make a few vertical slits in pods and top off with hot brine.
- Wipe jar rims clean and screw lids on finger-tight.
- For quick pickles: let jars cool, refrigerate, and wait at least 24–48 hours before eating.
- For water-bath canning: lower sealed jars into the hot water bath with 1–2 inches of water over the tops, cover the pot, bring to a rolling boil, and boil 15 minutes.
- After boiling, remove the lid, turn off the heat, let jars sit in the water bath for 5 minutes, then remove jars with lifters and cool on a towel-lined counter until sealed and completely cooled.
Pro Tips for Crisp Pickles
Here are some down-to-earth tips to help make sure your pickled okra is perfectly crunchy and flavorful every time. No fuss, just good results.
- Choose fresh, small okra pods: Aim for pods about 3-4 inches long that are firm and blemish-free. These give the best crunch and avoid sliminess.
- Trim stems without slicing into the pods: Cut the stems about a quarter-inch. Avoid cutting too deeply — that releases mucilage and makes slimy pickles.
- Use pickling salt or kosher salt: Regular table salt can cloud your brine. Filtered water is a bonus if you have it.
- Pack jars tightly but with headspace: Arrange okra vertically to fit more in. Leave a half-inch headspace for safe sealing. Tap jars and run a sterilized knife around the edges to remove trapped air bubbles.
- Top off with hot brine: Watch to make sure all okra stays submerged. If the brine level drops, reheat and add hot brine to cover, keeping that headspace clear.
- Consider slicing pods carefully: Slits speed brine penetration but can increase sliminess. Only slice if you must, and expect a slightly different texture.
- Warm your lids properly: Follow manufacturer instructions for lid prep — typically warming in simmering water helps the sealing compound.
- Handle jars safely during water bath canning: Use jar lifters, keep jars submerged at least 1-2 inches, and cool on a towel, not a cold surface.
- Adjust for altitude: If you live high up, check local guidelines to adjust processing time or water level for safe canning.
- Label your jars: Date and name each one. Fridge pickles taste best within 1-2 months; canned ones within a year.
- Let flavors meld: Allow fridge pickles to rest 24-48 hours before eating. Canned pickles often taste best after a week or two stored.
- Spot trouble early: If a jar doesn’t seal, pop it in the fridge and use within a couple months. Discard any jars with bulging lids, leaks, funky smells, mold, or weird textures. Don’t taste questionable jars.
- Try a pickling lime soak for extra crunch: Follow the package instructions and rinse well before pickling.
Wondering how to enjoy those tangy crunchy pickled okra snacks? Here are some of my favorite ways to serve and use them:
- Make a Southern-style charcuterie board with cheese, meats, and crackers and add pickled okra for that bright punch.
- Use as a garnish in cocktails like Bloody Marys or Martinis for a fun, flavorful twist.
- Serve alongside your favorite casseroles to add a tangy crunch.
- Bring them out with grilled or BBQ meats for a Southern classic pairing.
- Chop into salads or coleslaws for extra zest and texture.
- Add them to soups, stews, or sauces near the end of cooking to keep the crunch.
- Top sandwiches, burgers, and wraps with pickled okra in place of traditional pickles.
- Use as a fresh, herby garnish for dips like creamy hummus.
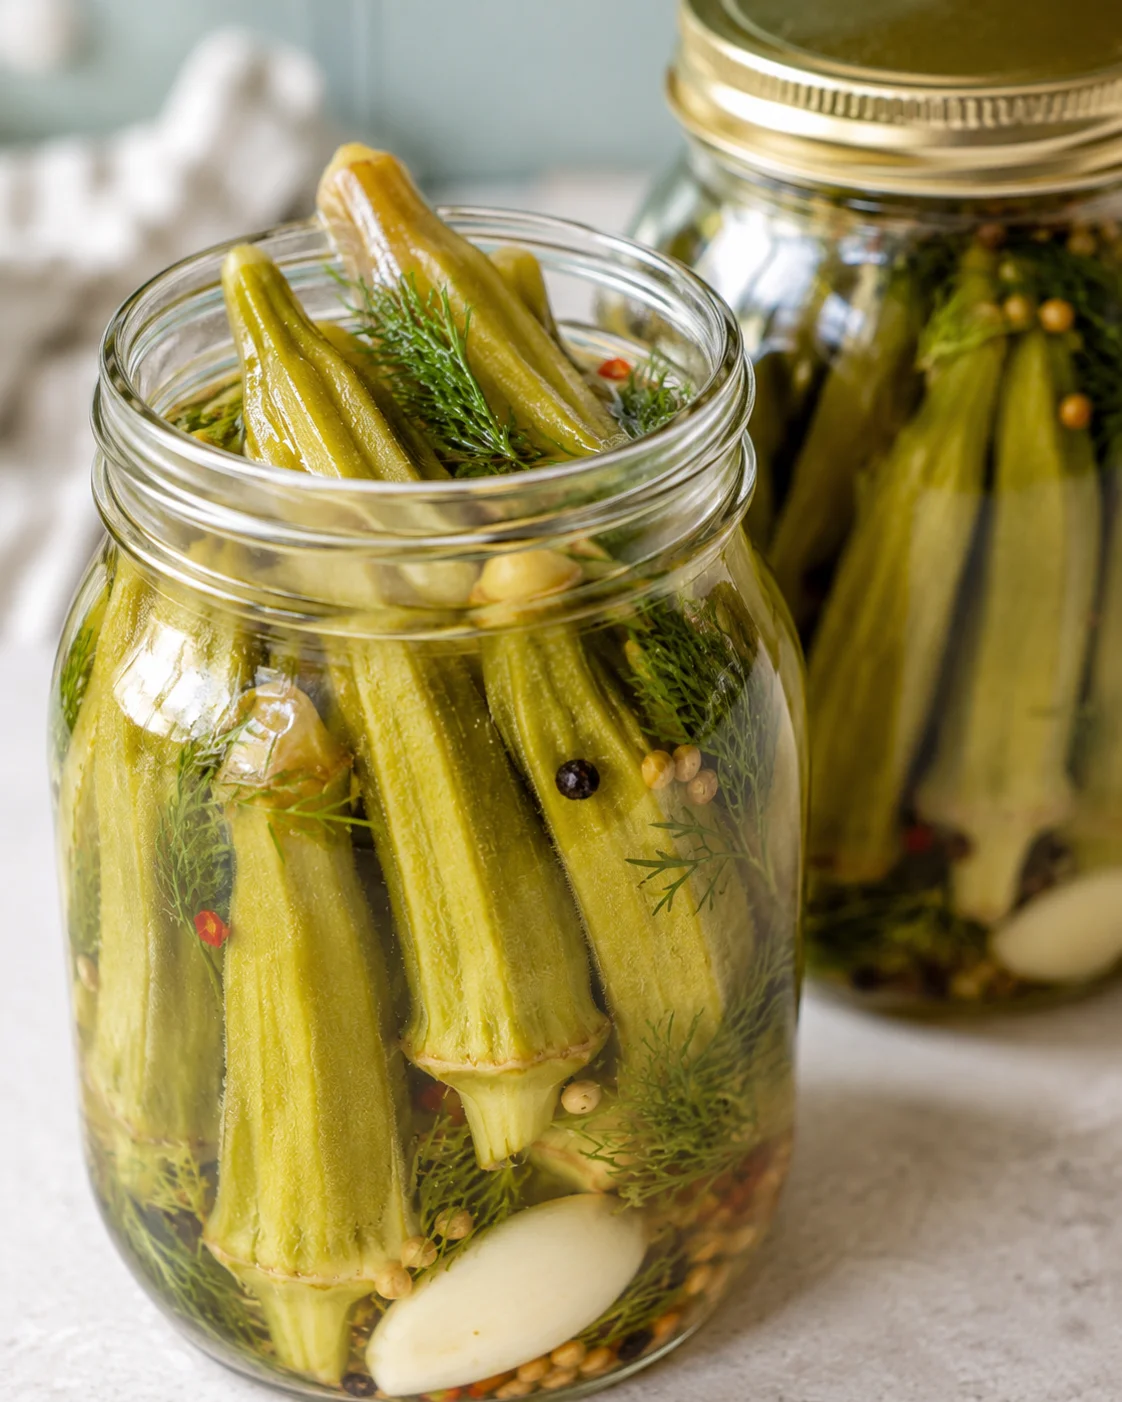
Flavor Swaps and Substitutions
- Swap distilled white vinegar with apple cider vinegar for a fruity note or white balsamic vinegar for a sweeter, milder flavor. Just keep acidity levels similar for safe pickling.
- Experiment with your spices: mustard seeds, celery seeds, fennel seeds, dill seed, or bay leaves make great alternatives or additions to the coriander and peppercorns.
- Add heat with red pepper flakes, fresh or dried jalapeños, or even chili slices for a spicy kick.
- Sweeten things up by stirring in a tablespoon or two of sugar or honey for a bread-and-butter style pickle.
- Switch or add aromatics like shallots, lemon slices, ginger, or cilantro for different flavor highlights.
- If you want extra crispness, try pre-soaking pods in pickling lime before rinsing and proceeding, per package directions.
- Change up the cut: keep pods whole for spears, or slice crosswise to make relish-style pickles perfect for spooning onto dishes.
Storage and Shelf Life
For fridge pickles, after filling and cooling jars, refrigerate them. Let them sit for at least 24 to 48 hours to let the flavors develop. Stored in the fridge, pickled okra will keep fresh for 1 to 2 months. Always use clean utensils when removing pickles to avoid contamination.
If you’ve canned your pickled okra, process jars in a rolling boil water bath for 15 minutes, then cool until lids have sealed with a “pop”. Store sealed jars in a cool, dark place away from sunlight for up to a year. If any jars fail to seal, keep them in the fridge and consume within 1 to 2 months.
Once opened, refrigerate your pickled okra and use within 1-2 months. Discard any jars showing signs of spoilage like bulging lids, leaking, off odors, visible mold, or strange textures—better safe than sorry! Pickled okra is great cold or at room temp and adds a nice crunch when stirred into cooked dishes near the end of cooking.
Answers to Common Questions
Can you use tough okra?
Tough okra makes tough, chewy pickles. For the best crunch and texture, always choose young, tender pods.
Can I pickle frozen okra?
I don’t recommend it. Frozen okra loses cell structure after thawing, resulting in squishy, slimy pickles.
Do I need to cook the okra before refrigerating?
Nope! The hot pickling brine itself cooks the okra enough during the jar-filling process, whether you’re refrigerating or canning.
Why is my brine cloudy?
Cloudiness can be caused by using regular salt (instead of pickling salt), hard water, or the natural “mother” in unfiltered apple cider vinegar. Aging okra can also contribute. It’s usually normal, but do watch out for off smells or textures that could mean spoilage.