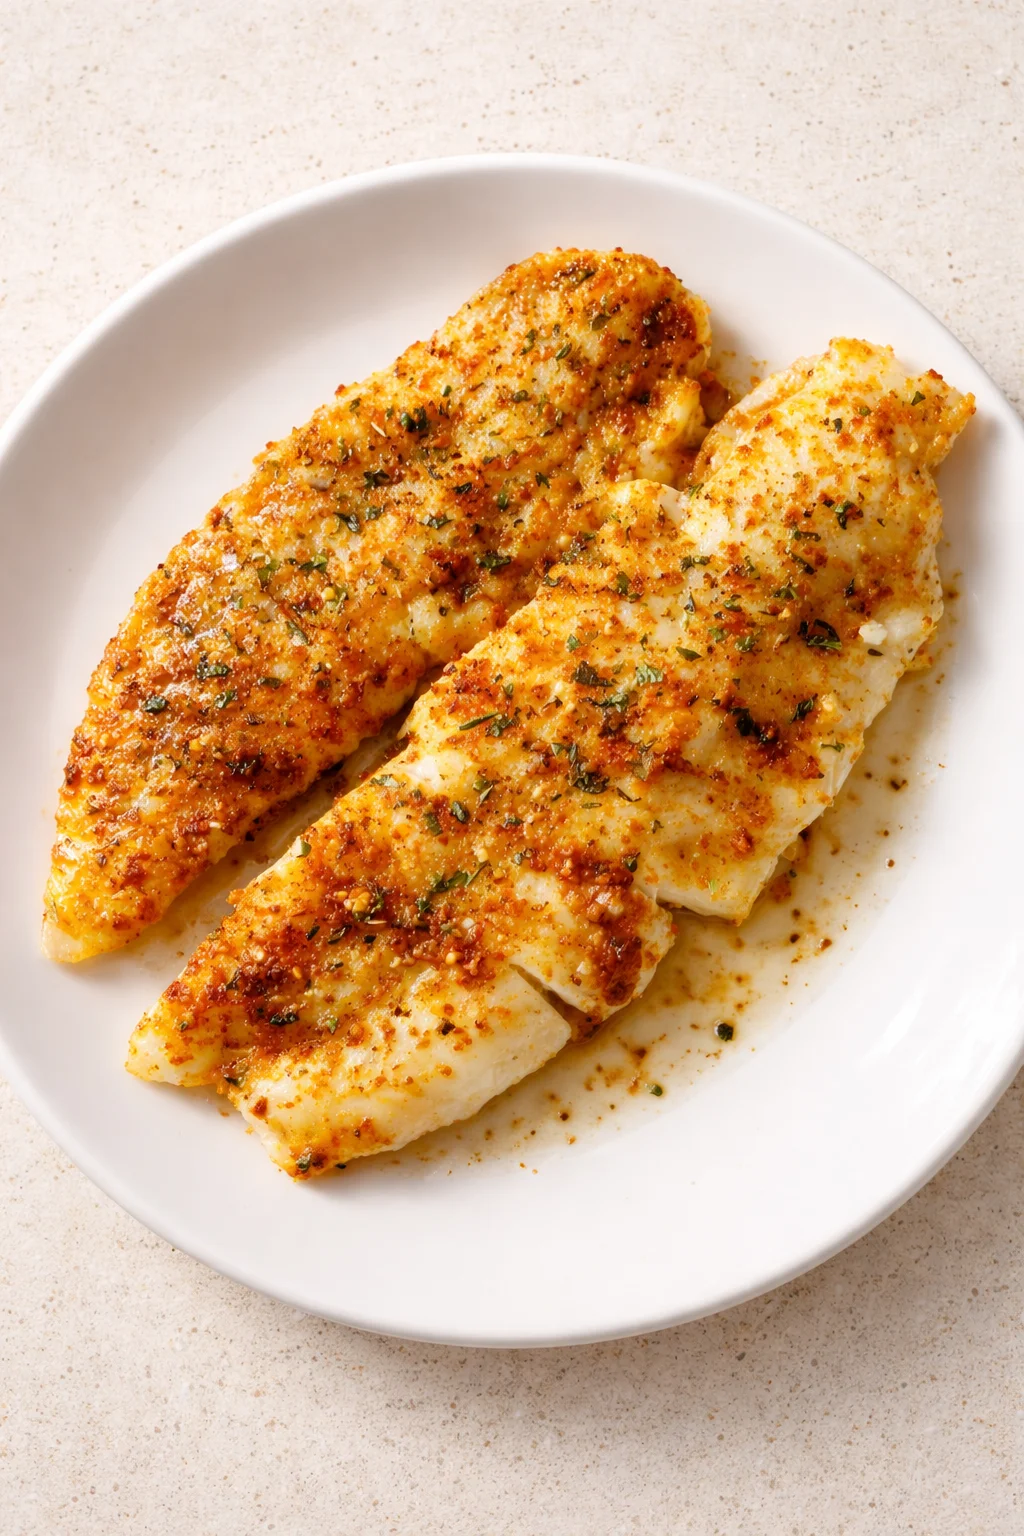
Crispy Air Fryer Tilapia Recipe Ready in Just 15 Minutes
We all have those evenings when the fridge looks tired, you’re wiped out, but you still want something both healthy and tasty. That’s where my air fryer tilapia comes in like a total lifesaver! I stumbled on this recipe during a hectic week when takeout was tempting me hard, but my jeans were sending urgent SOS signals. Now, it’s my trusted quick fix when time is tight — ready from fridge to plate in about 15 minutes!
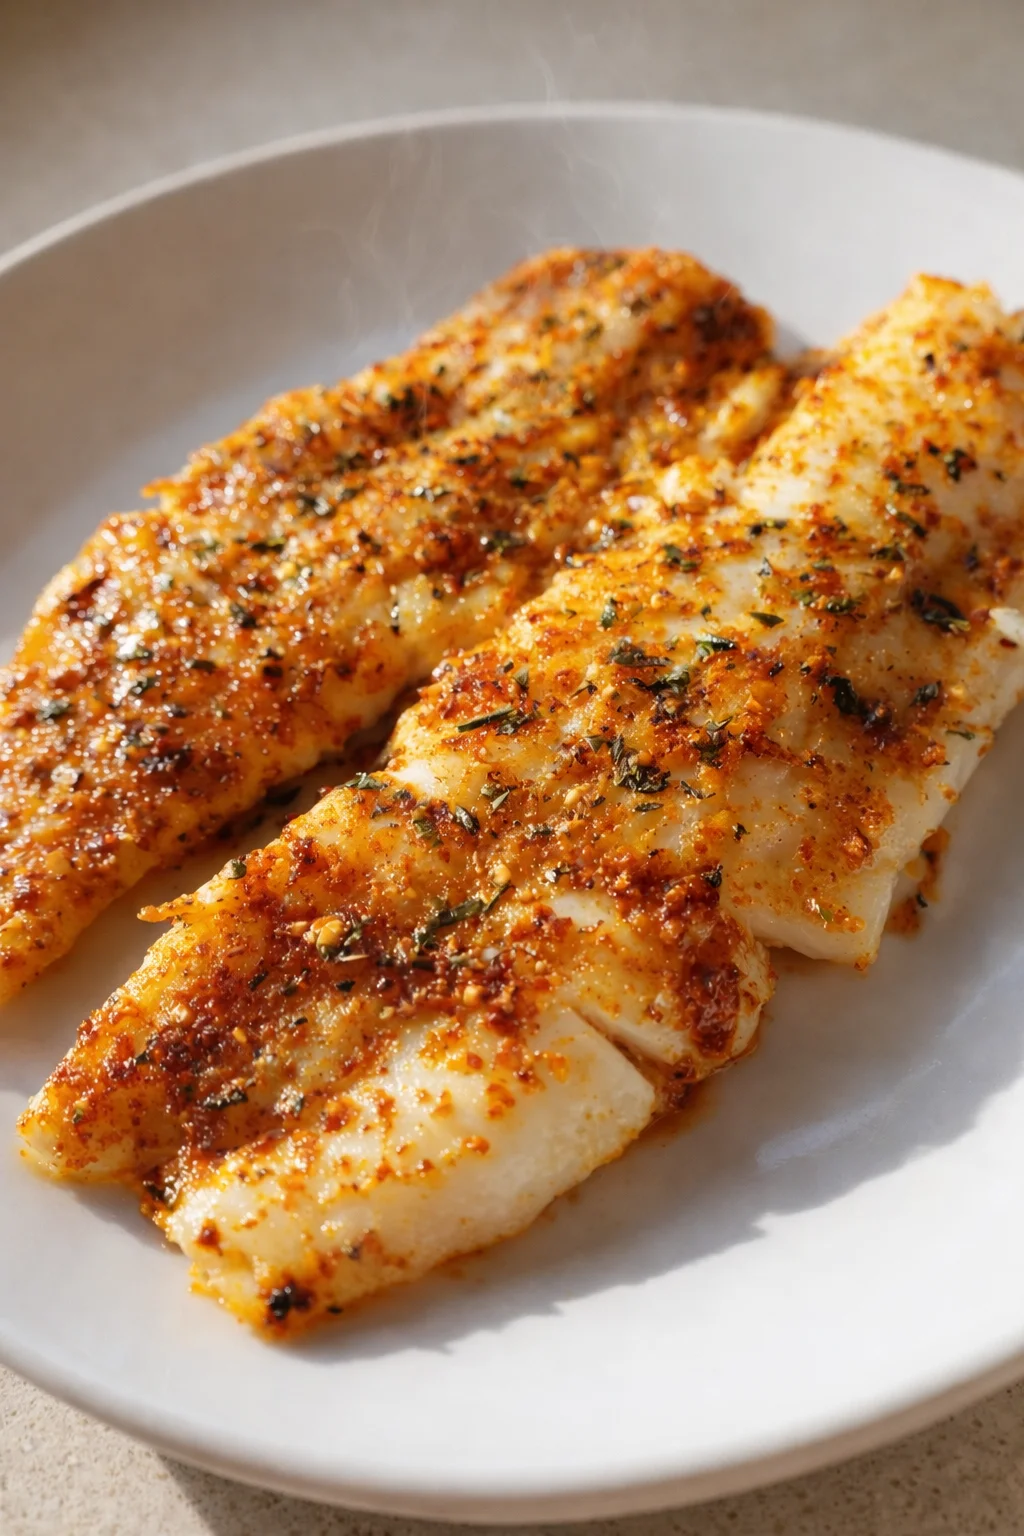
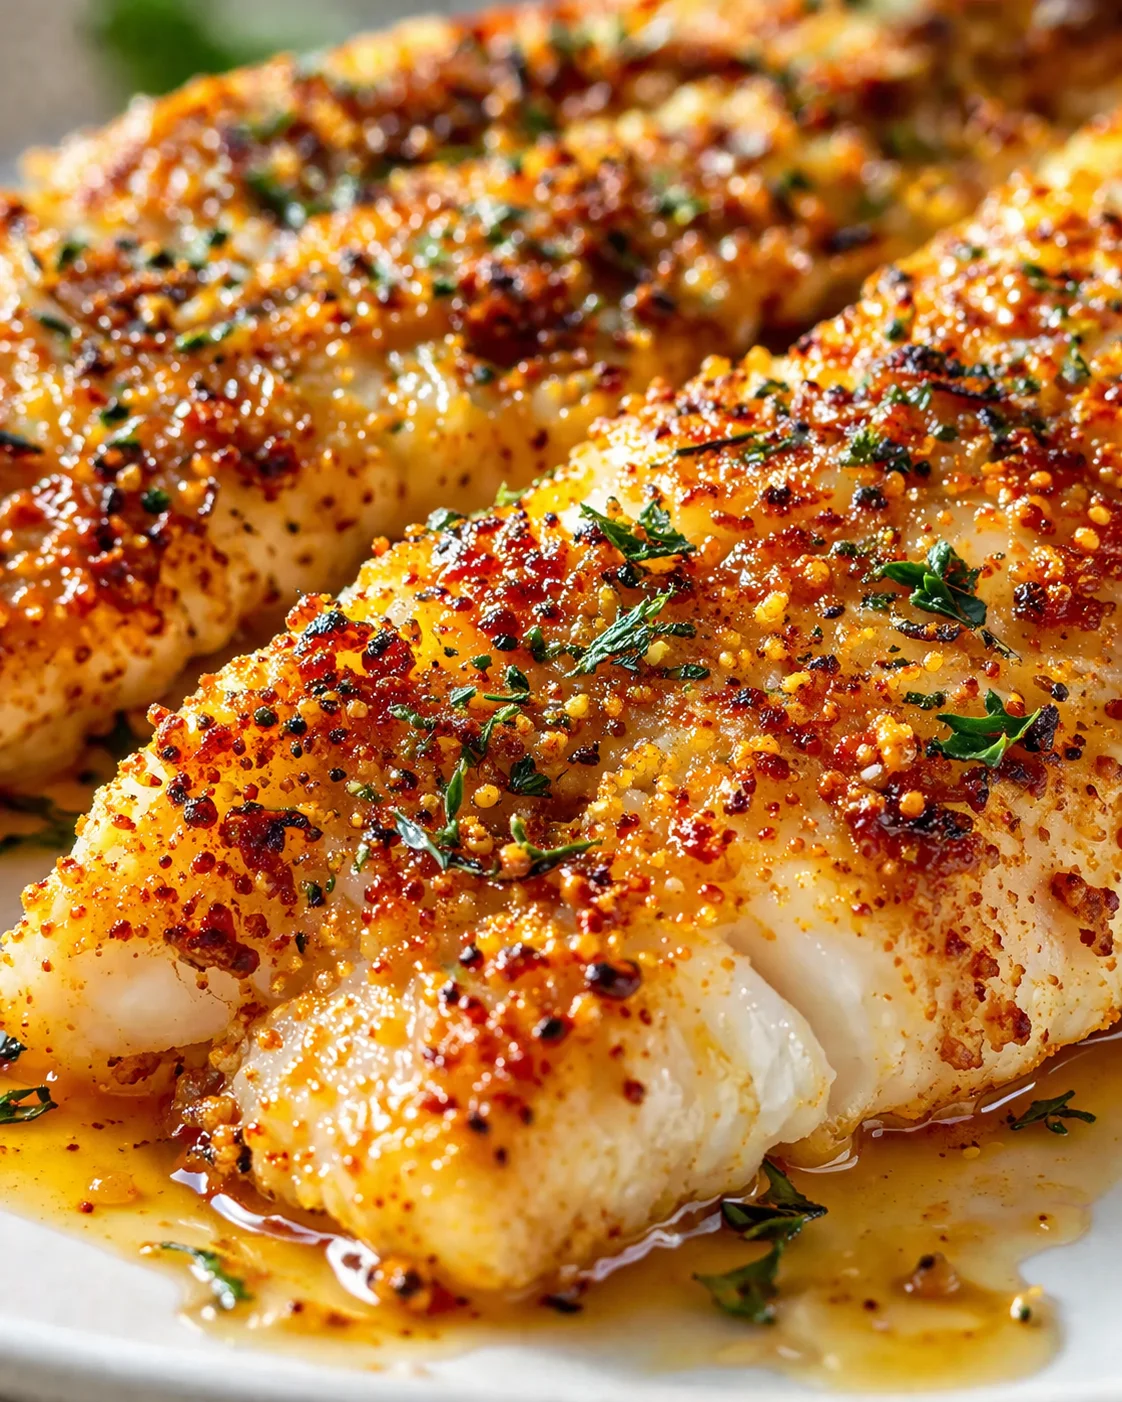
The real secret? When that simple seasoning hits the hot air fryer, you get fish that’s flaky inside, perfectly crispy outside — no sogginess, promise! What I adore most (besides the lightning speed) is the cleanup—no greasy pans, no stubborn fish smells lingering around, just one quick basket wash and you’re good. Give this a whirl once, and you might never bake tilapia the old-fashioned way again!
If you want a speedy, healthy dinner that tastes like you spent way more time in the kitchen, this air fryer tilapia is your new best friend. Made with just six easy ingredients you likely have stashed away and ready in 15 minutes, this dish delivers tender, flaky fish with crispy golden edges—without drowning in grease or ending with a sink full of dishes.
Stick around, and you’ll get everything here: a short ingredient list, a no-fail step-by-step guide (just preheat the air fryer to 400°F, cook for 8–10 minutes flipping once), handy tips to avoid rookie mistakes, tasty variations, storage hacks, reheating advice, plus nutrition details. Cooking for one or a family? This recipe is all about being fast, forgiving, and totally customizable.
- Time: Around 15 minutes total (5 minutes to prep, about 8–10 minutes cooking)
- Ingredients: 6 simple pantry staples you probably already know and love
- Result: Crispy edges, flaky center, about 180 calories per serving
- What you’ll find: Easy instructions, kitchen hacks, fun variations, FAQs, and storage tips
Keep reading—the steps are easy, and I’ve sprinkled in little tricks that make a huge difference in getting perfectly cooked tilapia every single time.
Why You’ll Love This Recipe
Here’s why this recipe quickly becomes a weeknight superstar in my kitchen—and I bet yours too:
- Lightning quick: Ready from fridge to dinner plate in just 15 minutes. That’s faster than waiting for your takeout to arrive!
- Crispy perfection: Thanks to the air fryer, you get golden, crunchy edges with zero messy grease.
- Healthy and satisfying: Full of flavor without the guilt—only about 180 calories for each serving.
- Cleanup is a breeze: Just one basket to wash instead of a heap of pans. Hallelujah!
- So flexible: Swap out spices to match your cravings or what’s hiding in your pantry.
Honestly, this tilapia nails it for busy home cooks who want quick, delicious, and healthy meals without fuss. For a fresh, crunchy side that keeps it light, pair it with tangy vinegar coleslaw (no mayo).
Let me share why this air fryer tilapia quickly becomes the star of your weeknight dinners:
- Lightning fast: Dinner’s on the table in just 15 minutes — quicker than delivery!
- Crispy, golden edges: The air fryer gives you that crave-worthy crunch without greasy mess.
- Healthy yet filling: All the good flavor without the guilt. About 180 calories a serving.
- Cleanup made easy: One basket to wash, no fuss, less mess—my favorite kind of cooking.
- Super flexible: Mix and match spices depending on what you’re feeling or what’s in the pantry.
Honestly, it ticks every box for busy folks who still want to eat well and fast. If you want another lightning-quick seafood dinner, try 15-minute garlic butter shrimp.
Simple Ingredients You Probably Have
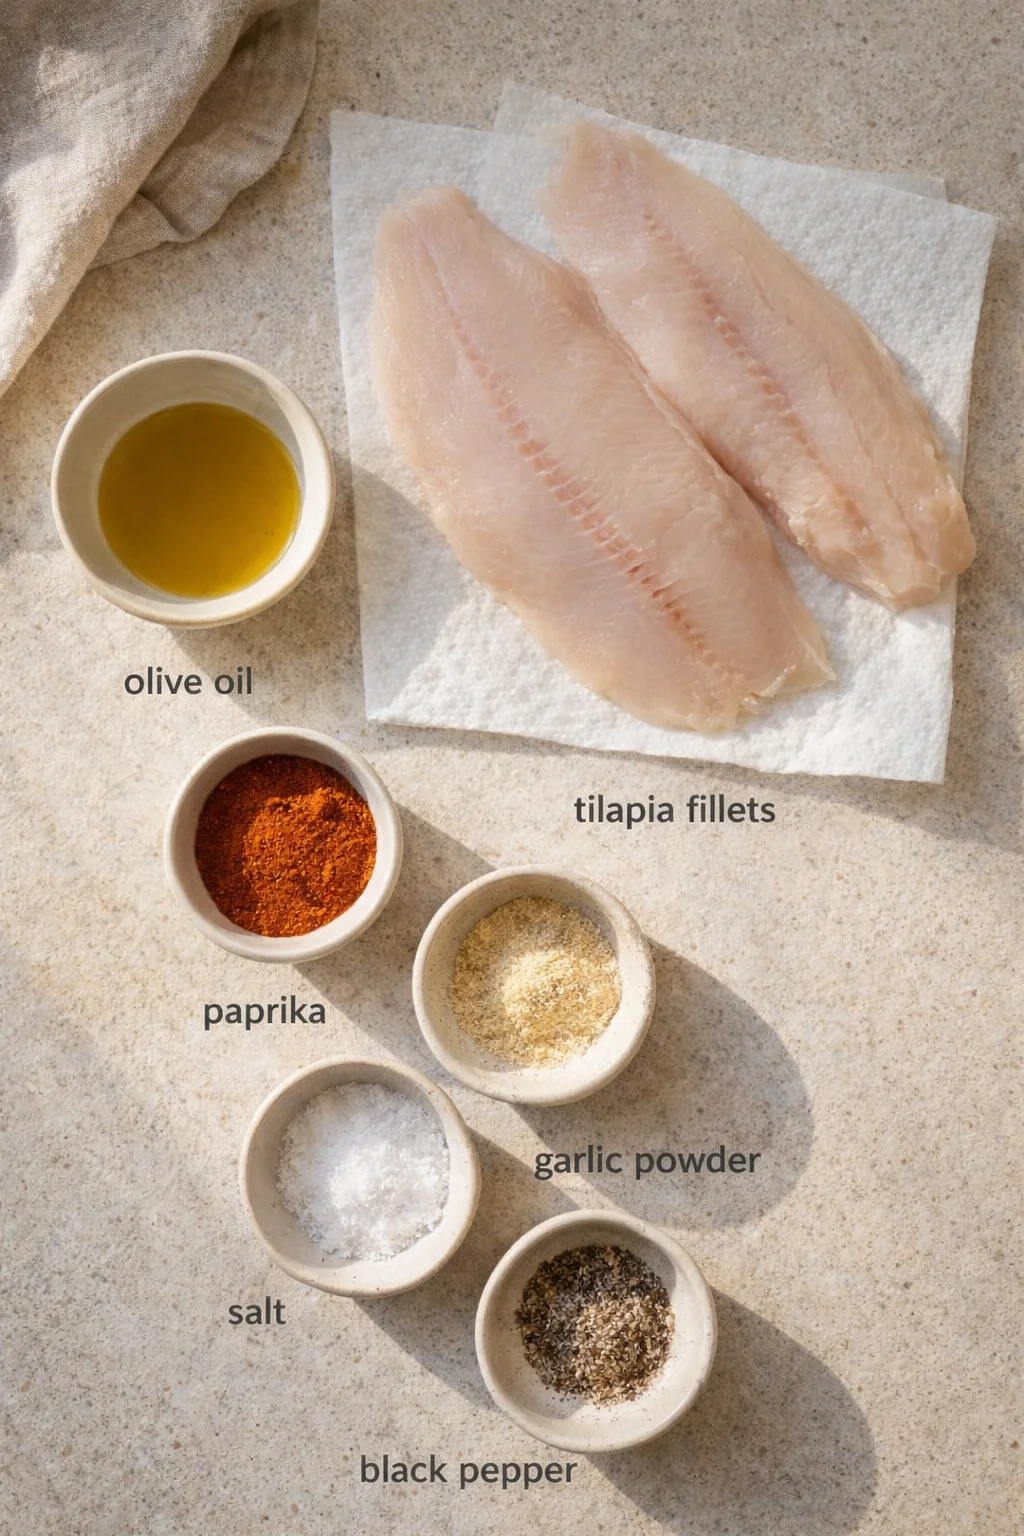
- 2 tilapia fillets (about 6 oz each) — pat dry with paper towels
- 1 tablespoon olive oil — just enough to help the spices stick
- 1 teaspoon paprika
- 1/2 teaspoon garlic powder
- 1/2 teaspoon salt
- 1/4 teaspoon black pepper
How to Cook It
- Preheat the air fryer to 400°F (200°C).
- If using frozen tilapia, thaw completely in the refrigerator before cooking.
- Pat the tilapia fillets dry with paper towels to remove moisture.
-
Lightly brush both sides of each fillet with olive oil (or use an oil sprayer).
- Lightly spray or oil the air fryer basket to prevent sticking.
- Sprinkle paprika, garlic powder, salt, and black pepper evenly over both sides of each fillet.
- Place the fillets in the air fryer basket in a single layer without overlapping; cook in batches if needed.
-
Cook at 400°F for 8–10 minutes, flipping the fillets halfway through; check at 8 minutes and continue until the fish flakes easily with a fork.
-
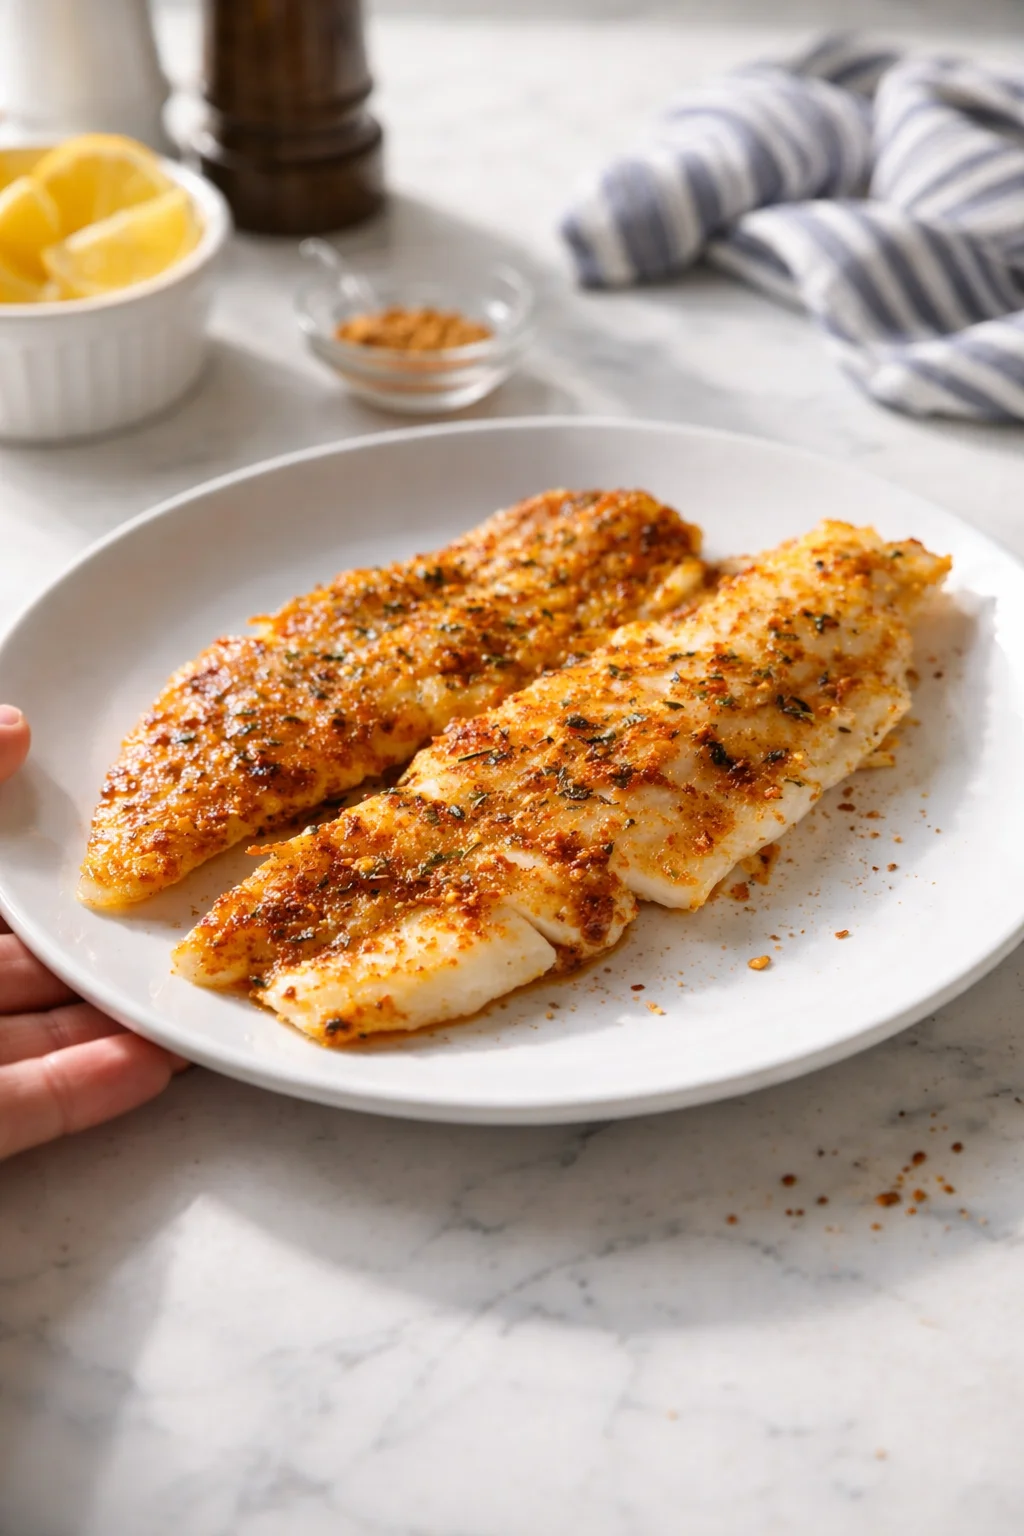
Let the cooked fillets rest briefly before serving.
Pro Tips for Crispy Results
I’ve made this recipe more times than I can count, so here are my best tips to get it perfect every time:
- Don’t crowd the basket! Give each fillet space so it crisps up instead of steaming. Cook them in batches if your air fryer is small.
- Set your timer for 8 minutes first – tilapia cooks quickly, and you definitely don’t want dry fish. It’s better to check early than too late.
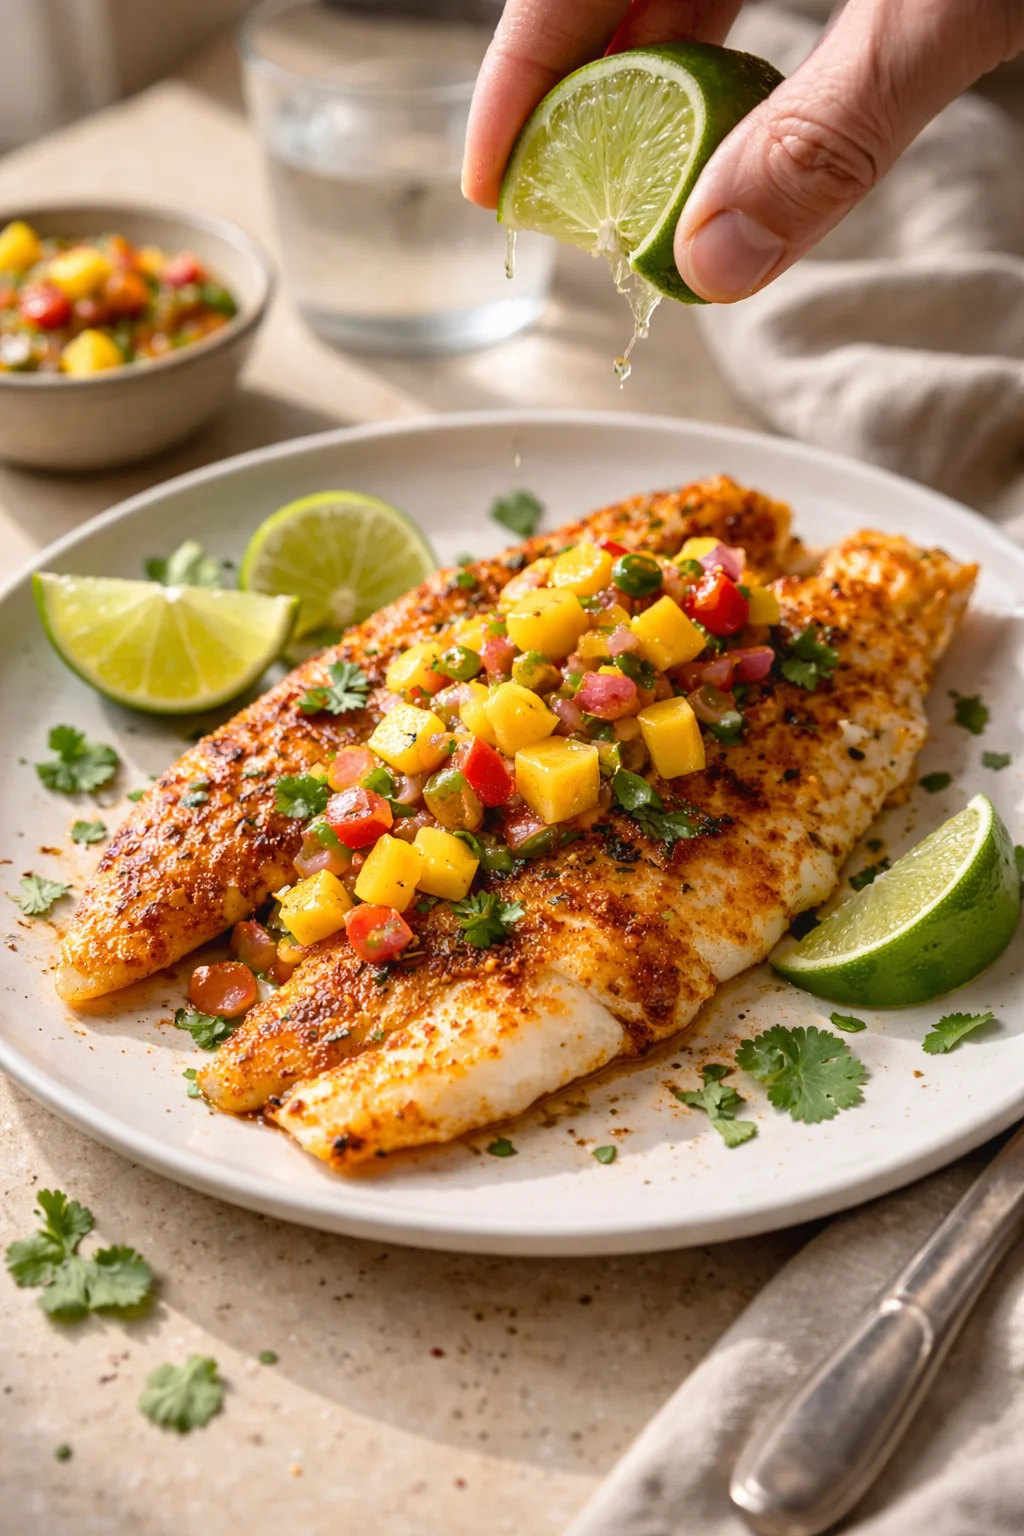
- Customize your seasoning – add a pinch of cayenne for heat, or a bit of lemon zest for freshness.
- Use an oil sprayer if you have one – it gives even coverage without overdoing it.
- Let the fish rest briefly after cooking so the juices settle, making it even more tender.
Follow these simple insider tricks, and you’ll be whipping up perfect air fryer tilapia in no time!
This crispy tilapia pairs beautifully with so many sides! One of my all-time favorites is lemon-butter broccoli — the tang cuts through the richness perfectly — or a bright, crunchy Southern coleslaw with vinegar dressing. For something heartier, try it with coconut rice or roasted sweet potatoes. And if you’re after something quick, a simple arugula salad tossed with lemon vinaigrette makes the meal feel a little fancy, with hardly any effort.
I’ve made this dish umpteen times, so here are my top tricks to make yours perfect every time:
- Space them out! Overcrowding traps moisture and leads to soggy fish. Cook in batches if your air fryer is small.
- Time it right — set your timer for 8 minutes first, then check. Better to undercook slightly and adjust than dry it out.
- Customize the flavor — a pinch of cayenne brings the heat, lemon zest adds brightness.
- Use an oil sprayer — for an even, light coating that’s easier than brushing.
- Let it rest for a minute before serving so the juices soak back in.
Follow these, and you’ll be an air fryer tilapia pro in no time!
When it comes to sides, this tilapia is super versatile. I love it with quick lemon-butter broccoli for a fresh, tangy contrast. Pair it with coconut rice, roasted sweet potatoes, or one-pot mushroom rice to satisfy bigger appetites. Or for a lazy but elegant touch, serve alongside a simple arugula salad dressed with lemon vinaigrette. Yum!
Flavor Twists and Substitutions
The great thing about this recipe is how easy it is to mix things up. Here are some of my favorite twists to keep it fresh and fun:
- Lemon pepper blast: Swap out the paprika for lemon pepper seasoning for a bright, zesty punch.
- Cajun heat: Use Cajun seasoning to bring that bold, spicy New Orleans flair—see how those flavors shine in Spicy Cajun Garlic Butter Shrimp.
- Cheesy Parmesan crust: Toss in some grated Parmesan with the spices for a crispy, cheesy finish.
- Asian-inspired: Try adding sesame oil, fresh ginger, and a splash of soy sauce for a tasty twist—similar to the flavors in Honey-Soy Glazed Cod.
Don’t be shy about experimenting — that’s how I find my best flavors!
This recipe is a playground for you to get creative. Here are a few of my favorite flavor switches:
- Lemon pepper flair: Swap paprika for lemon pepper seasoning—fresh and zesty!
- Cajun heat: Bring on the spice with Cajun seasoning for a bold, flavorful kick.
- Parmesan crust: Mix grated Parmesan with the spices for a cheesy, crispy exterior.
- Asian twist: Use sesame oil, fresh ginger, and a splash of soy sauce for an exciting flavor profile.
Mix and match to find your new favorite!
Storing and Reheating Leftovers
Have leftovers? No worries! Store your cooked tilapia in an airtight container in the fridge, and it’ll stay good for 2-3 days. When you’re ready for round two, pop it back into the air fryer at 350°F for 2-3 minutes — it crisps up almost like fresh! Just watch the time so it doesn’t dry out. Honestly, leftover tilapia makes a fantastic next-day lunch tossed on a salad, wrapped in a tortilla, or folded into a warm bowl of orzo with mushrooms.
If you have any leftovers, no worries! Store your cooked tilapia in an airtight container in the fridge for 2–3 days. When you’re ready to enjoy again, pop it in the air fryer at 350°F for 2–3 minutes—it’ll crisp back up nearly as well as fresh. Just don’t leave it in too long or it might dry out. Honestly, leftover tilapia shines flaked into veggie fried rice or served in a quick lunch wrap.
Common Questions and Answers
Q: Can I use frozen tilapia for this recipe?
Absolutely! Just be sure to thaw it fully in the fridge first and pat it extra dry — frozen fish tends to release more moisture. You might need to add a minute or two to the cooking time.
Q: How do I stop the fish from sticking to the air fryer basket?
Two easy tricks: First, oil both the fillets and lightly spray the basket. Second, avoid moving the fish too soon; give it a few minutes to cook so it naturally releases.
Q: My tilapia turned out dry — what went wrong?
It’s probably overcooked. Tilapia is done once it flakes easily. At 400°F, cooking for 8–10 minutes is usually spot-on. Next time, check at 8 minutes and trust the fork test.
Q: Can I use other types of fish in this recipe?
Yes! This cooking method works great with cod, haddock, or even salmon fillets. If you’re in the mood for cod, try these garlic butter baked cod fillets for a similar flavor profile. Just tweak the cooking time slightly — thin fillets cook faster; thicker ones will need more time.
Q: Should the skin be crispy?
Most tilapia fillets are skinless, but if yours have skin, I recommend removing it first. Fish skin needs higher heat and longer cooking to get crispy, which can overcook the delicate flesh.
Q: Can I use frozen tilapia for this recipe?
Yes! Just be sure to thaw it fully in your fridge and pat it dry really well since frozen fish tends to hold more moisture. You may need to add a minute or two more cooking time.
Q: How do I prevent the fish from sticking to the air fryer basket?
Two simple tips: oil both the tilapia and spray the basket lightly. Also, don’t flip or move the fish too early; after a minute or two, it will release naturally.
Q: My tilapia came out dry—what happened?
It was probably overcooked. Keep an eye on the timer and check at 8 minutes. When the fish flakes easily with a fork, it’s done.
Q: Can I use other types of fish with this method?
Definitely! Cod, haddock, or salmon all work well. Just adjust cooking times based on thickness—thinner fillets cook faster, thicker ones need a bit longer.
Q: Should tilapia skin be crispy?
Most tilapia is sold skinless, but if yours has skin, I’d recommend removing it. Skin needs higher heat and longer cooking to crisp up, which can overcook the delicate flesh underneath.
Print Recipe
Pin Recipe
Quick and easy air fryer tilapia fillets with a crispy spiced crust, ready in about 15 minutes for a healthy and flavorful meal.
- Total Time: 15 minutes
- Yield: 2 servings 1x
Ingredients
- 2 tilapia fillets (about 6 oz each), pat dry with paper towels
- 1 tablespoon olive oil
- 1 teaspoon paprika
- 1/2 teaspoon garlic powder
- 1/2 teaspoon salt
- 1/4 teaspoon black pepper
Instructions
- Preheat the air fryer to 400°F (200°C).
- If using frozen tilapia, thaw completely in the refrigerator before cooking.
- Pat the tilapia fillets dry with paper towels to remove moisture.
- Lightly brush both sides of each fillet with olive oil (or use an oil sprayer).
- Lightly spray or oil the air fryer basket to prevent sticking.
- Sprinkle paprika, garlic powder, salt, and black pepper evenly over both sides of each fillet.
- Place the fillets in the air fryer basket in a single layer without overlapping; cook in batches if needed.
- Cook at 400°F for 8–10 minutes, flipping the fillets halfway through; check at 8 minutes and continue until the fish flakes easily with a fork.
- Let the cooked fillets rest briefly before serving.
Notes
Do not overcrowd the air fryer basket to avoid soggy fish; cook in batches if necessary., Set timer for 8 minutes initially; check doneness and adjust to avoid overcooking., Customization tips: add cayenne for heat or lemon zest for brightness., Use an oil sprayer for even, light coating of oil., Let fish rest briefly after cooking to allow juices to redistribute., Leftovers can be stored in an airtight container in the fridge for 2-3 days and reheated in the air fryer at 350°F for 2-3 minutes to re-crisp., This recipe works well with other fish types like cod, haddock, or salmon, adjusting cooking time as needed., Recommend removing skin if present as skin requires higher heat and longer cooking.
- Prep Time: 5 minutes
- Cook Time: 8-10 minutes
- Category: Main Course
Nutrition
- Serving Size: 1 tilapia fillet
- Calories: 180 calories per serving
- Fat: ~8 grams per serving
- Carbohydrates: ~0 grams per serving
- Protein: ~22 grams per serving