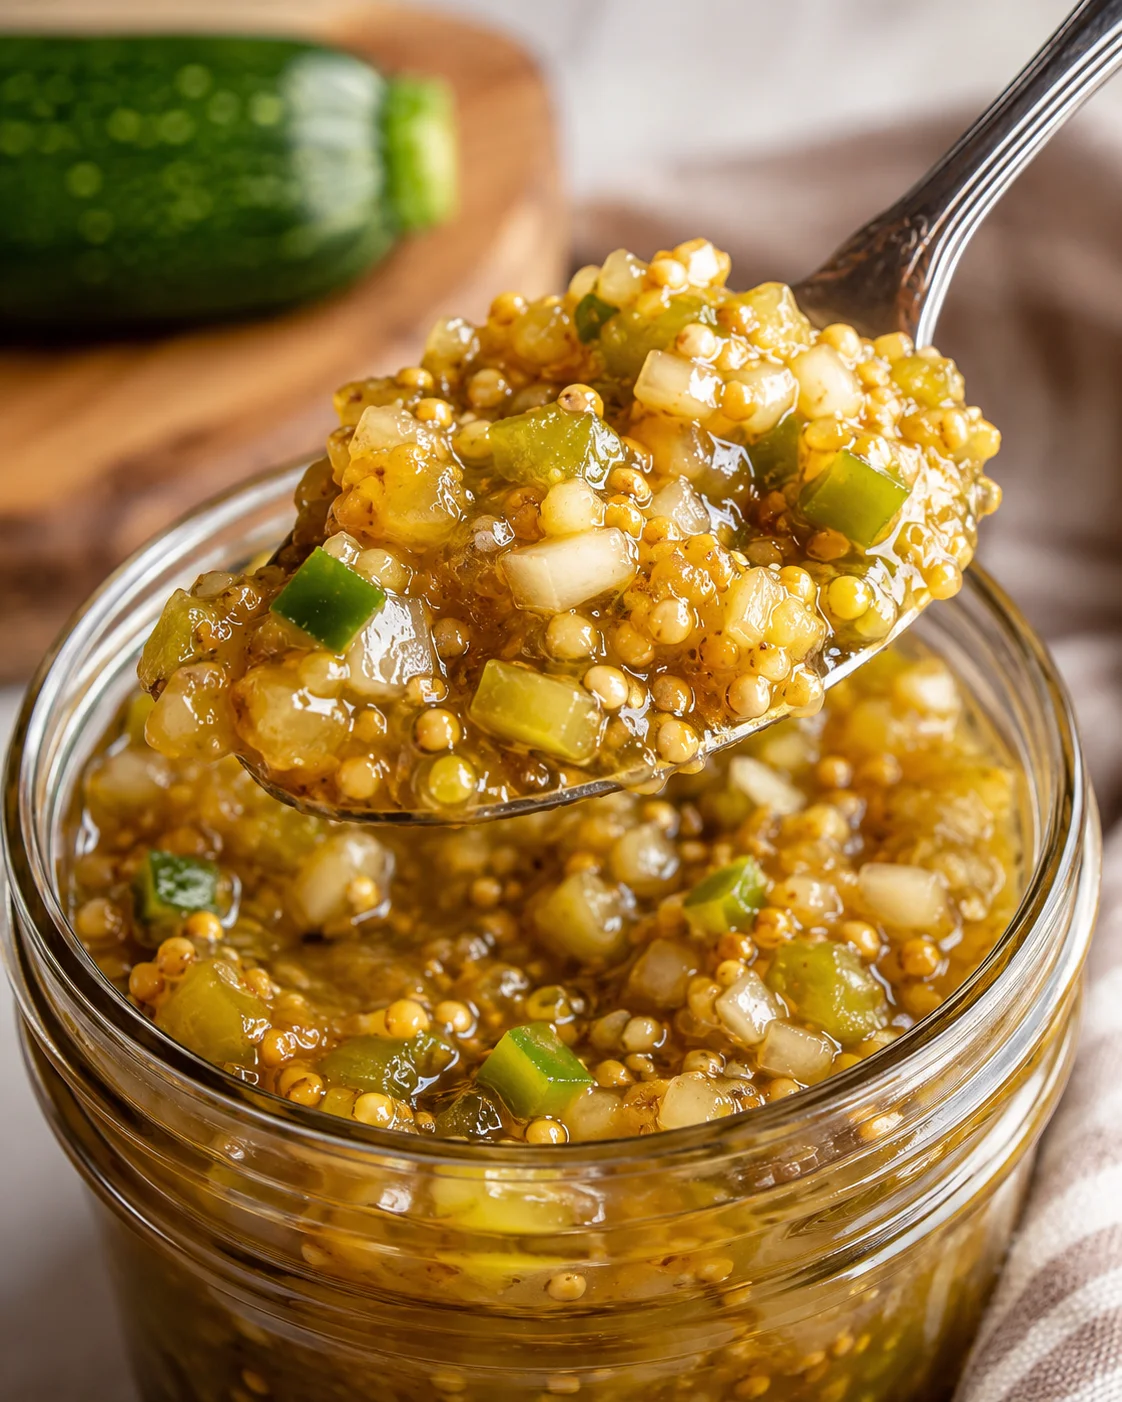
Zucchini Relish for Canning Recipe 5 Easy Steps for Sweet Tangy Preserves

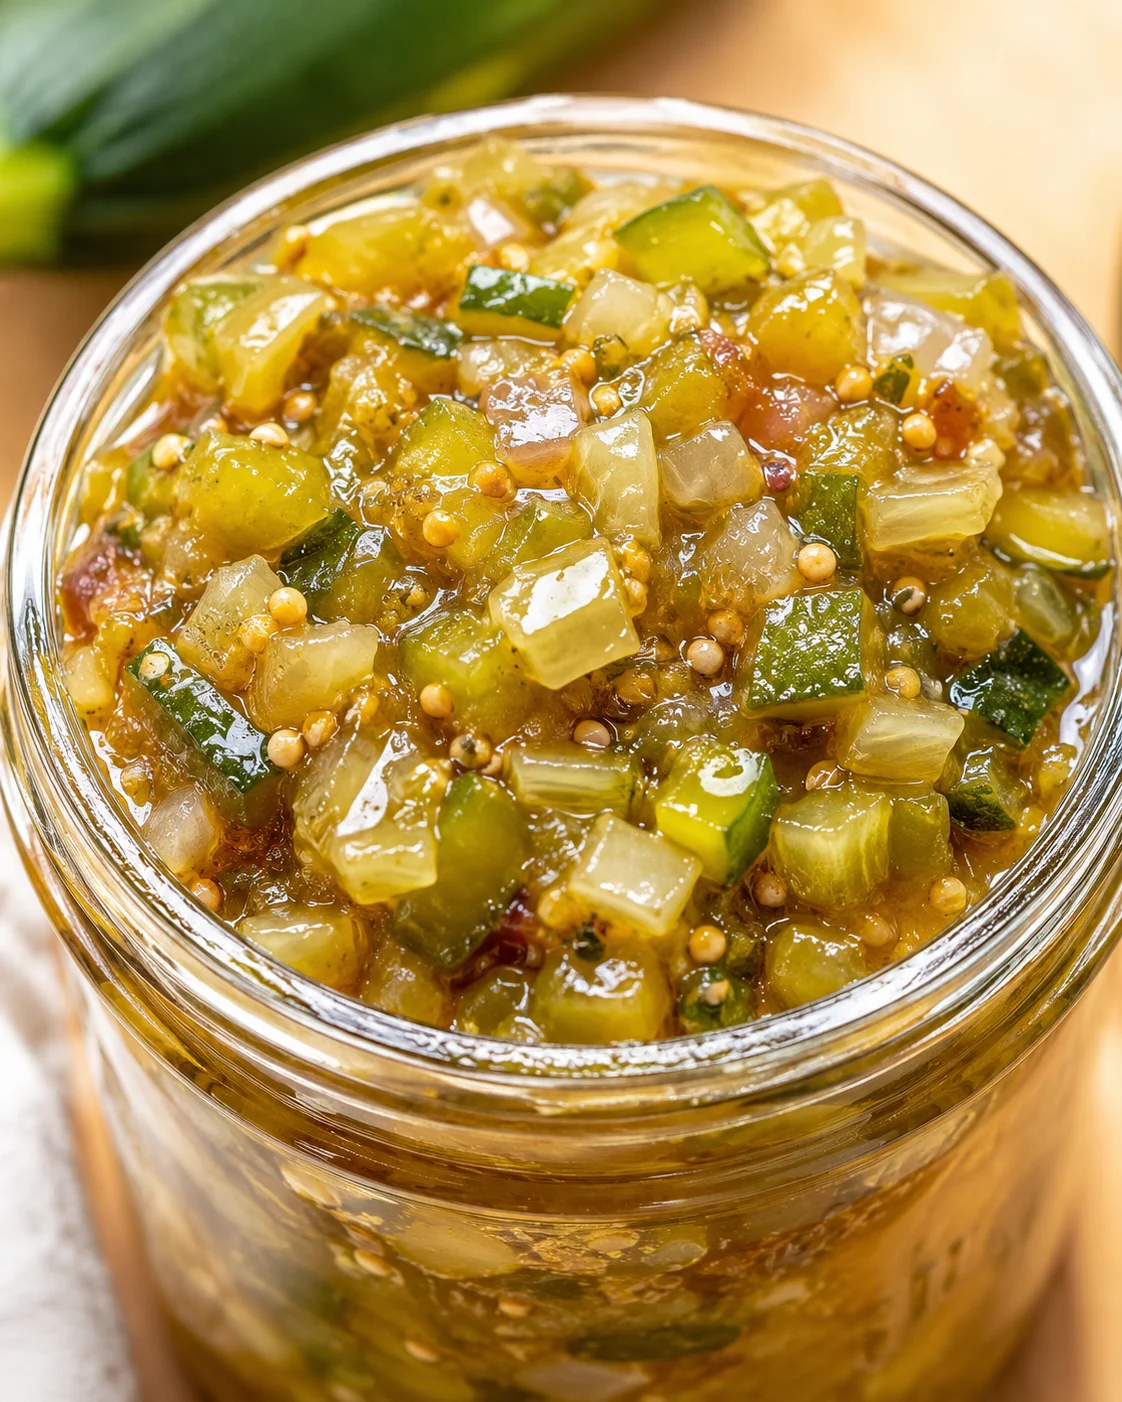
Zucchini Relish for Canning Recipe 5 Easy Steps for Sweet Tangy Preserves
One bright Saturday morning last summer, I was swamped with zucchinis straight from my garden — seriously, like a little mountain of green piled up on my kitchen counter. I had just whipped up a batch of juicy boneless pork chops glazed with honey garlic, and I wanted something fresh and zingy to complement it. That’s when I thought of my grandma’s zucchini relish for canning recipe, scribbled in her treasured handwritten cookbook. It promised a sweet and tangy flavor that would preserve all those vibrant summer notes, but honestly? I wasn’t sure I could get it just right on my first try.
After several tries (and yes, I burned the sugar once and overcooked the vegetables another time), I finally hit the perfect balance. This zucchini relish for canning nails that classic sweet-tangy flavor, freezing summer’s best into a jar you’ll want to share with everyone. I’ve made this recipe over 15 times now, refining each step so it’s simple — no fancy tools, no confusing techniques.
If you’re new to canning or just looking for a smart way to use up your garden bounty, this zucchini relish for canning is about to become your new favorite. It’s super versatile, can stay fresh in the fridge before sealing, and once canned, it’s the kind of condiment that turns plain sandwiches and grilled meats into something memorable.
If you’re staring at a pile of zucchini and wondering how to turn it into something delicious, you’re in the right spot. This recipe was born from one of those “too many zucchinis” mornings and my grandma’s cozy notes. It’s a tried-and-true sweet-tangy relish that captures summer in a jar. I’ve boiled it down to five easy steps so you can get consistent results without feeling overwhelmed.
Keep reading and you’ll find everything you need to make and safely can this relish: a quick prep routine with pantry staples, a no-fuss cooking method that keeps the veggies pleasantly crisp, and clear instructions for water-bath canning so your jars stay perfectly sealed. Plus, I’ve tossed in tips for avoiding watery relish, simple ingredient swaps, and creative serving ideas so your jars never sit untouched.
- Time commitment: about 1 hour total (around 30 minutes hands-on cooking)
- Skill level: beginner-friendly — no special gear needed
- Yield and use: yields several jars, perfect for pantry storage or gifts, and keeps fresh in the fridge up to two weeks if not canned
- Flavor profile: bright, sweet, and tangy — fantastic with sandwiches, grilled meats, and charcuterie boards
What Makes It Special
This recipe completely changed how I handle my summer zucchini overload. I’ve made it for relaxed weeknight dinners, packed it for holiday gatherings — and everyone always raves about that punch of sweet tangy flavor it brings to the table.
- Simple Five-Step Process — You don’t have to be a pro. The steps guide you through prepping, cooking, and preserving this zucchini relish for canning with no stress. I’ve even helped first-timers get it right over the phone.
- Sweet Tangy Flavor — This isn’t just another pickle. The sweet and tangy balance shines with burgers, grilled cheese, or on a cheese board. I love spreading it on sandwiches with crispy feta grilled cheese to elevate every bite.
- Perfect for Canning and Gift-Giving — The recipe makes plenty for several jars. It’s ideal for preserving and sharing during holidays or neighborhood potlucks.
- Fridge-Friendly Before Canning — Not ready to can? No worries. This relish will happily keep in your fridge for up to two weeks. It’s my secret to upgrading leftovers in no time.
- Feeds a Crowd — Whether prepping meals for the week or hosting a summer BBQ, this relish is always a hit and disappears fast.
This is my go-to recipe for weekend canning sessions and family get-togethers. No weird ingredients, just honest, homemade goodness with a bold flavor kick.
Fresh Ingredients and Measurements
- 6 cups finely chopped zucchini (about 900g)
- 2 cups finely chopped onions (about 300g)
- 1 cup finely chopped green bell pepper (about 150g)
- 2 cups apple cider vinegar (480ml)
- 1 ½ cups granulated sugar (300g)
- 2 teaspoons salt (10g)
- 1 tablespoon mustard seeds (9g)
- 1 teaspoon celery seeds (2g)
- ½ teaspoon ground turmeric (1g)
How to Make and Can
- Chop zucchini, onions, and green bell pepper into ~¼-inch cubes.
- Place chopped veggies in a colander, sprinkle with 1 tablespoon salt, toss, and let sit 1 hour to draw out moisture; then rinse and drain thoroughly.
- Lightly toast mustard seeds in a dry skillet until aromatic.
- Sterilize pint jars, lids, and rings (boiling water or hot dishwasher) and keep them hot.
- In a large pot, combine drained veggies, apple cider vinegar, sugar, remaining salt, toasted mustard seeds, celery seeds, and turmeric; bring to a boil over medium-high, stirring until the sugar dissolves.
-
Reduce heat to medium-low and simmer uncovered 10–12 minutes, stirring occasionally, until veggies soften but retain some crunch and the liquid thickens into a syrupy glaze.
- Pack the hot relish into sterilized pint jars using a funnel or ladle, leaving ½ inch headspace; wipe rims clean and put on lids and screw rings finger-tight.
- Process jars in a boiling water bath canner for 15 minutes with at least 1 inch of water covering the jars.
- Remove jars and let cool undisturbed on a towel for 12–24 hours, listen for lids to pop, then check seals and reprocess or refrigerate any jars that did not seal.
Tips to Perfect Your Relish
After countless batches, here are the nuggets of wisdom I’ve learned. These tips can save you some common pitfalls and make the best zucchini relish for canning every time.
- Don’t Skip Salting the Veggies
This is the secret to preventing watery relish. I once skipped it and ended up with slimy, soggy jars that just didn’t set right. Salting draws out excess moisture and firms your zucchini up for a better texture. - Use Fresh Spices
Mustard and celery seeds lose their punch over time. Lightly toast mustard seeds before adding them to bring out deeper flavor. Fresh turmeric powder brightens the color, so avoid swapping it with curry powder for the best look and taste. - Simmer Gently, Don’t Boil Hard
Keeping a gentle simmer, rather than a hard boil, helps your veggies soften without turning to mush. It also prevents a watery consistency in your final relish. - Test Your Jar Seals
Sometimes jars might not seal right after processing. Give each jar’s lid a press: if it springs back, it’s not sealed. If that happens, either refrigerate those jars and use soon, or reprocess them in the water bath. - Measure Sugar Carefully
Sugar is key for flavor and preservation. Skimping can make your relish fail to set or store poorly. Stick to the amounts in the recipe.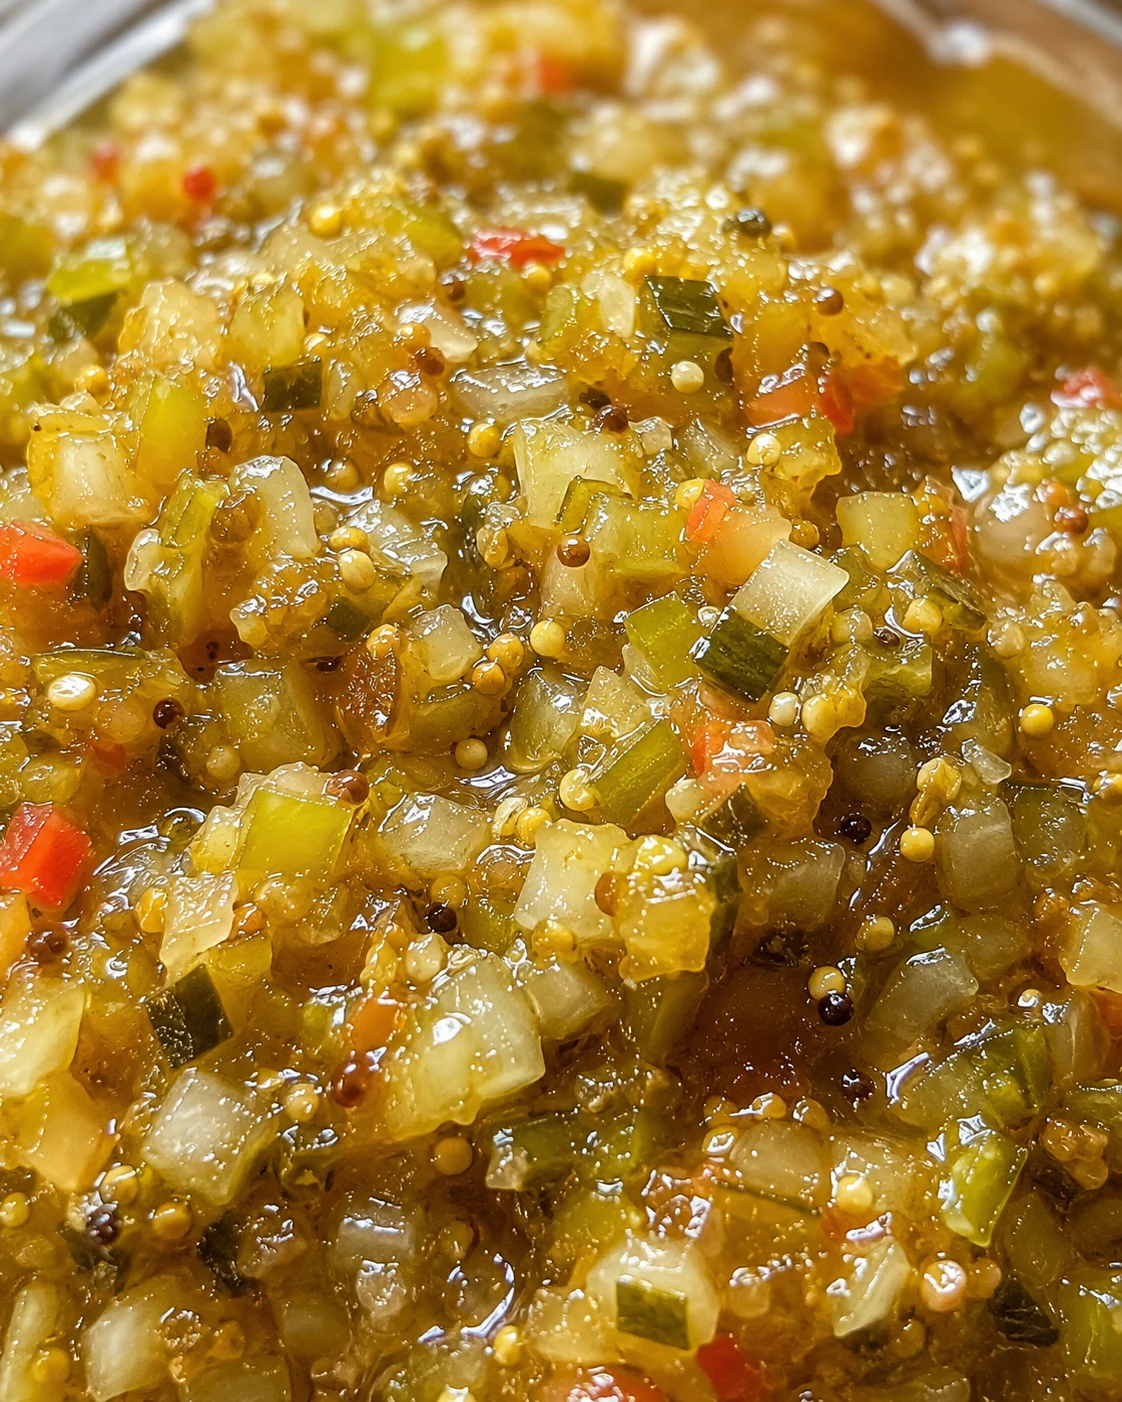
Flavor Variations and Swaps
Once you get comfortable with the basic zucchini relish for canning, try these ideas to keep it fresh and exciting. I’ve tested all these to find what works best.
- Add Some Heat — Toss in ½ teaspoon red pepper flakes while cooking for a gentle spicy kick that pairs well with grilled meats and summertime BBQs.
- Extra Crunch — Add ½ cup finely chopped celery for a crunchier texture. My family likes this in the cooler months when I want a heartier relish for sandwiches and snacks.
- Lower Sugar Option — Use 1 cup sugar and bump vinegar to 2 ¼ cups for a tangier, less sweet relish that still preserves well. Great if you’re watching your sugar intake but still want homemade flavors.
- Gluten-Free & Vegan Friendly — This recipe is naturally gluten-free and vegan — no hidden animal or gluten ingredients here, just fresh veggies, vinegar, and spices.
- Make It Gift-Ready — Dress up your jars with fabric covers and ribbons for charming homemade gifts. People love receiving something tasty and homemade, especially during the holidays.
Storage, Serving, and Shelf Life
I usually serve this zucchini relish straight from the jar, spooning generous dollops over burgers, hot dogs, or alongside grilled cheese sandwiches. It’s fantastic alongside my creamy chicken bacon ranch pasta to cut through richness with its tangy brightness.
Here are some of my favorite ways to serve it:
- Grilled sausage topped with mustard and this sweet tangy relish — a timeless flavor pairing
- Fresh green salads drizzled with olive oil to keep things light and vibrant
- Charcuterie boards — the sweet tangy relish balances out salty meats and cheeses beautifully
Storage Tips:
- Fridge: Keep opened jars tightly sealed in the refrigerator for up to 2 weeks. The flavors actually get better after a day or two.
- Pantry: Properly canned jars will keep for up to 1 year when stored in a cool, dark place. Always check the seal before opening.
- Freezing: I don’t recommend freezing because the texture tends to suffer once thawed.
Answers to Common Questions
Q: Can I make this zucchini relish for canning without sugar?
A: You can reduce the sugar, but don’t cut it out completely if you want to safely can it. Sugar plays a key role in preservation and balancing acidity. I’ve tried lowering sugar too much, and the relish didn’t set properly. For a low-sugar kitchen-friendly version, use 1 cup sugar with 2 ¼ cups vinegar for a safe, tasty batch.
Q: Why did my zucchini relish turn out watery?
A: The biggest culprit is usually skipping or rushing the salting step. Salting pulls excess moisture from the zucchini and peppers, so if you skip it or don’t rinse well, your relish will be watery. Also, cooking at too low a temperature without simmering enough can leave the liquid too thin. Make sure to drain the veggies well and simmer until the mixture thickens.
Q: Can I make this zucchini relish ahead for a holiday dinner?
A: Absolutely! This relish is perfect for canning well before holidays or potlucks. Properly sealed jars keep for up to a year, so I love making batches in late summer and bringing them out for family dinners. It adds a lovely homemade touch to any festive spread.
Q: Is this zucchini relish gluten-free and vegan?
A: Yes! The recipe is naturally gluten-free and vegan, with no animal products or gluten ingredients—just fresh veggies, vinegar, sugar, and spices.
Q: Can I double or halve the recipe?
A: Totally! This recipe scales well. Doubling is great, just make sure your pot is big enough for even cooking. Halving works too but keep the spices proportional. I usually make a double batch during canning season to stock up my pantry.
Q: Can I substitute apple cider vinegar with white vinegar?
A: You can substitute white vinegar, but apple cider vinegar offers a milder, fruitier tang that better complements the sweetness here. White vinegar is sharper and more acidic, which might overpower the flavor. I’ve used white vinegar once in a pinch, but I always prefer apple cider vinegar for the best taste.
Q: How long does this zucchini relish last after opening?
A: After opening, keep your jars in the fridge and use within two weeks. The flavors settle and get even better after a couple of days. Just be sure the lid stays tight.
Pin This Recipe!