Easy Refrigerator Pickled Okra

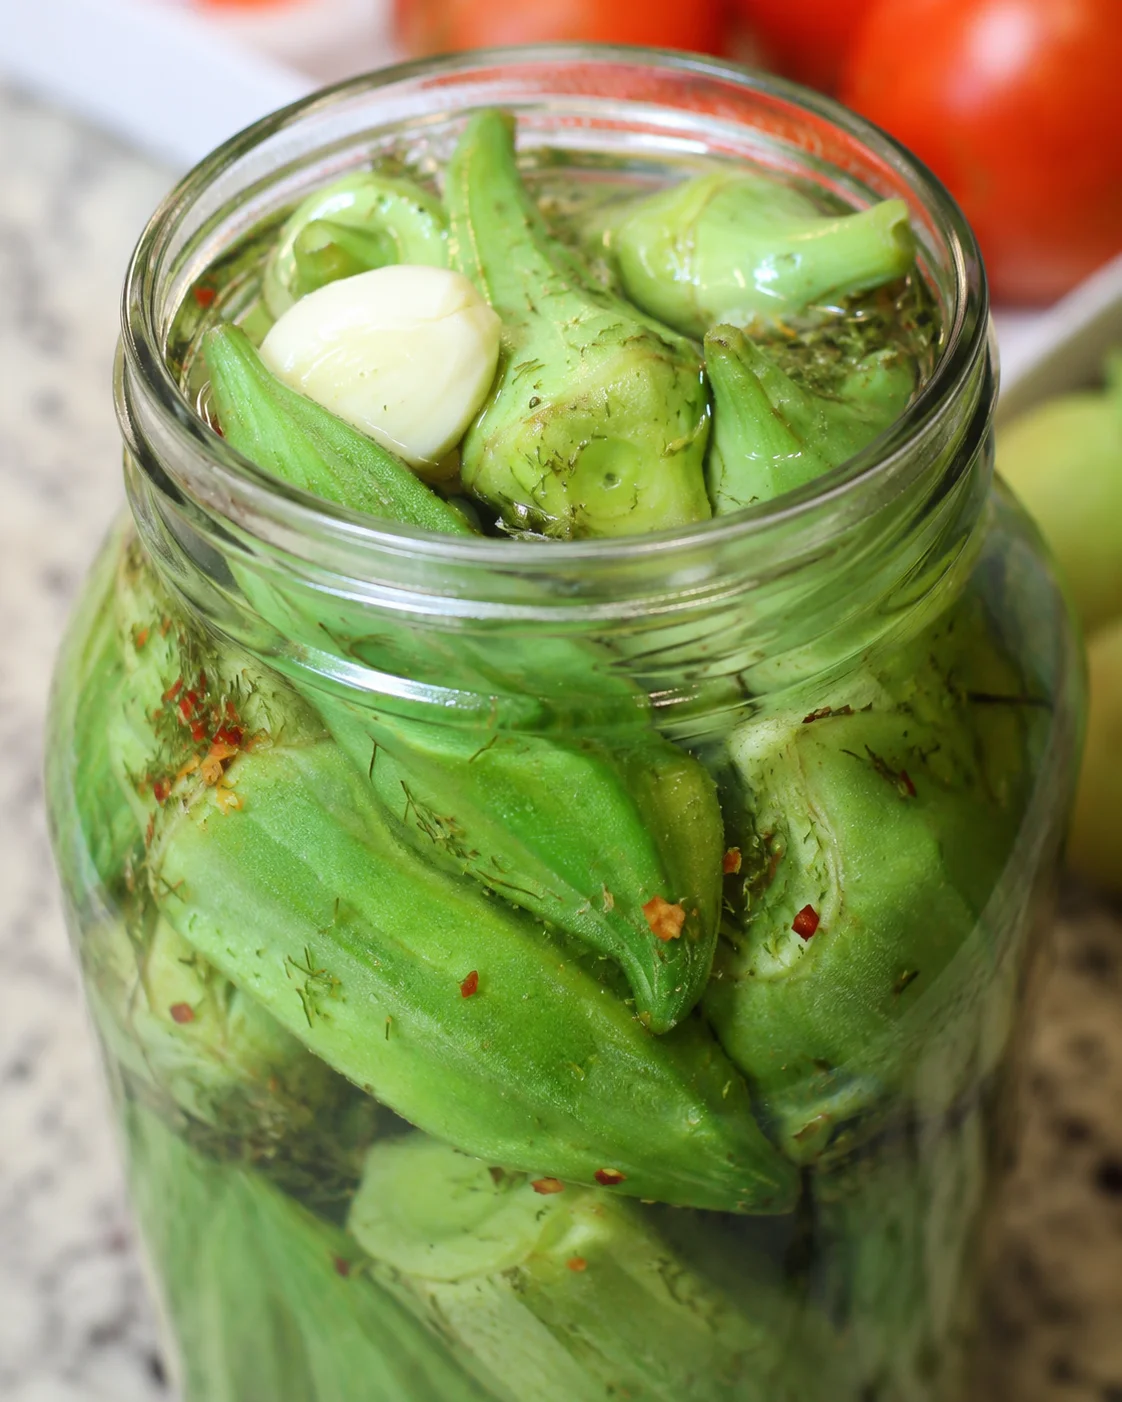
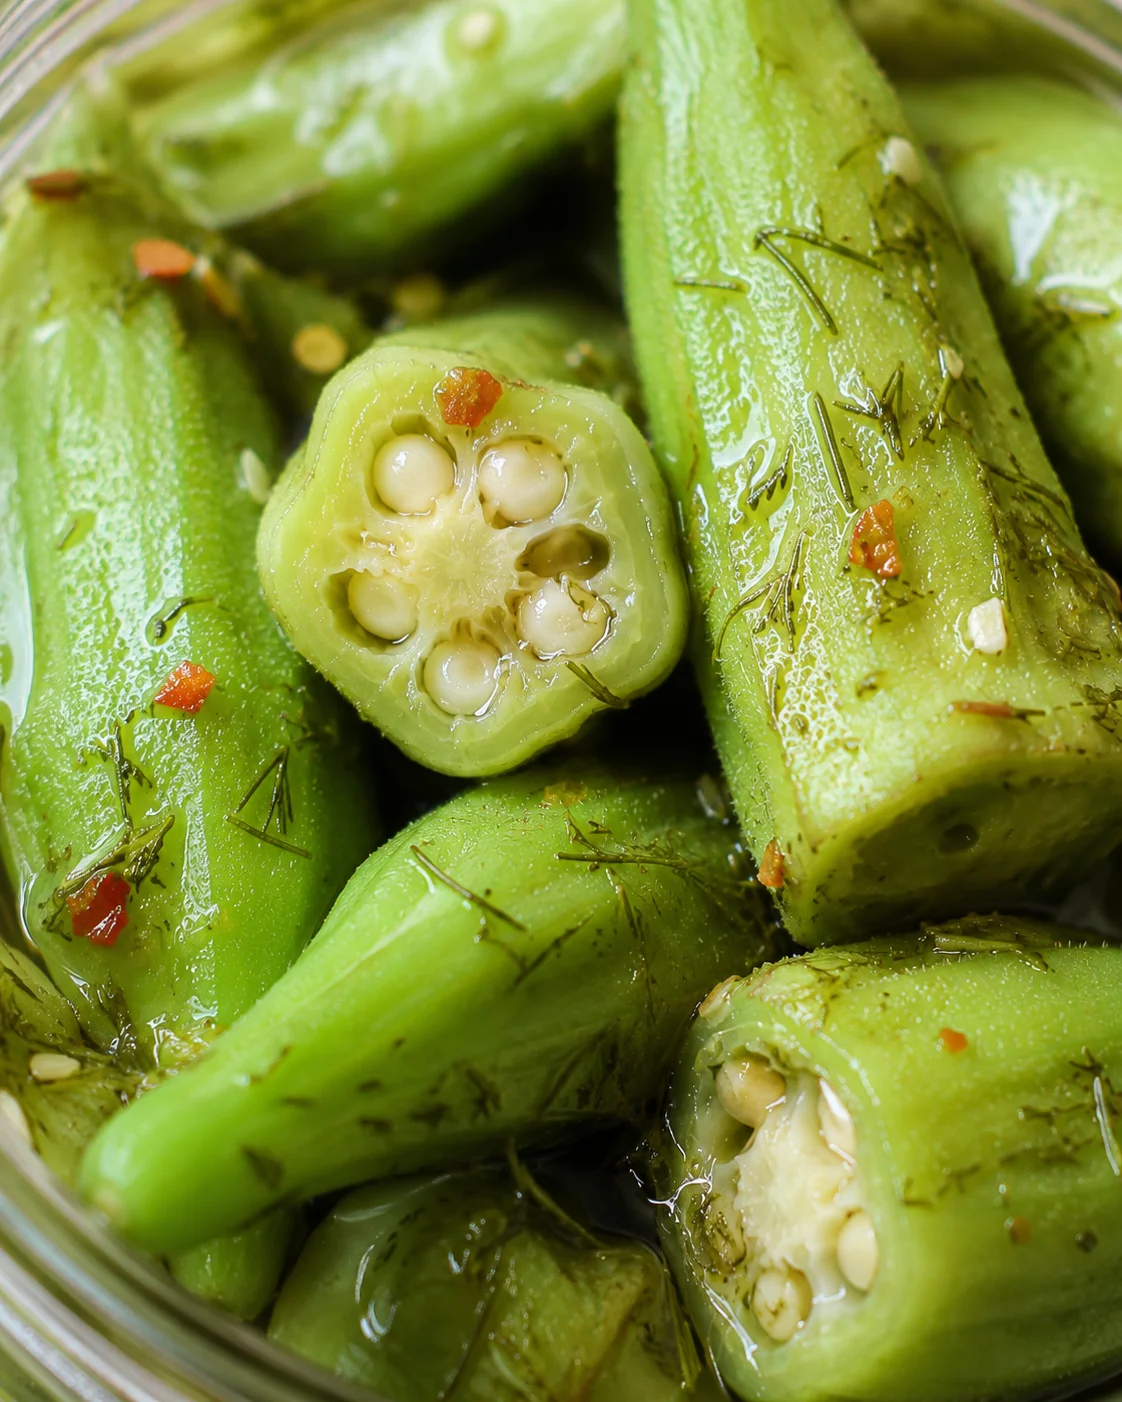
Easy refrigerator pickled okra that’s crunchy, tangy, and bursting with flavor! It’s a super simple way to enjoy fresh okra, turning it into a tasty snack or a perfect side dish. This is hands-down one of my favorite refrigerator pickle recipes.
Okra is one of the easiest veggies to grow in your garden. That’s why making easy refrigerator pickled okra is such a winner! If you live in a hot summer climate, your okra will thrive and so will your pickles. Cooler places just don’t do okra justice.
After you plant okra seeds, they take their time until the heat really kicks in. Once the temperature rises, these plants grow fast and heavy with fruit.
Refrigerator pickling is a smart, quick way to save your garden goodies and stretch summer’s bounty for months. I love using this method at the end of the growing season. It’s such a satisfying feeling to open a jar and enjoy that fresh summer taste well into fall and even through winter.
I keep my pickled okra jars tucked away in the back of the fridge and grab one whenever I want a crunchy, tangy bite. It’s like a little burst of summer any time of year. Plus, this method saves me from wasting all that great fresh produce.
We don’t do traditional canning at home because of daycare rules—no home-canned foods for the kids—so we rely on quick tricks like freezing, dehydrating, and refrigerator pickling. This pickled okra recipe is so simple: just white vinegar or apple cider vinegar, salt, garlic, red pepper flakes, and dill, and you’re set.
Fresh garden okra transforms into a crunchy, tangy treat when you make refrigerator pickled okra. No fancy canning gear needed—just a quick brine, a handful of pantry ingredients, and some fridge time for flavor to work its magic.
This recipe is perfect for gardeners wanting to preserve their summer okra without fuss. You’ll find a short ingredients list—vinegar, water, salt, garlic, dill, and a pinch of red pepper flakes—a clear, step-by-step guide that takes about 10–15 minutes of hands-on time, plus tips to keep your okra extra crisp and ideas for flavor twists. With just clean jars, a saucepan, and your fridge, you’re all set.
- Time: About 10 minutes to prep, 5 minutes to make the brine, and around 2 weeks for the best flavor.
- Equipment: You’ll need pint or quart jars and a medium saucepan.
- Outcome: Crisp, bright pickles that last in the fridge for several months (check Storage and Shelf Life for more). They’re perfect straight out of the jar, on a relish tray, or skewered as a tasty appetizer.
Whether you have loads of garden okra or just want to try something new, this refrigerator pickled okra recipe is super forgiving, fast, and easy to adapt. Get ready to enjoy summer’s best flavors all season long.
Big Flavor, Minimal Effort
This refrigerator pickled okra packs big flavor with hardly any effort. It keeps that fresh crunch of okra without requiring canned sealed jars. The tangy vinegar brine, with garlic, dill, and a hint of red pepper flakes, makes for a versatile snack or side. Eat them right from the jar, add them to a relish tray, or skewer with cheese to wow your guests. Plus, it’s an ideal way to preserve a backyard bounty so you can bring a bit of summer’s sunshine to your table for months after harvest.
Ingredients and Prep Details
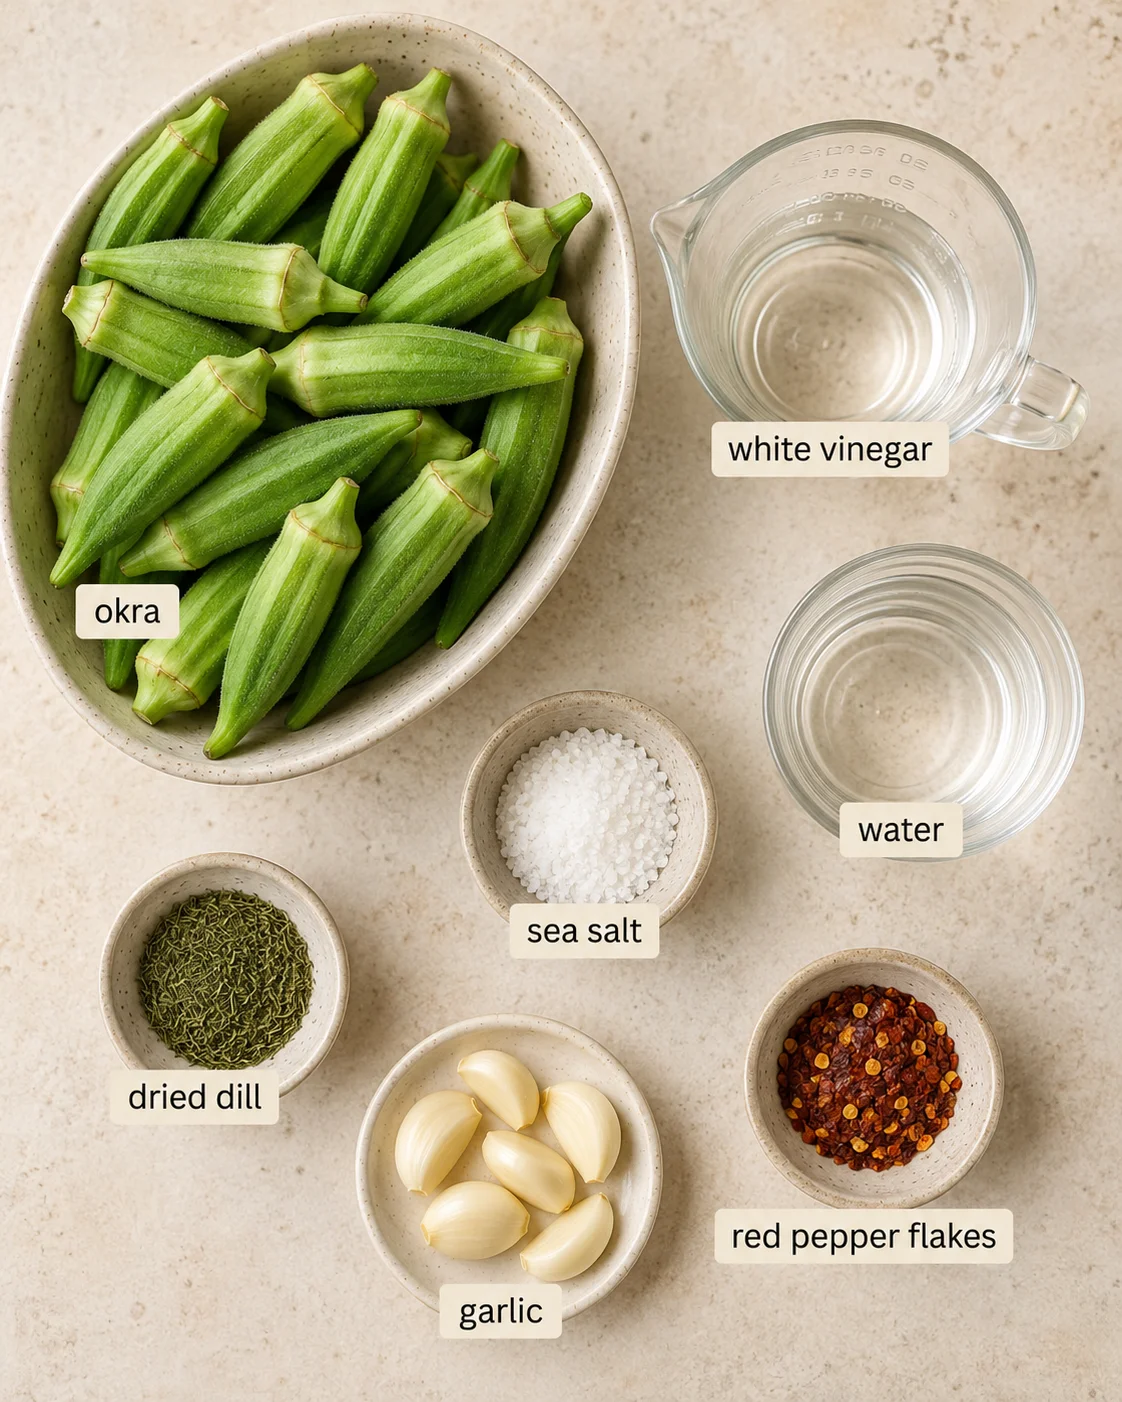
- 8 c okra
- 1 c white vinegar
- 4 c water
- 1/4 c sea salt
- 1 tsp dried dill
- 4 cloves garlic, peeled
- 1/2 tsp red pepper flakes
Step-by-Step Pickling Method
- Wash and trim okra, keeping the pods whole.
- Wash pint or quart jars and lids thoroughly.
- If using whole hot peppers, wash and pierce each pepper so juices can infuse the brine.
- Pack okra (and any peppers) tightly into clean jars.
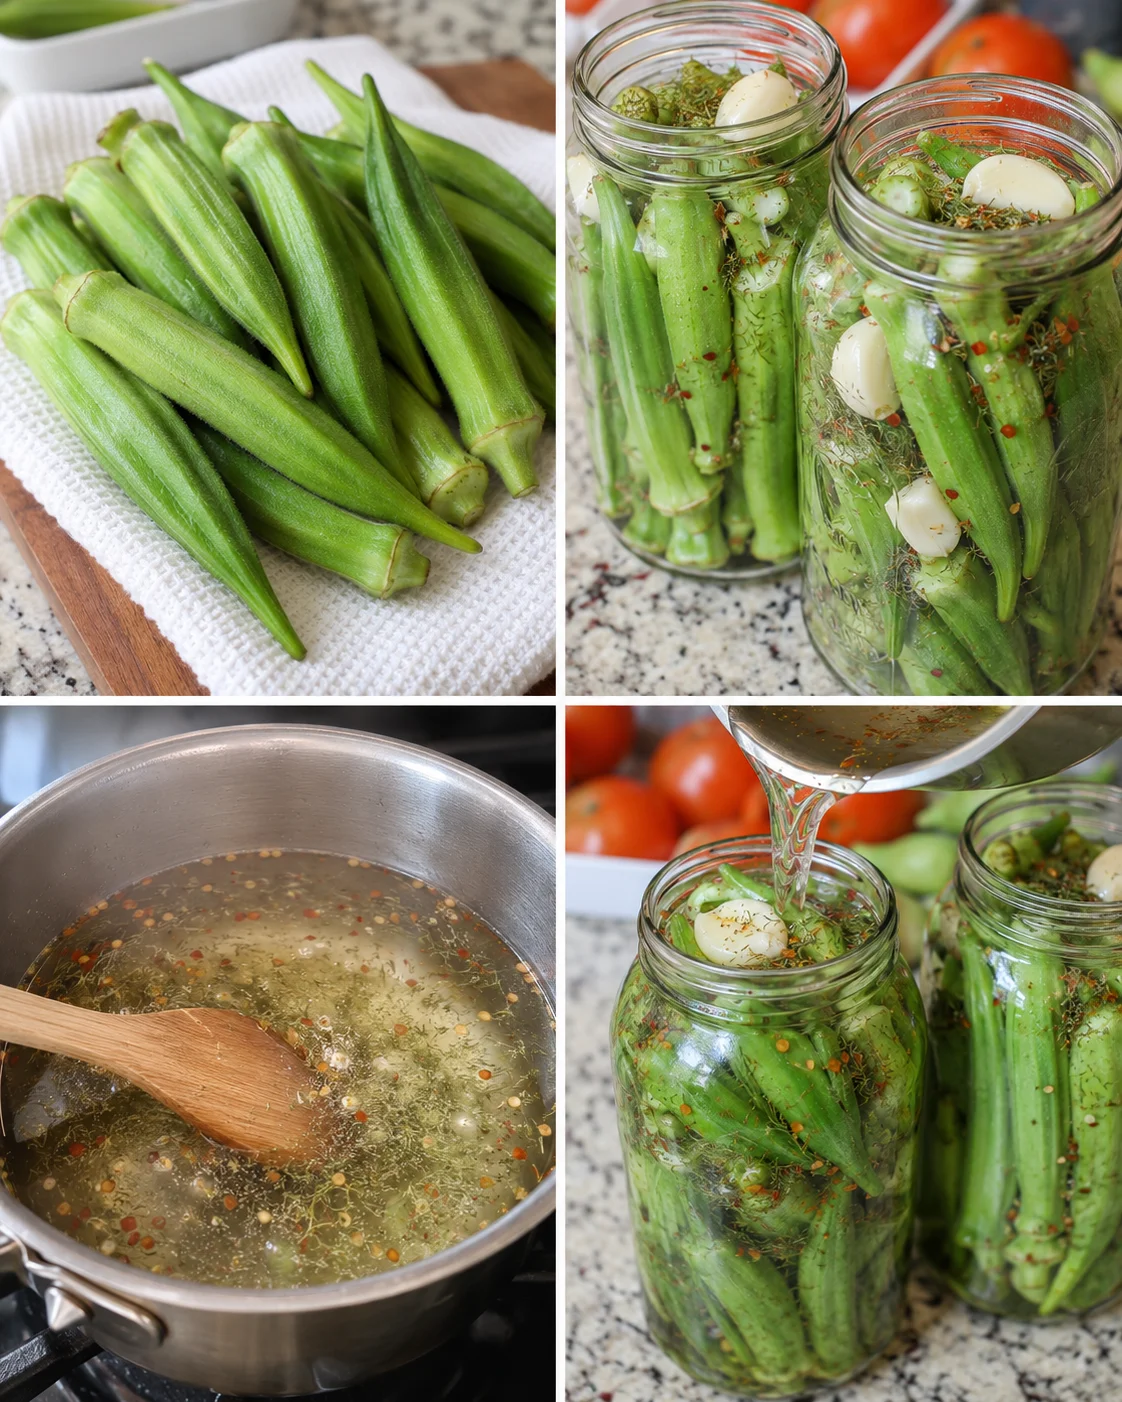
- Divide peeled garlic cloves, dried dill, and red pepper flakes evenly among the jars.
- Combine 1 cup white vinegar, 4 cups water, and 1/4 cup sea salt in a medium saucepan to make the brine.
- Heat the brine over medium, stirring until the salt dissolves.
- Remove the saucepan from heat and let the brine cool completely.
- Alternatively, for quicker pickles, pour the boiling brine over the okra (note: expect a less crisp texture).
-
Pour the cooled brine over the okra, leaving about 1/2 inch headspace; ensure all pods are submerged, tap jars to release air bubbles, and press down gently if needed.
- Screw the lids on tightly and refrigerate the jars.
- Let the pickles sit in the refrigerator for about two weeks before eating (can be eaten sooner if desired).
Tips for Crisp, Flavorful Pickles
- Pick smaller, younger pods for extra crunch. The bigger varieties, like Star of David, are tasty but have a meatier texture.
- Pack your jars tightly to stop floaters and ensure all okra stays submerged in brine.
- Want to add heat? Toss in whole hot peppers like jalapeños or habaneros. Just wash, poke a hole through the pepper so the heat infuses the brine, and push it into the jars.
- Skip iodized or table salt—use sea salt or pickling salt for clean flavor and reliable saltiness.
- If fermenting instead of vinegar-pickling, use filtered water with salt only—no vinegar—and follow proper fermentation steps.
- Wash jars thoroughly and use clean lids. While you don’t need to heat-process refrigerator pickles, good hygiene helps your pickles last longer and stay tasting great.
Flavor Twists and Add-Ins
If you’d like to spice up your refrigerator pickled okra, adding some hot peppers is an easy way to do it.
Use jalapeños, habaneros, or any peppers you like. Wash them, stab a hole through each one so the fiery juices can spread throughout the jar, then tuck them in with your okra.
The heat intensifies the longer the peppers soak in the brine. Want a lot of spice? Add several peppers. Just a little kick? One will do the trick.
Feel free to play around with other flavor twists. You can sprinkle in mustard seeds, swap out some vinegar for balsamic in your brine, or try a bread-and-butter style pickle brine for a sweeter variation on pickled okra.
I encourage you to enjoy okra—whether from your garden, farmer’s market, or store—any way you love. Try your favorite herbs and spices and find your perfect flavor. We stick with dill for that classic tang, but the best pickles are always the ones you make your own.
If you need to make quick pickled okra, pour boiling brine over your okra and refrigerate. It’s faster, but your okra won’t be quite as crisp as when you use a cooled brine. Hot jars or canned okra often yield softer results, so it’s really about your texture preference and available time.
Fermenting okra is a great option too. Use filtered water and salt—skip the vinegar—and let it ferment at room temperature until bubbly, then chill. Fermented okra brings probiotics and a unique tang to the table.
Once your refrigerator pickled okra is ready, you can eat it right from the jar—so satisfying! Or serve it as a side dish. They look fantastic on a veggie tray or charcuterie board.
Small okra pods are great on skewers with cheese and ham cubes for a fun finger food that guests love.
Besides tasting amazing, pickled okra is also super healthy. Okra packs lots of vitamin C and K plus plenty of fiber, which helps keep blood sugar steady and supports digestion. Plus, its natural sliminess helps bind and remove impurities and cholesterol from your body.
Storing and Shelf-Life Guidelines
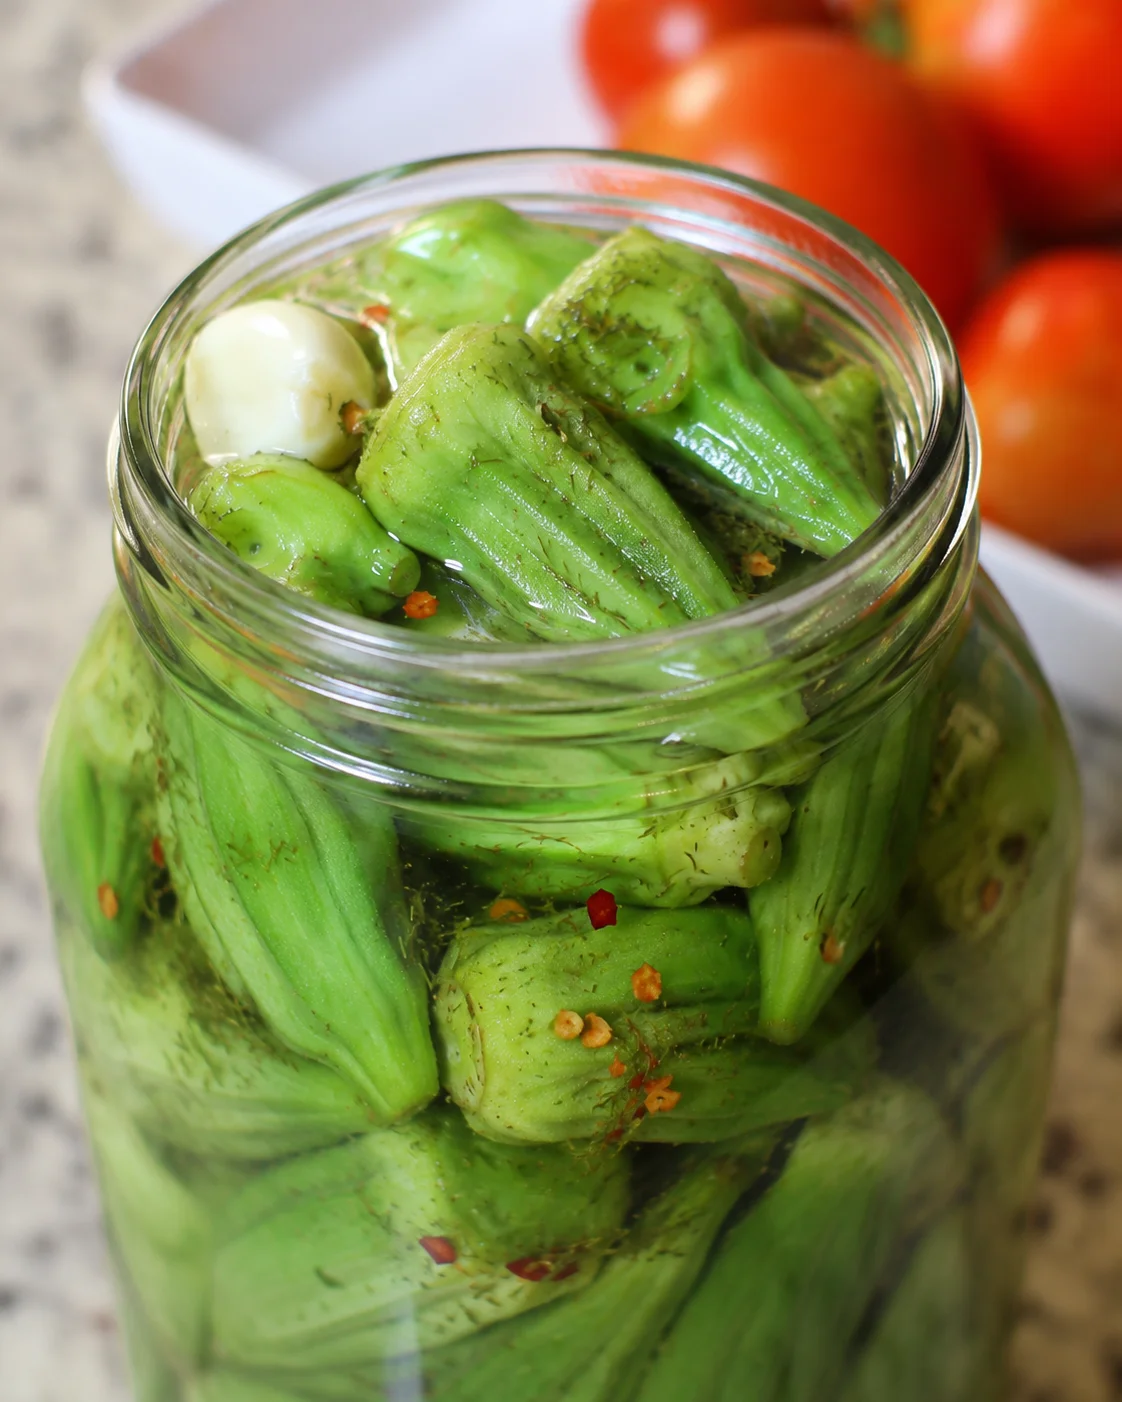
Keep your sealed jars of refrigerator pickled okra in the fridge. Give them about 2 weeks to develop flavor before diving in. Pickles made with vinegar stay safe for months when refrigerated, but for peak texture and flavor, I recommend eating them within 1–3 months. Store them toward the back of your fridge where the temp is most steady.
If you want your pickles warm, take them out of the jar first and heat briefly. Never microwave or bake the jar itself. For fermented okra, follow your fermentation recipe’s timing before transferring jars to the fridge.
Common Questions Answered
- Q: How long until pickled okra is ready? A: They develop their best flavor after about 2 weeks, but you can eat them earlier if you like.
- Q: Can I can these for shelf stability? A: This recipe is only for refrigerator pickles. For shelf-stable jars, use a tested water-bath canning recipe and follow food safety guidelines. Be aware canned okra tends to be softer.
- Q: Can I use frozen okra? A: Frozen okra loses its crispness and won’t work well here. Fresh, small pods give the best crunch.
- Q: Why did my pickles turn soft? A: Softness usually comes from using big mature pods, pouring hot brine over okra, or processing with heat. For crisp pickles, choose small pods and use cooled brine.
- Q: Can I make spicy pickled okra? A: Absolutely! Add pierced whole hot peppers or increase red pepper flakes to suit your heat level.
- Q: Can I ferment okra instead? A: Yes! Use filtered water and salt with no vinegar, ferment at room temp until bubbly, then refrigerate. Fermented okra will have probiotics and a unique taste.
- Q: Is this recipe too salty? A: Pickling brine is meant to be salty for preservation and flavor. If you cut salt, keep pickles refrigerated and eat them sooner.