Vanilla Buttermilk Cake Recipe

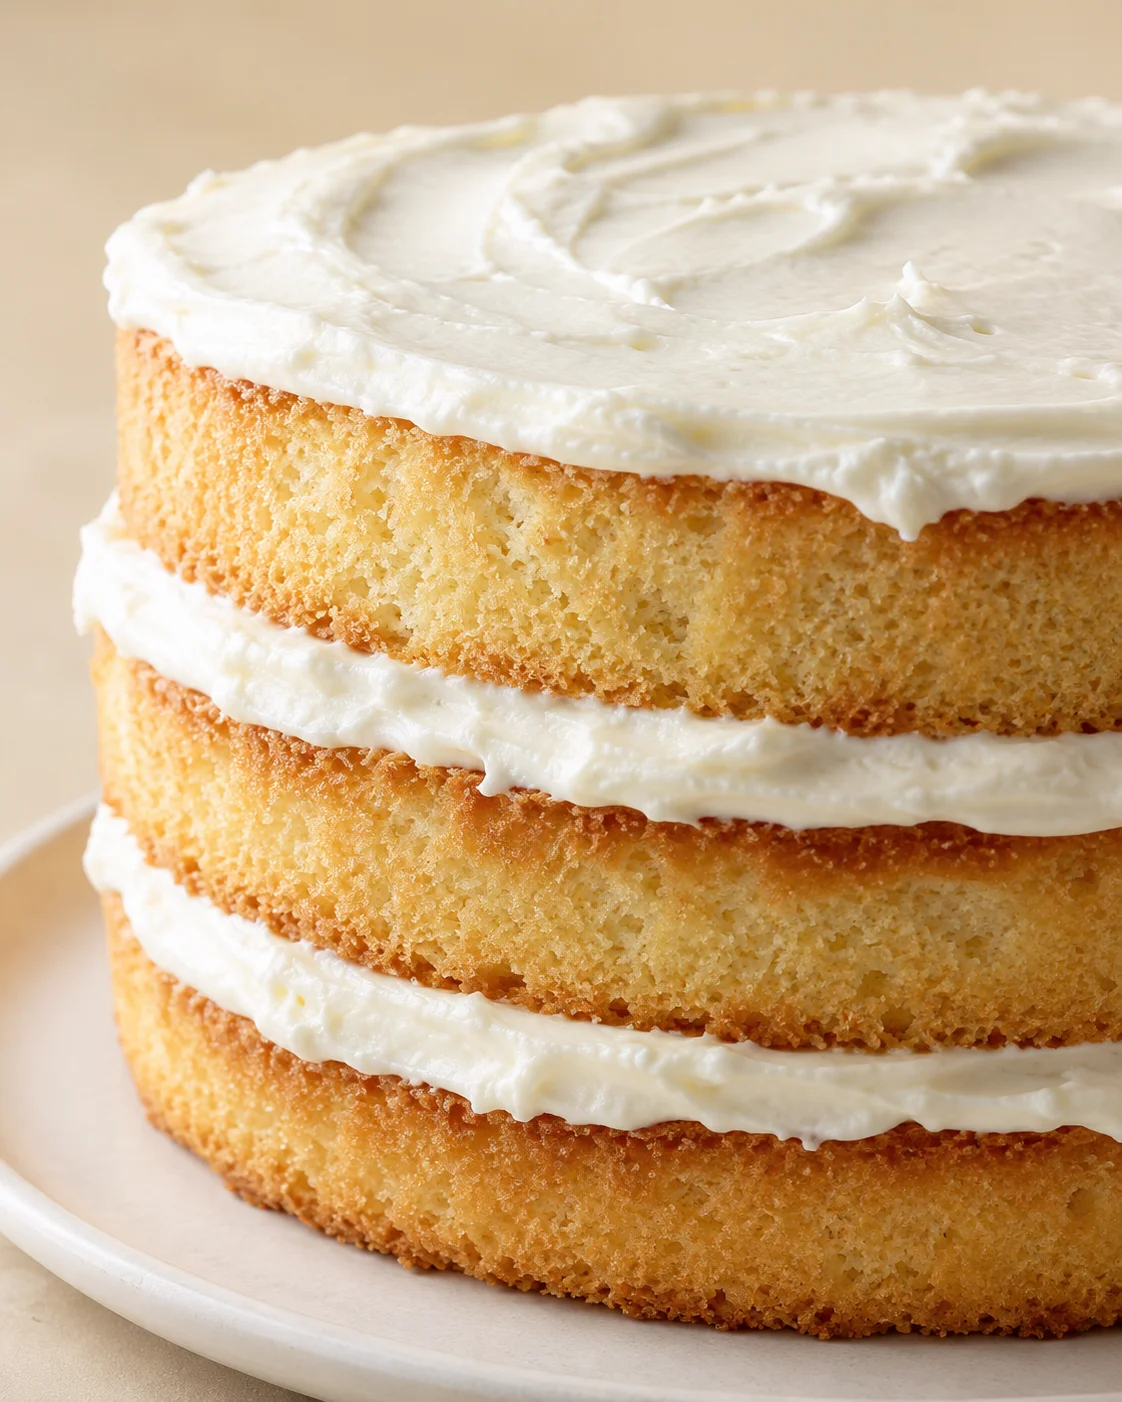
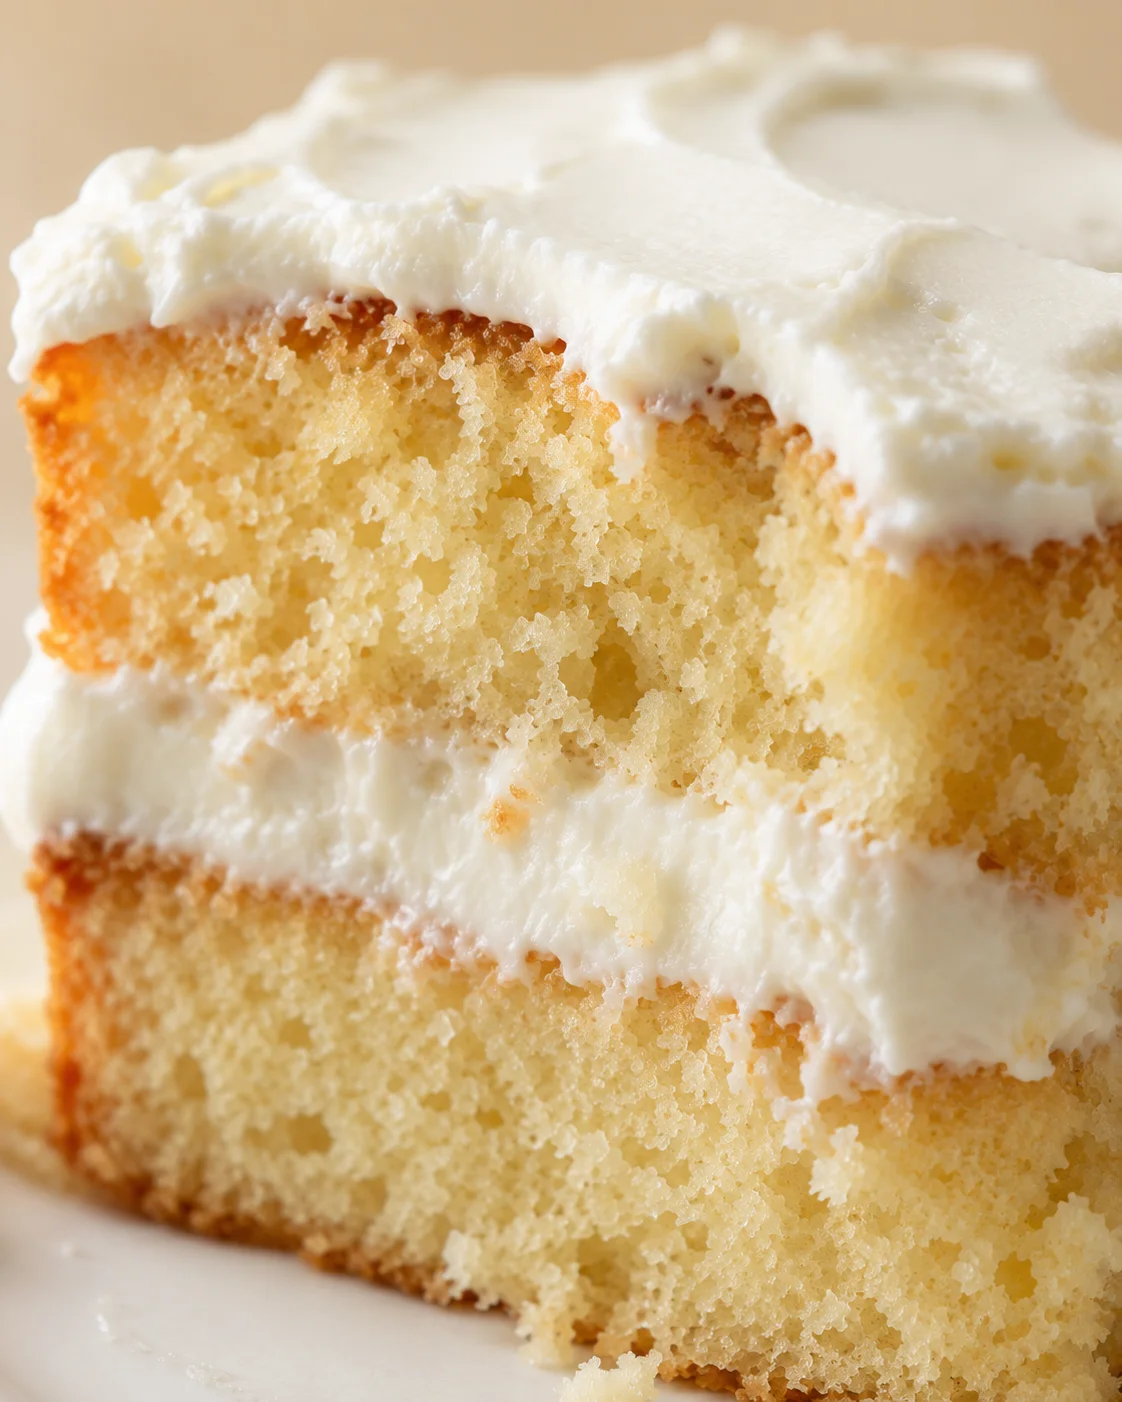
The story of vanilla buttermilk cake starts in those cozy home kitchens where simple ingredients come together to make something truly special. This cake is all about that rich vanilla flavor paired with a moist, tender crumb, making it a go-to for birthdays, family dinners, and celebrations big or small. It’s a dessert that feels like a warm hug, bringing back memories and making new ones with every bite.
Vanilla has always been a beloved baking staple thanks to its smooth, sweet aroma that enhances almost any dessert. When mixed with buttermilk—which adds just the right amount of moisture and softness—you get a vanilla buttermilk cake that’s both comforting and impressive. It’s a recipe that works beautifully for beginners and seasoned bakers alike, delivering fantastic flavor and that perfect, delicate texture everyone craves.
Many families tie this cake to their own happy stories. Perhaps it’s a recipe mom or grandma handed down, the kind that fills the kitchen with laughter and memories while mixing batter and frosting. Baking a vanilla buttermilk cake is more than just making dessert—it’s about gathering around the counter, sharing moments, and smelling that incredible vanilla scent wafting through the house. It’s comforting and joyful all at once.
This cake is much more than a sweet ending to a meal—it’s a symbol of togetherness and tradition. Whether it’s served at a big celebration or just a cozy night at home, a vanilla buttermilk cake has a way of bringing people closer, reminding us of what really matters: delicious food and good company. It’s a timeless classic for a reason.
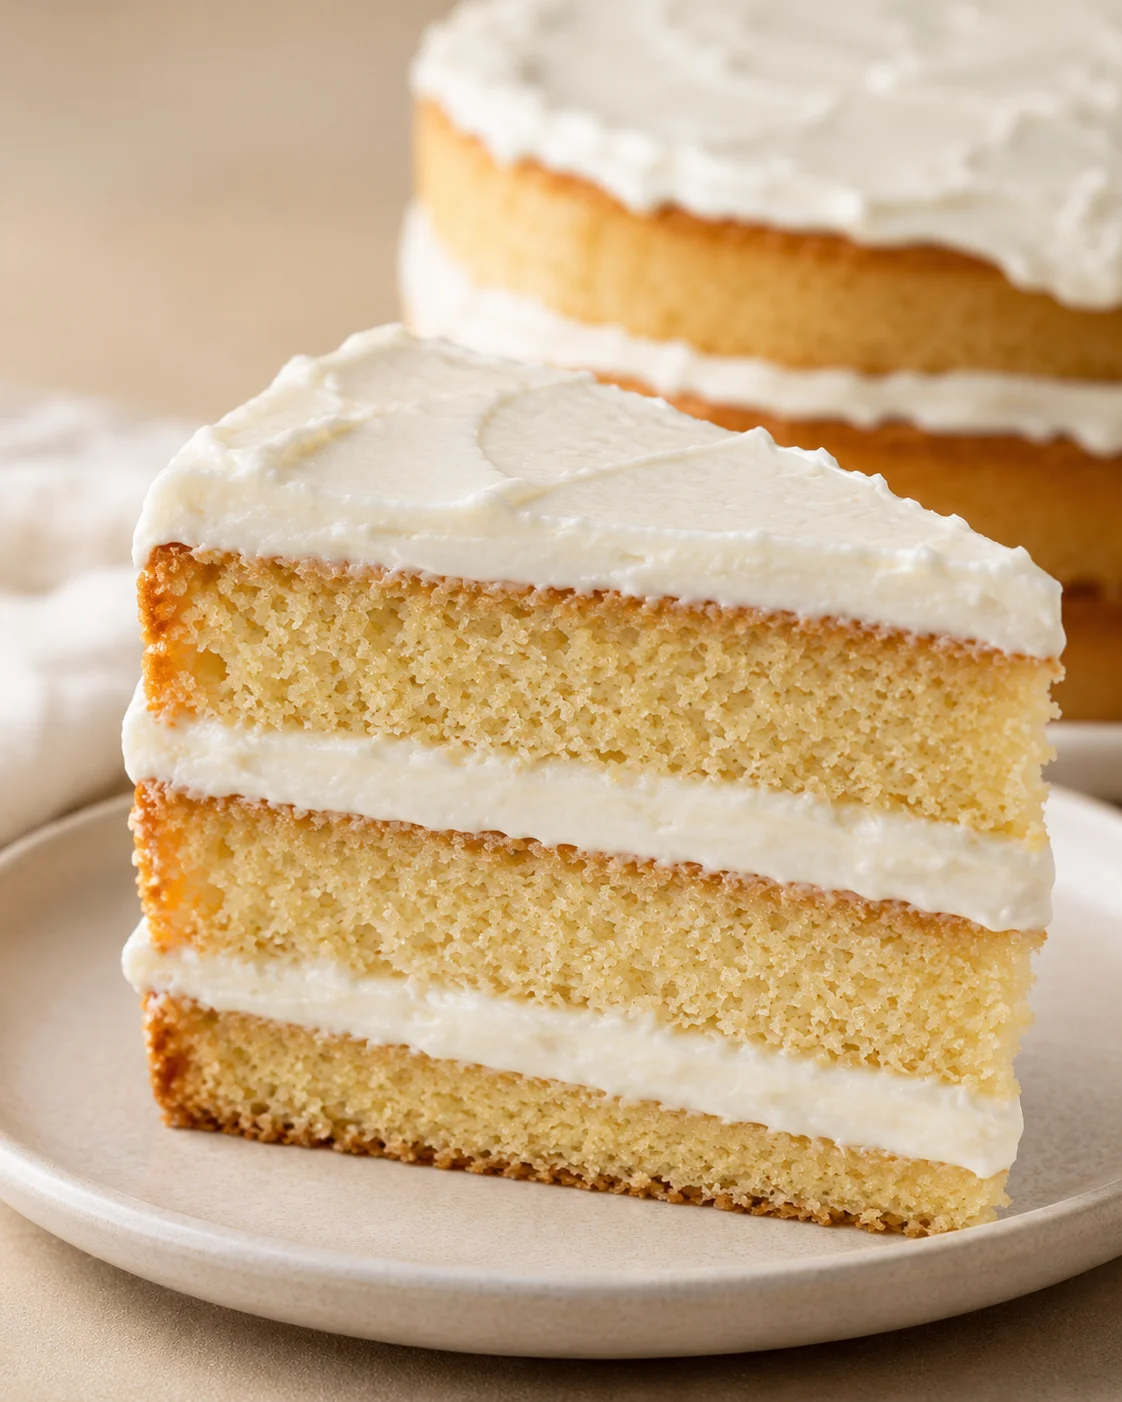
This easy vanilla buttermilk cake recipe makes three perfectly tall 8″ x 3″ cake layers, each with a moist, tender crumb and a lovely vanilla scent. Using cake flour, buttermilk, and an oil-egg emulsification method, this cake is forgiving and gives a nice even rise when baked at 350°F for around 30 minutes per layer.
I’ll guide you through everything — exact ingredient amounts, step-by-step mixing tips, and baking advice like when to weigh your ingredients, how to properly emulsify the batter, and how to avoid overmixing. These little tricks help you get the best results, whether you’re just starting out or have some baking experience.
Plus, I’ll share answers to common questions, easy variations to keep things interesting, and how to store or freeze your cake so it’s ready whenever you need it. By the time you finish reading, you’ll feel confident making this classic vanilla buttermilk cake that’s sure to impress family and friends.
What Makes It So Special
What makes this vanilla buttermilk cake stand out is the quality of ingredients and how they work together to create that soft, melt-in-your-mouth texture with delicious vanilla flavor.
First up, cake flour is a must here. It has less protein than all-purpose flour, which keeps the cake light and tender instead of tough. That delicate crumb sets the perfect stage for the vanilla’s sweet richness to shine through.
Then we have buttermilk. This ingredient is like magic in a cake—it adds moisture that keeps the cake soft, while its acidity reacts with baking soda to help the cake rise beautifully and produce a light, airy texture. Without buttermilk, the cake wouldn’t be as moist or fluffy.
Eggs are another key player here. They bind the batter together and give the cake structure, so it holds its shape well while still being tender inside. Plus, eggs add a richness in flavor that rounds out the whole cake experience.
Instead of butter, this recipe uses vegetable oil because it keeps the cake extra moist for longer. Butter can sometimes make cakes a bit firmer, but oil helps maintain a soft, tender mouthfeel. Finally, quality vanilla extract amps up the flavor, filling the cake with that lovely sweet scent and taste you expect in a great vanilla buttermilk cake. Put it all together, and you get a cake that’s rich, moist, and absolutely delicious every time.
Ingredients with Measurements
- 11 1/4 oz cake flour (2 1/2 cups)
- 1 teaspoon baking powder
- 1/2 teaspoon table salt
- 1/4 teaspoon baking soda
- 16 oz granulated sugar (2 cups)
- 8 oz vegetable oil (1 cup)
- 4 large eggs, at room temperature
- 8 oz buttermilk (1 cup) — or make your own by adding 1 tablespoon vinegar or lemon juice to enough milk to equal 1 cup
- 1 tablespoon vanilla extract
Step by Step Baking Method
- Preheat oven to 350°F (175°C) and line the bottoms of three 8″x3″ cake pans with parchment or grease and flour only the bottoms.
- Sift together cake flour, baking powder, baking soda, and salt; set aside.
- In a mixing bowl combine vegetable oil, granulated sugar, eggs, buttermilk, and vanilla extract; mix on medium speed until combined, then continue 2–3 minutes to fully emulsify the batter.
- Lower mixer speed and gradually add the sifted dry ingredients to the wet mixture, mixing just until combined to avoid overmixing.
- Divide the batter evenly among the prepared pans and smooth the tops with a spatula.
- Bake the pans about 25–30 minutes, or until the tops are golden, spring back when lightly pressed, and a toothpick inserted in the center comes out clean.
-
Let the cakes cool in their pans for 10 minutes, then carefully turn them out onto a wire rack.
- Allow the cakes to cool completely on the wire rack before filling and frosting.
Expert Tips for Perfect Results
- Whenever you can, weigh your ingredients. This makes your cake more consistent every time since it removes variations from measuring cups.
- Sift or whisk the flour mix to avoid clumps and make sure the raising agents are spread evenly for a perfect rise.
- Bring your eggs and buttermilk to room temp before you start mixing so everything blends smoothly and the batter is silky.
- Mix just enough to combine ingredients well—overmixing develops gluten and could turn your cake dense, which we don’t want.
- Grease and flour only the bottoms of your pans, not the sides. This helps your cake rise higher and gives you nice, even layers.
- If you want to add fresh fruit like berries or peaches to your batter, toss them quickly in a little flour first so they don’t all sink to the bottom.
- Use an oven thermometer to make sure your oven’s at 350°F. Often oven temps can be off, which affects how your cake bakes.
- Cool your cakes in the pans for 10 minutes before turning out, and cool completely before frosting. This stops your frosting from sliding or melting off.
Flavor Ideas and Substitutions
The vanilla buttermilk cake recipe is a fantastic blank canvas for delicious variations and toppings to make it your own. Try spreading a classic vanilla buttercream frosting to keep things simple and sweet, or go for a tangy cream cheese icing that contrasts lovely with the rich cake. Want something lighter? Whipped cream with a drizzle of vanilla syrup works wonders for a fresh finish.
Fresh fruit on top adds color and brightness—think strawberries, raspberries, or even citrus slices. Nuts like pecans or almonds bring a satisfying crunch to balance that soft crumb. For a glossy finish, try a simple glaze made from powdered sugar and buttermilk—it looks beautiful and tastes amazing.
Feel free to mix in seasonal fruits like blueberries or peaches right into the batter for a tasty twist. You can also swap some of the vanilla extract with almond or coconut extract for interesting flavor variations. This vanilla buttermilk cake recipe is flexible, inviting creativity with every bake!
Sharing this cake with friends and family makes every bite sweeter. It’s more than dessert; it’s a way to celebrate together and create moments that everyone will remember.
Storage, Freezing, and Make-Ahead
If you haven’t frosted the cake yet, wrap the cooled layers tightly with plastic wrap and store at room temperature for 24-48 hours. Alternatively, you can refrigerate them for up to 3-4 days.
Once frosted, a buttercream-covered cake can sit at a cool room temp for up to a day. For longer storage, pop it in the fridge where it will last 4-5 days. Cream cheese frosting is more delicate, so refrigerate immediately and enjoy within 3-4 days.
For freezing, wrap individual cooled cake layers tightly in plastic wrap, then cover them with foil or put them in a freezer bag. They freeze well for up to 8 weeks. When you’re ready, thaw them in the refrigerator overnight, then bring to room temperature before serving.
If you want to warm slices, zap them in the microwave for 10-20 seconds (depending on size) or pop them in a 275-300°F oven for 8-12 minutes to freshen them up. Just avoid overheating, or the cake might dry out.
Answers to Common Baking Questions
- Q: Can I substitute all-purpose flour for cake flour?
A: Sure! But your cake will be a bit firmer. To get closer to cake flour texture, replace 2 tablespoons of all-purpose flour per cup with 2 tablespoons cornstarch, then sift it together before using. - Q: What can I use instead of buttermilk?
A: Mix 1 tablespoon white vinegar or lemon juice with milk to fill 1 cup. Let it sit for 5 minutes before using—it mimics buttermilk perfectly. - Q: Can I use butter instead of vegetable oil?
A: Yes, but it will change the texture to be less tender and more buttery. If you want to use butter, try creaming softened butter with sugar instead of using the oil/emulsification method. - Q: What pan sizes work for this recipe?
A: The recipe is made for three 8″ x 3″ pans. You can try two 9″ pans (you’ll need to bake a bit longer and check for doneness) or a 9″ x 13″ pan (also bake longer, keep an eye on the center). - Q: Why might my cake come out dense?
A: Common reasons are overmixing the batter after adding flour, using cold ingredients, old leaveners, or measuring flour improperly by packing it too tightly. Weighing ingredients and mixing carefully helps avoid this. - Q: Can I add fruit or other flavors?
A: Definitely! Gently fold in berries or diced fruit and toss them with a little flour first to keep them from sinking. You can swap some vanilla with almond or other extracts for a different twist.